Instructions on creating Canva Sheets using Magic Write
Besides using Magic Write to create text in Canva, we can also use it in Canva Sheets to create data tables..
Besides using Magic Write to create text in Canva , you can also use it in Canva Sheets. You can create data tables with detailed content based on your entered requirements. Below is a guide on creating data tables in Canva Sheets using Magic Write.
Create Sheets using Magic Write
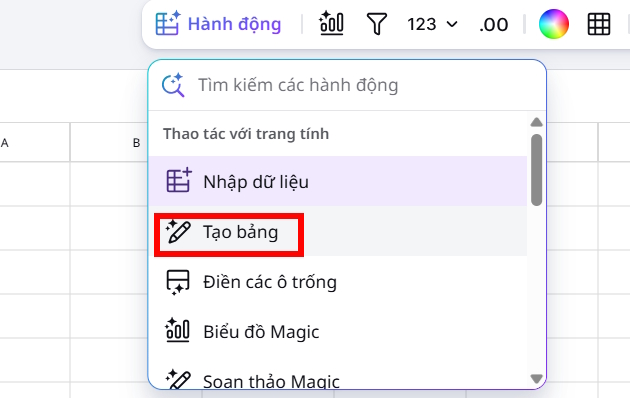
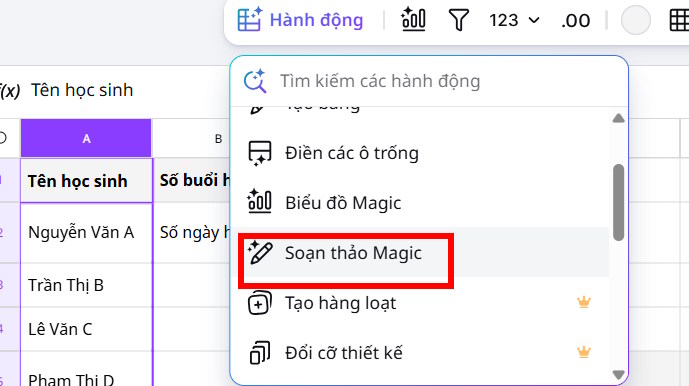
We open the Sheets section in Canva, then click on the Actions option at the top, as shown in the image below.

At this point, you will see a list of options for the data table; click on "Create Table" to proceed.
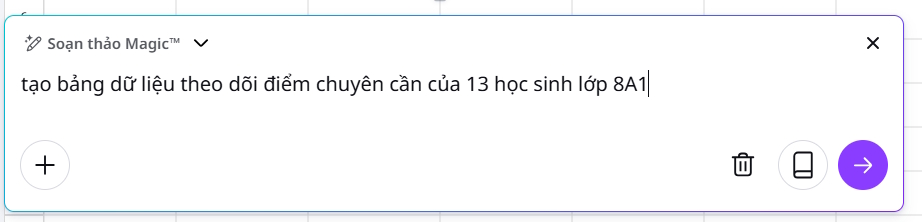
Then we enter the subject and request to create a data table .
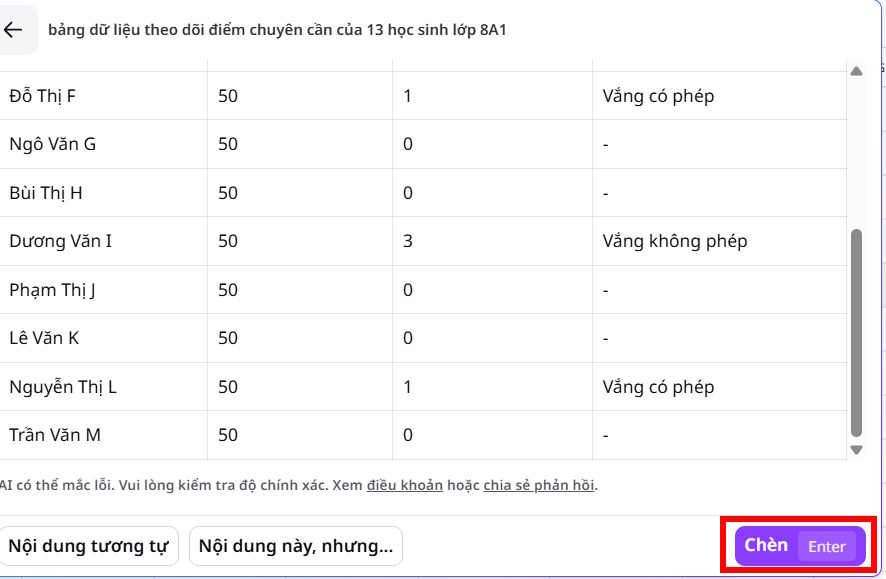
At this point, you'll see the data table. Click Insert to insert it into Canva . If you want to make further edits, select This content, but… then fill in your new requirements and the data table you want to create based on the content you've already created. Once you have the table, you can adjust the interface.
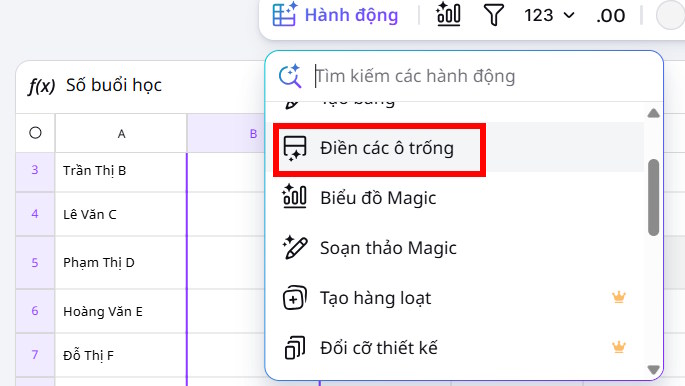
Fill in the content in the cells in Canva Sheets.
We select the blank data area and then click on Actions , choosing Fill in the blanks . Magic Write automatically fills in the blanks based on the context of the cell and table.
Use Magic Write to fill in an existing cell.
Select the cells you want to enhance the content of, then select Actions and click Magic Editor .
A box will then appear where we can enter the command we want Magic Write to create.

At this point, you will see that the data area has been enhanced in terms of content.
If you're satisfied, click Insert to use the AI-generated content. Remember to clearly state the content you need and select a maximum of 20 lines.

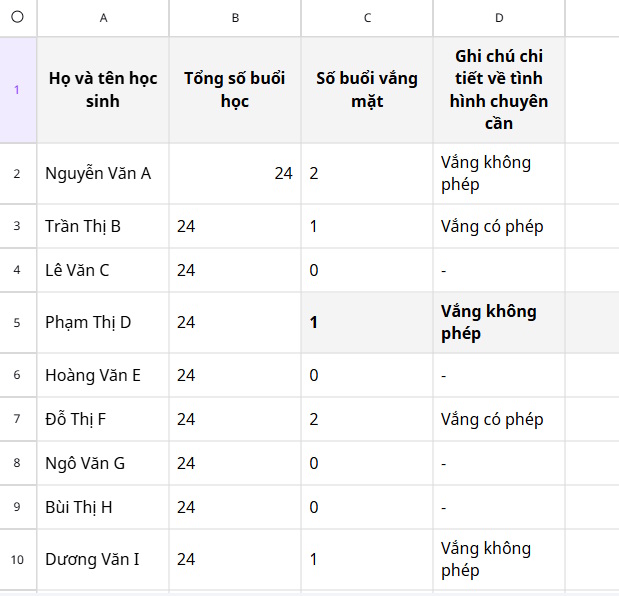
Below is a data table that has been processed using Magic Write in Canva Sheets.
Notes on using Magic Write in Canva Sheets
For each request when using Magic Write, you need to select the correct data range within the table to use.
- For filling in blank cells, only select ranges that do not contain data, or blank cells.
- For the Create Table and Magic Edit options, you need to click to create the empty cell where you want to enter data or select a valid area.