Inserting traces into Word
With the survey documents on Word, or as document types, job applications, forms, . often have to insert the traces into the document. Types of traces on Word have many types such as traces, check, uncheck. In case you make a permanent v mark or other fixed areas, you can do it right away with the Symbol tool. In the case of making an online survey, if you want to make a mark by the user, you will have more steps. The following article will guide how to insert traces into the empty box on Word.
- Word 2016 Complete Guide (Part 21): How to insert and create tables
- Create a list of tables in Word automatically
- How to insert checkboxes on Google Sheets
Instructions to insert a tick into the Word box
1. Create a permanent mark in Word
As mentioned in the Symbol tool, there are also types of traces that users can choose to use.
Step 1:
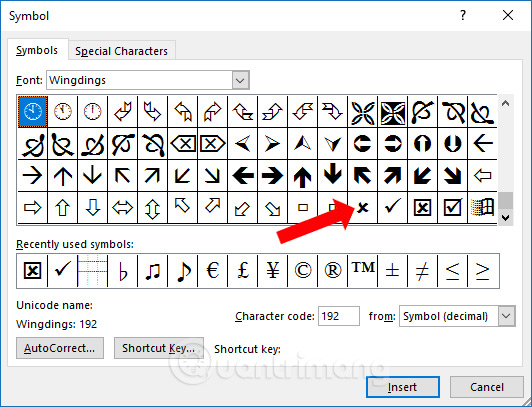
You click on the content to insert the traces. Click on the Insert tab in the toolbar and then select Symbol . Click More Symbols . to expand the list of icons.

Step 2:
In the Symbol dialog box, the user finds the Wingdings font type. Show the list of icons, drag down below and will see the line of traces icons. Users select the type of traces to use, depending on the requirements of the document.
Click on the type of traces to use and click the Insert button below.
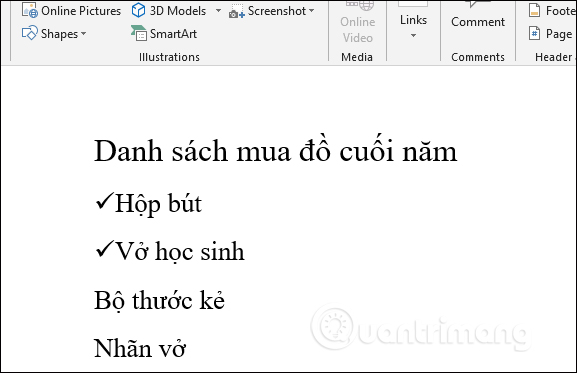
The result of the traces will be displayed at the position of the cursor content as shown below.
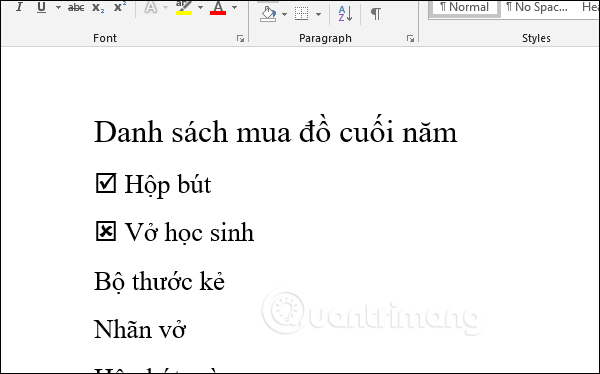
Or you can insert a checkmark in the square on Word as shown below.
This method only applies in case of hardcopy documents. In case of online documents, viewers click on the check mark, then refer to how to do below.
2. Create a checkbox on Word
This way will be used through Develpoper tool on Word. This tool needs activation to display in Word Options. How to create a check box on Word that you read in the article How to create a checkbox in Word.
The result will be the checkbox on Word as shown below.
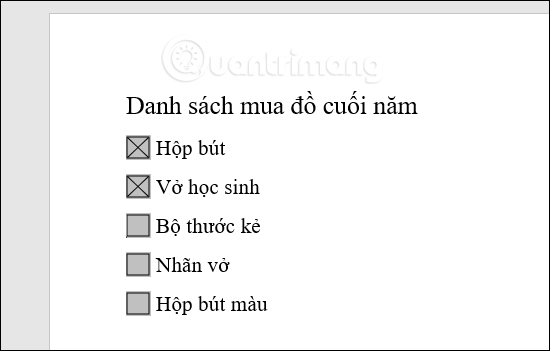
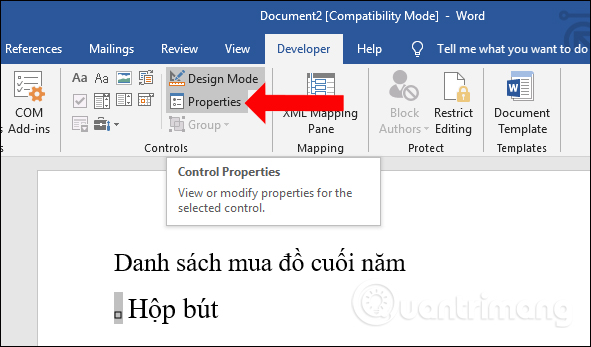
After creating the checkbox, if you want to change the cell size without changing the text size, click the checkbox and then click Properties .
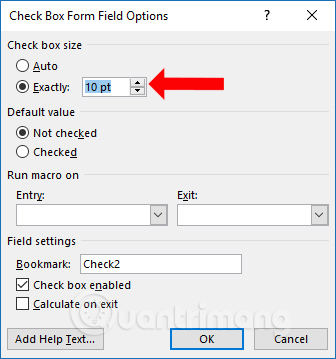
At the Check box size users click on the Exactly button and then select the size for the inserted checkbox in the Word document.
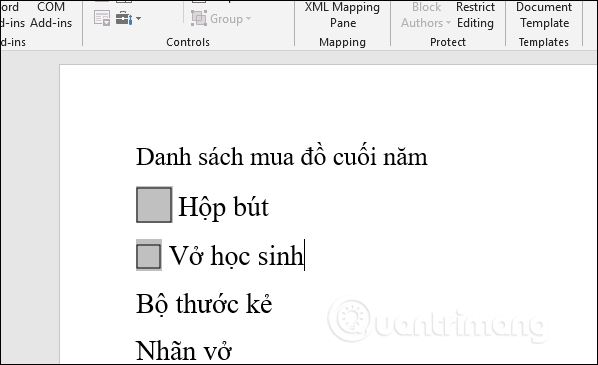
The size of the checkbox will change and the font size will remain the same.
Here are 2 ways to create a mark in Word, with a checkmark available in Symbol or through a Developer tool. Depending on the document requirements, the user selects the type of traces accordingly.
See more:
- Create optional shortcuts in Word
- How to horizontally rotate any page of paper in Word
- How to change the direction of the text in Word 2013
I wish you all success!