Table of Contents
This practical guide walks through how to use snap camera's filter on Microsoft team, explains the main requirements, and highlights common issues that may appear along the way.
In this article, I will guide everyone to add Snap Camera's Filter to the Microsoft team online learning application.
First, you have to download the Snap Camera app here
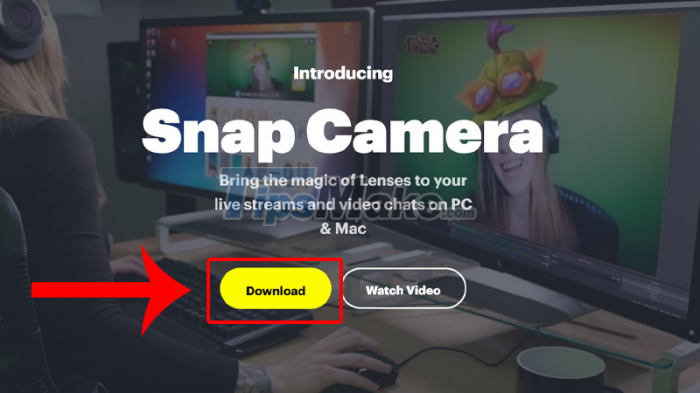
Once the application has been downloaded, go to the application. On the main interface, you will see the webcam display, detect your face, below are effects, camera filters. Your job is to choose one of those filters.

Next, you access Microsoft Teams, click on the three dots > Select Settings.

Select Devices > In the Camera section, click Snap Camera. So you can already add a filter on your face in every online lesson.

Hope my sharing will be useful to everyone. See you in the next posts
Key Takeaways
Use the information above as a practical reference for how to use snap camera's filter on Microsoft team. Review each step carefully, confirm any requirements, and choose the option that best fits your situation.
FAQ
What does this guide explain about Use Snap Camera's Filter on Microsoft Team?
It explains the main concepts, practical considerations, and useful steps related to use snap camera's filter on Microsoft team without requiring advanced knowledge.
Who can benefit from learning about Use Snap Camera's Filter on Microsoft Team?
This information is useful for readers who want a clear overview, practical guidance, and reliable steps related to use snap camera's filter on Microsoft team.
What should I check before applying this information?
Review the requirements, confirm that your device, software, or situation matches the instructions, and back up important data before making major changes.
Related Articles
 The Chip Turns Old Smartphones into Super Good Cameras: Complete Overview4 minutes read
 Snap. Do Removal Guide on Chrome, Firefox and Internet Explorer4 minutes read
 How to Turn Off Snap Feature in Windows 103 minutes read
 How to Enable // Disable the Aero Snap Feature in Windows 104 minutes read
 How to Get Snapchat Style Filters on Zoom: Step-by-Step3 minutes read
 How to Get Rid of Snap Do7 minutes read
Reader Comments 0
Sign in with email or Google to join the discussion.