How to Use OBS to Record Your Screen on a Computer or Mac
This article will show you how to use OBS Studio to record your screen on Windows or macOS.
Screen recording

Open OBS Studio on your personal computer (PC) or Mac. This app is located in the All Apps section of the Start menu on Windows and in the Applications folder on macOS.
If you want to film yourself playing games, check out this method.

Click the + sign under 'Sources'. It's located near the bottom left corner of OBS. A list of sources will appear.

Click Display Capture . This step opens the 'Create/Select Source' window.

Click OK . This opens a window showing the desktop preview.

Select the screen you want to record. If you only have one graphics card or monitor, you don't need to change anything. To record another screen, select it in the 'Display' drop-down menu here.

Click OK . This is the step to return to the main screen of OBS Studio.
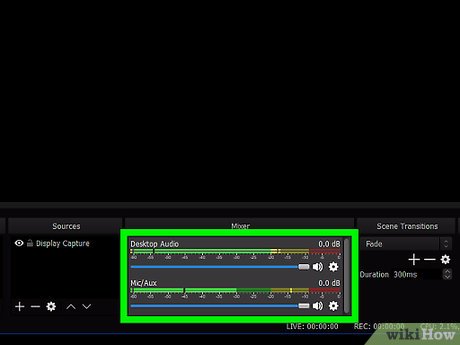
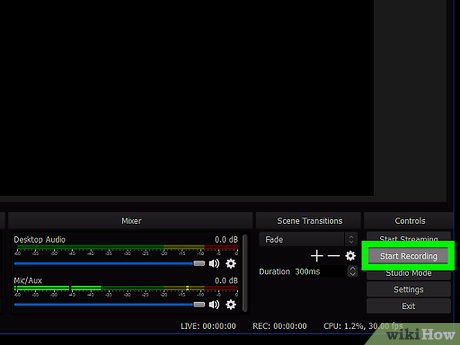
Adjust volume if necessary. You'll see two sliders in the 'Mixer' tab at the bottom of OBS.
Desktop audio: This bar helps adjust the sound from your computer (like apps and music) while recording.
Mic/Aux: This bar helps adjust the microphone or external input. If you're using a microphone to speak while recording, make sure you drag this slider to the right. If that's not the case, just slide the slider all the way to the left.

Click Start Recording . This button is located near the lower right corner of OBS. Recording will begin immediately.

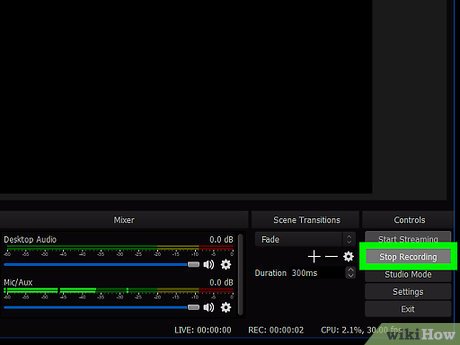
Click Stop Recording when you're done recording. This button is located just below 'Start Recording' or in the same location.
The video file will be saved in the Video folder. To get to this folder, press ⊞ Win+ Eto open File Explorer, then click the Videos folder in the left column.
To change the default save location, click Settings in the lower right corner of OBS, click Browse… next to 'Recording Path', then select another folder. On some devices, after clicking "Settings," click the "Output" tab on the left to see this option.
Spin the game
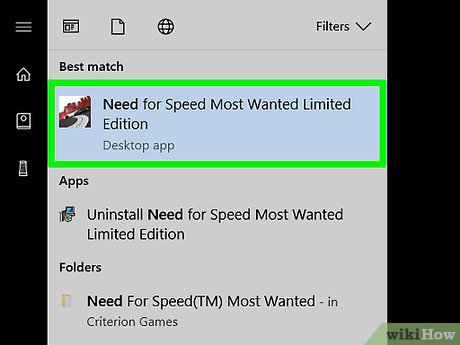
Open the game you want to spin. OBS Studio can record you playing any video game that uses DirectX or OpenGL.
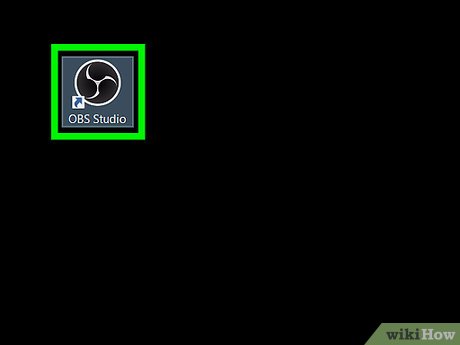
Open OBS Studio on your personal computer (PC) or Mac. This app is located in the All Apps section of the Start menu on Windows and in the Applications folder on macOS.
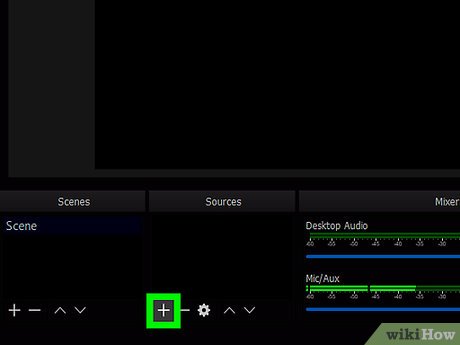
Click the + sign under 'Sources'. It's located near the bottom left corner of OBS. A list of sources will appear.
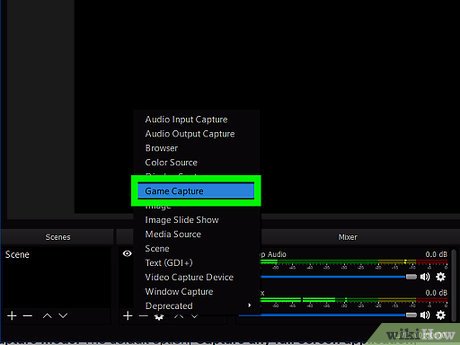
Click Game Capture . This step opens the 'Create/Select Source' window.
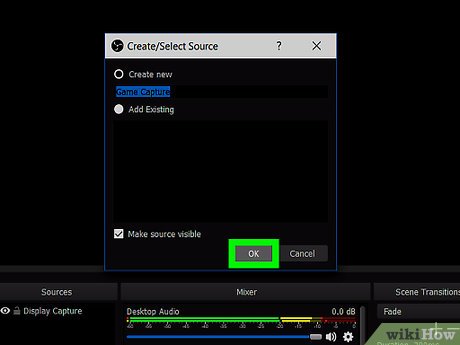
Click OK .
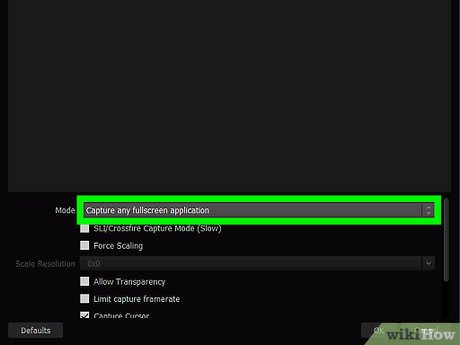
Select recording mode. The default option Capture any full screen application will automatically detect the game when you play in full screen mode.
If you leave it as default, you should know that exiting the game's full screen mode (like when you press Alt+ Tab ↹) will cause the screen to go black until you reopen it.
To capture just what's in your video game, click the 'Mode' menu, select capture specific window , then select your game.
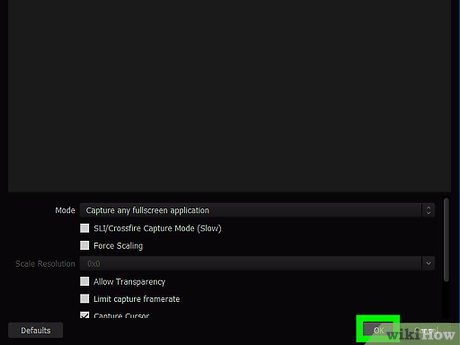
Click OK . This is the step to return to the main screen of OBS Studio.

Adjust volume if necessary. You'll see two sliders in the 'Mixer' tab at the bottom of OBS.
Desktop audio: This bar helps adjust the volume of sound from games and any other open applications.
Mic/Aux: This bar helps adjust the microphone or external input. If you're using a microphone to speak while recording, make sure you drag the slider to the right. If that's not the case, just slide the slider all the way to the left.
Click Start Recording . This button is located near the lower right corner of OBS. Recording will begin immediately.
Click Stop Recording when you're done recording. This button is located just below 'Start Recording' or in the same location.
The video file will be saved in the Video folder. To get to this folder, press ⊞ Win+ Eto open File Explorer, then click the Videos folder in the left column.
To change the default save location, click Settings in the lower right corner of OBS, click Browse… next to 'Recording Path', then select another folder. On some devices, after clicking "Settings," click the "Output" tab on the left to see this option.
- How to record Windows 10 computer screen videos quickly
- How to record computer screen simply and in detail
- How to record computer and laptop screens with sound and edit videos
- Recording the computer screen with sound is simple
- 20+ ways to record computer screen, record laptop screen
- How to record your iPhone screen and audio is super easy.
- The computer cannot record the screen, how to fix it?
- Record computer screen with OBS Studio, how to record laptop screen on OBS
- 11 Simplest and fastest ways to record your computer screen
- How to record your Windows or Macbook screen.
- How to Open Applications With Root Privileges on a Mac
- How to create Hackintosh USB with Clover Bootloader
- How to Toggle WiFi on and Off with a Keyboard Shortcut on Mac
- How to fix 'Dyld: Library not Loaded' error on macOS
- How to Add a PowerPoint to iMovie
- How to Open an EMZ File on PC or Mac
- How to Create Credits in iMovie
- How to Bypass Parental Controls on a Mac
- How to Use Telnet on Mac OS X
- Making Linux look like macOS with these easy tweaks!
-
 Create an AI voiceover for poems and inspiring stories.
-
Instructions on creating a Froggy Jumps game on Educaplay
-
How to make a piano game using Scratch
-
Instructions on how to add ChatGPT to Google Sheets
-
How to rotate any page horizontally in Word
-
How to install SPSS on a MacBook: A step-by-step guide.
 Create an AI voiceover for poems and inspiring stories.
 Instructions on creating a Froggy Jumps game on Educaplay
 How to make a piano game using Scratch
 Instructions on how to add ChatGPT to Google Sheets
 How to rotate any page horizontally in Word
 How to install SPSS on a MacBook: A step-by-step guide.