How to use Launchpad on macOS Sierra
With any operating system on a Mac, Launchpad is the default tool for managing all the applications that we have installed on the system. Users can quickly access applications much faster and simpler. However, will there be any changes to Launchpad if the operating system has upgraded to macOS Sierra? If you are new to macOS Sierra version and are not yet proficient in using Launchpad, you can refer to some of the tips below.
1. Enable Launchpad on macOS Sierra:
To be able to activate the Launchpad on macOS Sierra, we can do the following:
Click on the Launchpad icon on the Dock interface screen as shown below:
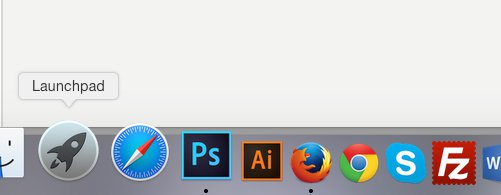
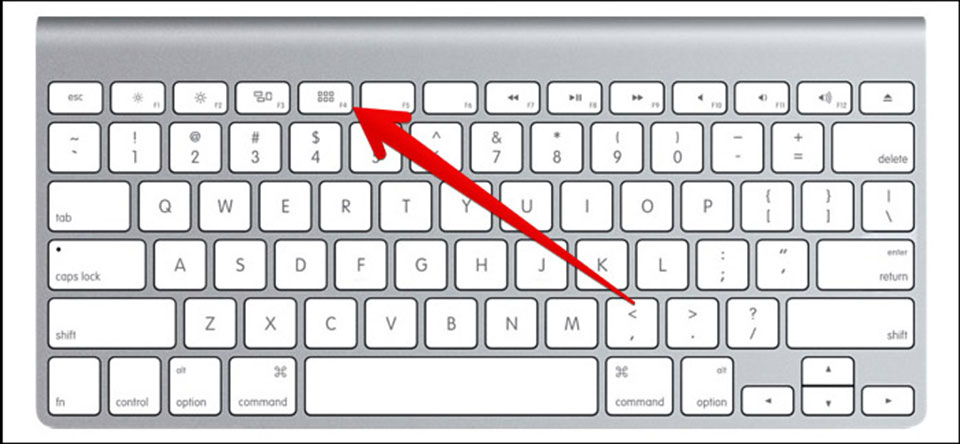
Use four fingers and pinch on Trackpad . The last way is to use the key press Launchpad F4 on the keyboard.
2. Start the application in Launchpad:
First you need to open Launchpad on your device in 1 of 3 ways above. After that, we will see a list of all the applications installed on the macOS Sierra.
Users will click on the application they want to use. To move between the pages of the application, you slide to cover or right on the trackpad. Or users can use the Magic Mouse application, or press the left or right Command key.

3. Search for applications in Launchpad:
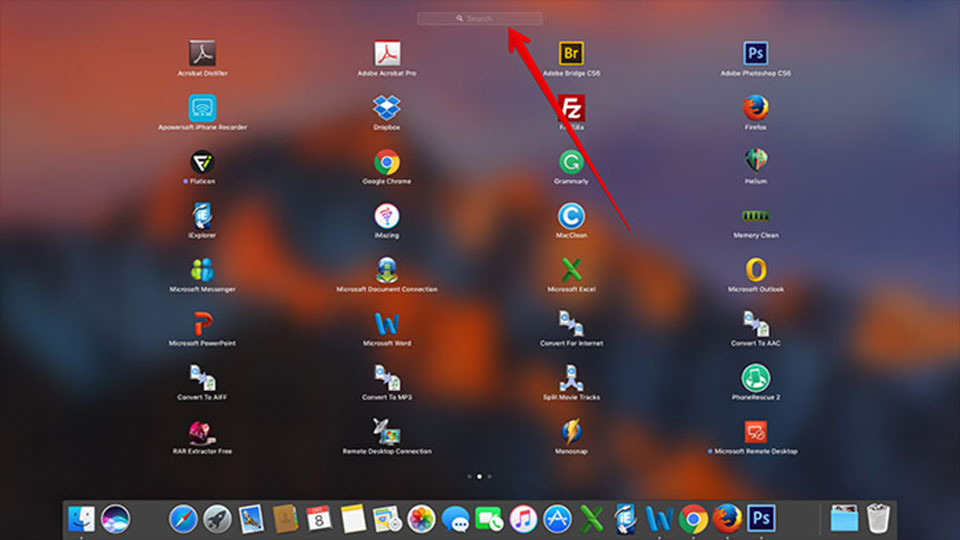
Also at the application interface installed on Launchpad, in the search bar at the top of the interface, we just need to enter the application name we want to use. If your device has many applications installed, don't forget this tip so you can quickly open the application you need.
4. Install additional applications in Launchpad:
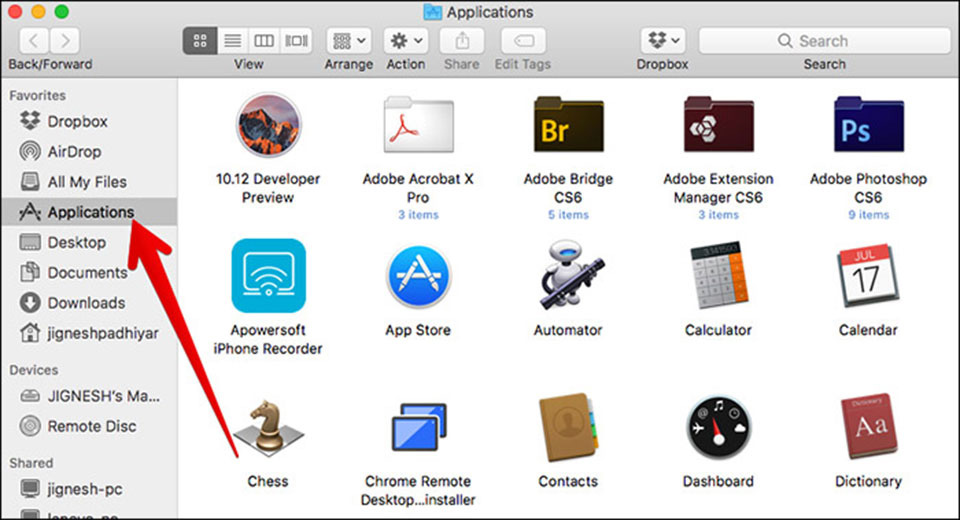
Go to Finder then click on Applications . If you want to add any application to Launchpad, just drag the application to the Applications folder and you're done. And when you start Launchpad, you'll see the app appear in the list of installed applications.
5. Delete the application in Launchpad:
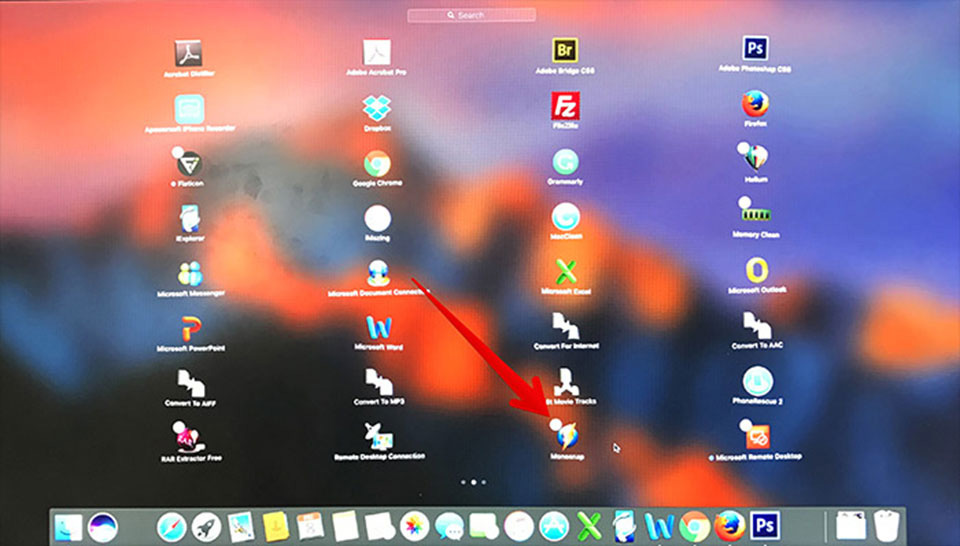
We also start Launchpad on the device. Next press and hold the application you want to delete in a few seconds when the X icon appears. Click it to delete the application.
In case of not seeing the X icon, we cannot delete the app because it is an application already installed from Apple.
6. Organize Apps into the folder in Launchpad:
We can put the application folders of a group of applications. This will help put applications with the same features in one category, from which to choose faster.
At the Launchpad interface, we click and hold the application we want to put in the folder. When a notification appears to adjust the application, use Trackpad to drag and drop the application to any folder you want to transfer.
These are some of the tips for using the Launchpad tool in macOS Sierra more effectively. Hopefully with the above article, users can exploit Launchpad features to serve their work.
Refer to the following articles:
- How to fix common errors when upgrading to macOS Sierra
- Instructions on how to install macOS Sierra (clean install) 10.12 on Mac
- How to change the shortcut to use Siri on macOS Sierra
I wish you all success!