How to take a screenshot of a computer screen with a mouse, simple and easy to do
Taking photos of your computer screen helps you save important data, save information displayed on the screen for convenient sharing or reviewing information whenever needed. Instead of using the photo taking shortcut on Windows, readers can take a screenshot of the computer screen with the mouse and below is an article showing how to take a screenshot of the computer screen with the right mouse button in the simplest and most effective way.
How to take a screenshot of the computer screen with the mouse
To be able to take photos of your computer screen with the mouse, you need to download the installation file below to your computer:
+ Link to download Snipping Tool Reg
Open the downloaded file. Right-click and select Extract Here to extract the file. However, you need to download Winrar to extract files more easily.

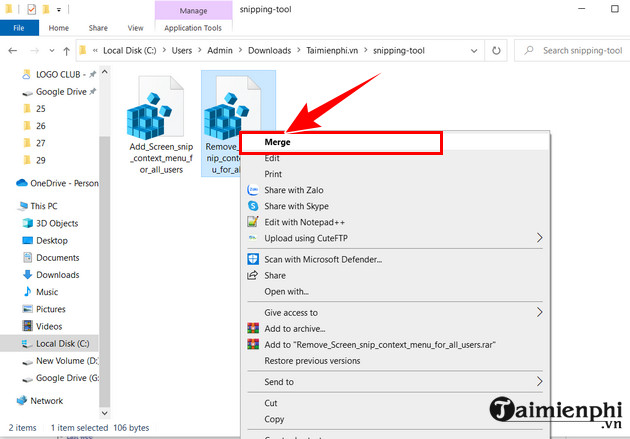
Right-click on the file and select Merge at the Add Screen Snipping Tool Reg file => Select Run to proceed with the installation into the Windows Registry.

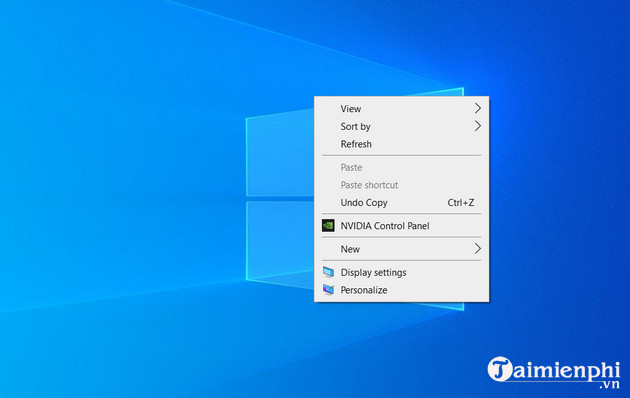
Once completed, at the Windows main screen, click the right-click menu => Select Screen snip to take the desired screenshot.

At this time, the toolbar will have screen capture options such as full screen capture , window capture , free option capture or choosing to take a photo in a rectangular box .

In addition to the Snipping Tool, there are many other great ways to help you easily save moments on your computer screen while working or when surfing the Web and encounter interesting articles.
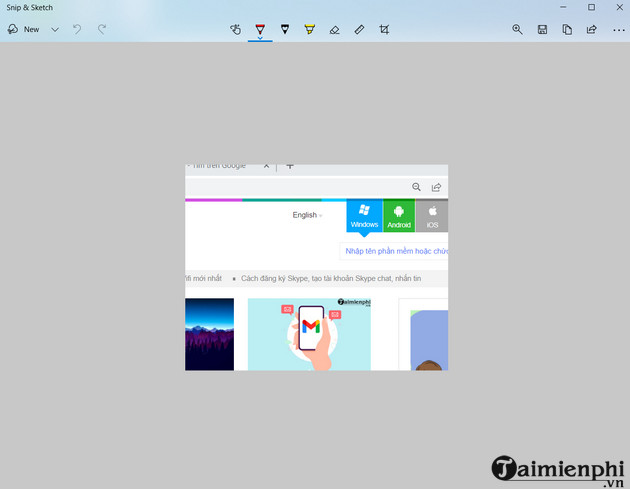
After the photo is taken, it will be displayed in the bottom left corner of the screen. You just need to click on the image to open Snip & Sketch then edit.

At this point, you can choose to edit, such as delete , draw or crop the photo to your liking, then save and you're done.

In addition, if you do not want to use the mouse screen capture method anymore, do the following:
- Right click on the Remove Screen Snipping Tool Reg file in the download file above
- Select Merge and you're done.

Result after Remove Screen Snipping Tool Reg : The Screen snip tool is no longer available.

Above is an article showing how to take screenshots with the right mouse button in the simplest and easiest way to use. Wishing readers successful application.
 How to separate sound from video and music from clip is extremely simple
 Controller for HomeKit
 6 important things to consider before choosing a smart home platform
 What is a perfect square number? How to recognize and detailed examples
 What is San Bach Eye? Revealing the mysteries of people with white eyes
 Unique and meaningful farewell gifts for colleagues