How to Split a large photo into several small photos and vice versa with Picosmos Tools
Instructions on how to split a large photo into many smaller images and vice versa, how to merge multiple small photos into a single image with Picosmos Tools
Table of Contents
Graphics software such as CorelDraw, Adobe Illustrator, Adobe Photoshop . can help you split a large image into many small images, or vice versa, that is, collage many small images into a very professional one.
However, the aforementioned software are all commercial software. Moreover, it is also quite heavy and you can not use it a day or two.
Therefore, if you only need to divide a large image into many small pictures and do not have any special requirements, or are too strict in the output product, the Split feature in the Picosmos Tools software will be an option. great for you.
#first. How to divide a large photo into many small pictures
Note: If you have not installed this software on your computer, you can go to the homepage of this software here.
=> Then download and install it to your computer. Download, then double click on the newly downloaded file => then just Next => Next until finished, very easy!

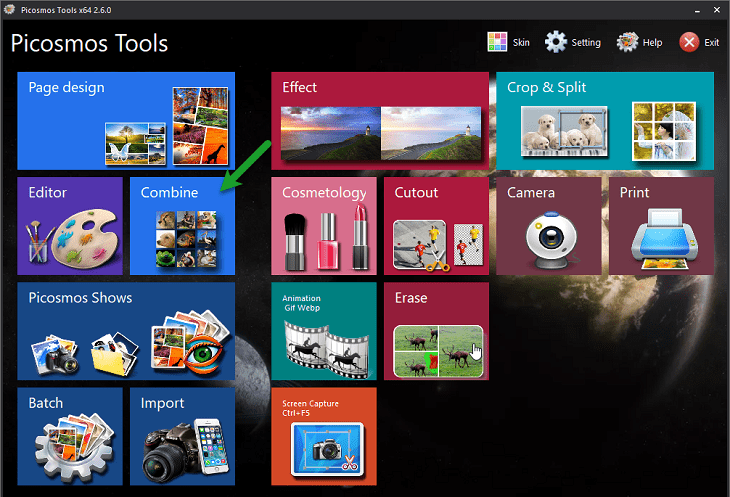
+ Step 1: At the main interface window of Picosmos Tools => select the Crop & Split feature

+ Step 2: Split window appears => choose Open on the toolbar to open the image to be divided.
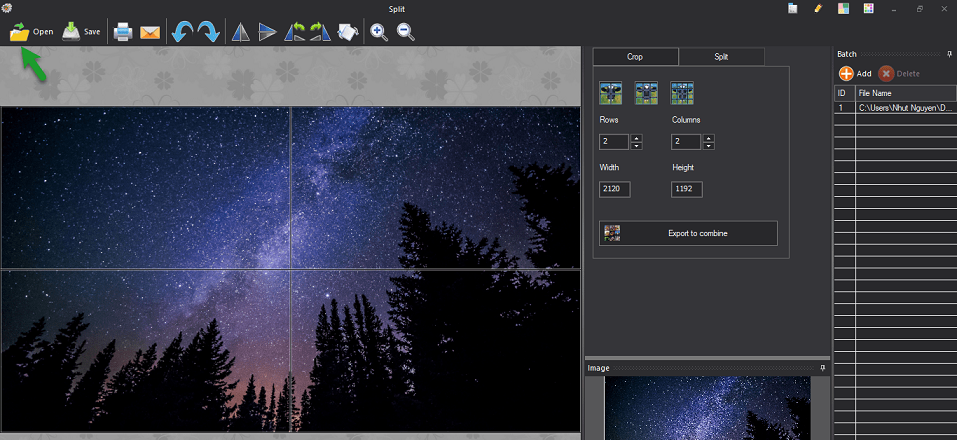
+ Step 3: Click on Tab Split

This tab gives us some options as follows:
- Divide current photo into 4, 9 and 16 equal parts.
- Rows, Columns the number of rows and columns. These two options will allow you to divide the current image into n elements where n is any number.
- Width is the width of each image after division.
- Height is the height of each image after dividing.
+ Step 4: Select Save on the toolbar to start the division process, and save the images after dividing.
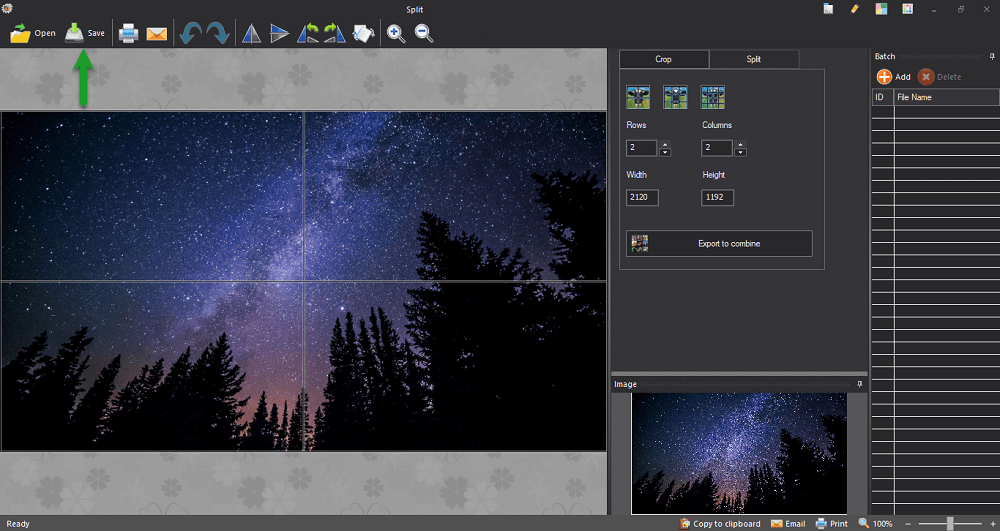
+ Step 5: The Export dialog box appears with the interface as shown below. You can customize the options again if necessary => then select OK.
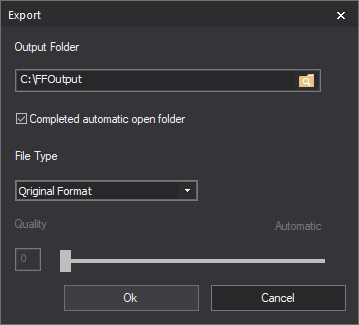
The dialog box gives us some options as follows:
- Output Folder folder will contain the pictures to be divided.
- Completed automatic open folder if selected, when the image division is complete, the folder containing shared pictures will automatically open.
- File Type allows you to reformat the extension of the divided images as * .jpeg, * .png, * .webp, * .bmp, and * .gif. Also if you choose to Qriginal Format, the extension of the shared images will be the same as the current image.
- Quality is resolution.
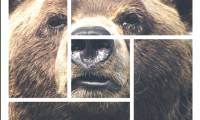
The process of dividing large images into small images takes place very quickly. Right after that you will get results like the image below for example.

Batch Panel in the Split window
The Batch Panel in the Split window allows you to split a large photo batch into several small pictures.
Specifically, if you need to divide 5 different large photos into many small images, you can use this feature to do it once without wasting time doing each image one by one.
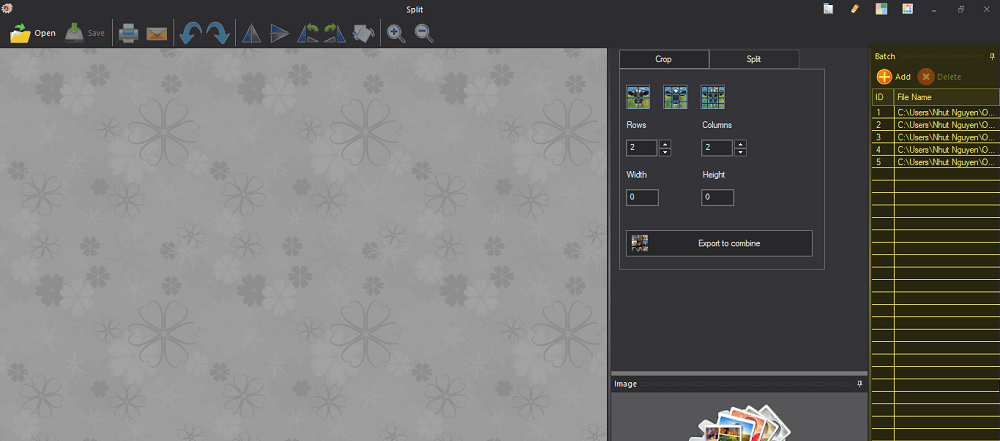
Done in Step 3 instead of Open, we will choose Add Files and then select the large images to divide. The remaining steps do the same.
#2. How to combine many small photos into one large image
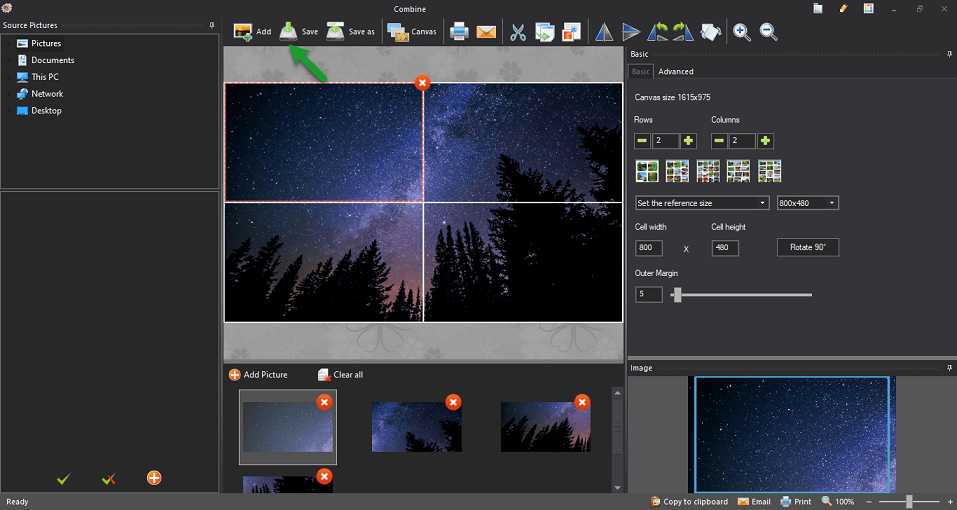
+ Step 1: In the window Picosmos Tools => select Combine
+ Step 2: Combine dialog box appears with the interface as shown below. In Tab Basic you choose the number of photos to combine by entering the number of rows and columns in turn to Rows and Columns.
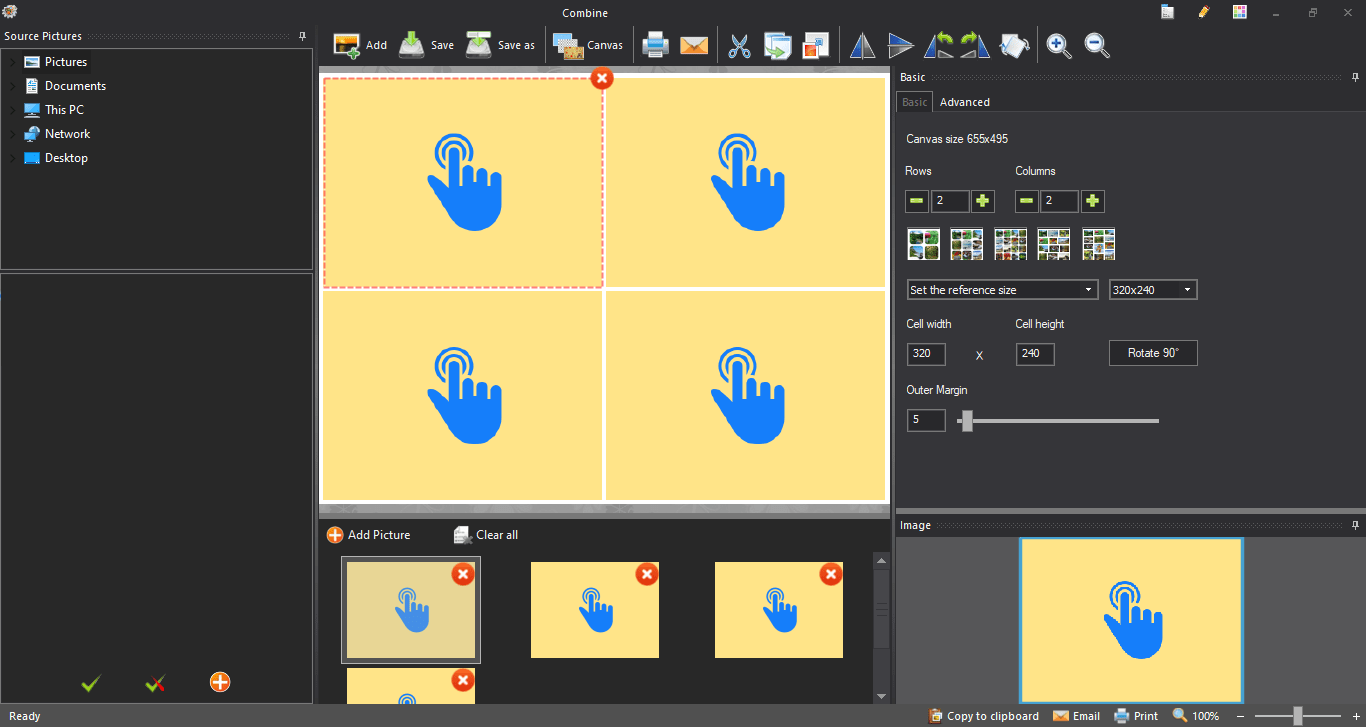
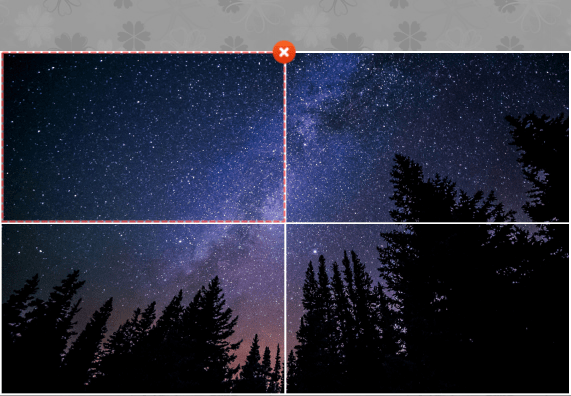
+ Step 3: Double click on 'the first cell' and select the photos to be merged.
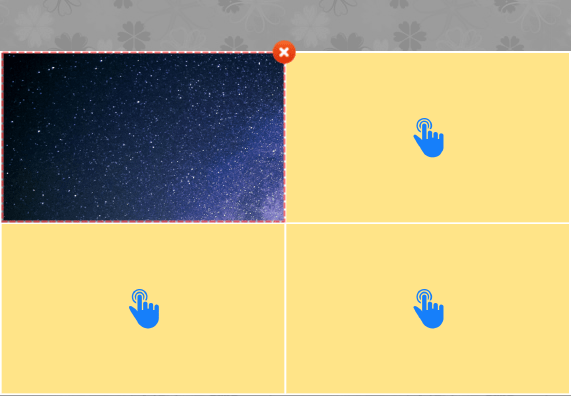
+ Step 4: Repeat Step 3 for the remaining cells.
+ Step 5: Click the Save icon on the toolbar to save it. The software supports popular image formats such as * .PTimage, * .jpg, * .webp, * .png, * .bmp, * .gif, * .ico and * .tga
Where * .Ptimage is the program's default format and you need to save it in this format if you want to edit it later. It can be said that it is a program file containing the image you are editing.
3.1. Basic tab in the Combine window
This tab contains basic options to help you customize Canva before Combine .
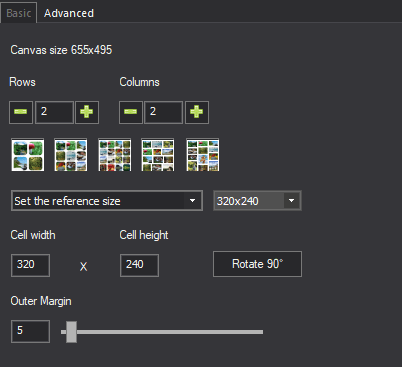
- Set the reference size to choose the size. You can choose a size in dimensions (320 × 240, 400 × 240, 640 × 480, 720 × 405 and 800 × 480).
- Set to first photo size sets the size according to the size of the first photo.
- Set to big photo size sets the size according to the size of the largest photo.
- Set to small photo size sets the size according to the size of the smallest photo.
- Fixed size canvas set to the fixed size of Canva.
In addition, the option Outer Margin allows you to customize the outer margins of each image in Canva. Maybe my explanation is a bit confusing, but you just need to try it directly on the computer to understand immediately
3.2. Advanced tab in the Combine window
This tab contains advanced options to help you customize Canva before Compile.
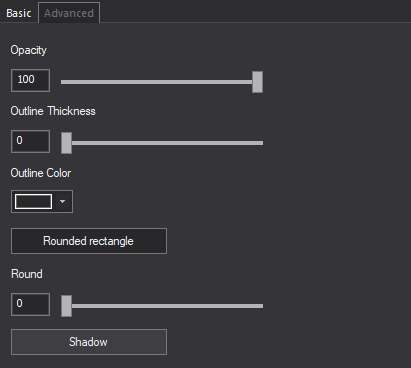
- Opacity opacity.
- Outline thickness the thickness of the Outline.
- Outline Color the Outline color.
- Rounded rectangle rounded corner of the rectangle.
- Round degree rounded corners .
- Shadow shadow.
Okay, so I just instructed you in great detail how to divide a large photo into many small pictures, and vice versa, merge many small pictures into a single image already.
Personally, I really like the Split feature of this Picosmos Tools software, and often use it to split large photos into small images. After that, I will use my A4 color printer to print out and combine into a complete photo on school .
As for the Combine feature, you need to pay attention that the photos that are stitched together need to have a relatively uniform size, then the resulting product will be beautiful.
Goodbye and see you in the next posts!
Was this article helpful?
Your feedback helps us improve.
Related Articles
 Guide to batch photo editing with Picosmos Tools7 minutes read
 How to split photos with Photoshop11 minutes read
 10 ways to split files, cut large files into several small files6 minutes read
 The self-sync feature between Photos and Drive will stop working from July 102 minutes read
 How to split, split, split PDF files into multiple files6 minutes read
 How to convert rows into columns and vice versa in Excel1 minutes read
Reader Comments 0
Sign in with email or Google to join the discussion.