Guide to batch photo editing with Picosmos Tools
A guide to batch photo editing with Picosmos Tools, a 100% free image processing software. How to convert image format, image copyright, resize ... in bulk with Picosmos Tools
Table of Contents
Picosmos Tools is one of the free photo editing software used by many users today. This software mainly provides 'instant noodle tools' which are built based on available algorithms so they are very easy to use.
And this article is the next in a series of tutorials on how to use Picosmos Tools available on TipsMake. Specifically, in this article I will guide you to use the Batch feature to batch edit images such as: Organize, Convert, Watermark, Color, Cosmetology, Rotate, Auto BG Replace .
1. Steps to perform batch photo editing with Picosmos Tools
Note: If you have not installed this software on your computer, you can go to the homepage of this software here.
You can go to the home page to download the latest version. And this is the latest version at the time of writing this tutorial: Here or here!
=> Then download and install it to your computer. Download, then double click on the newly downloaded file => then just Next => Next until finished, very easy!
Perform:
+ Step 1: You boot Picosmos Toolsup => then chooseBatch

+ Step 2: Window Picosmos Showsappears => you choose Folder=> select the folder containing the photos to edit.

+ Step 3: Take turns selecting the photos to edit by clicking on 'green check mark'. In case you need to edit all the items in this folder, you just need to press the key combinationCtrl + A
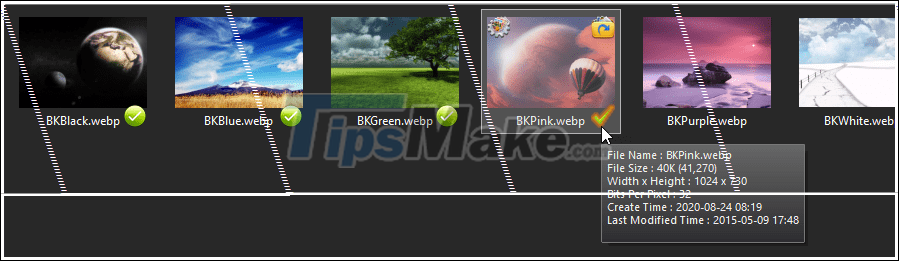
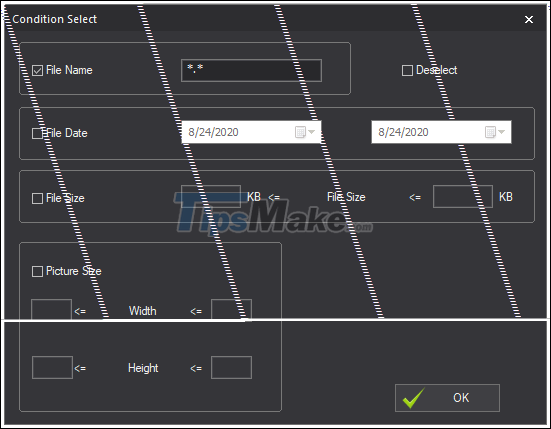
Alternatively, if you need to select some images that meet criteria such as (name, time, size, and size) then you can use the tool Condition Selecton the toolbar.
This tool will help you not to miss it and save a lot of time especially when your folder contains a lot of photos.
+ Step 4: Select Batch=> choose one of the 13 editing functions provided by the software (Organize, Convert, Watermark, Color, Cosmetology, Optimize, Rename, Auto Level, Auto Controst, Gray, Rotate, Auto BG Replace, Multi -size output) according to usage requirements.
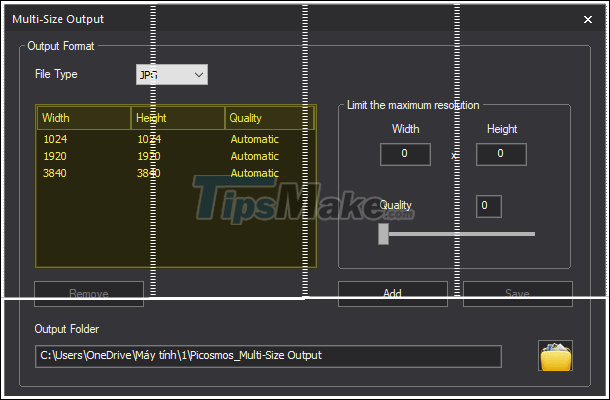
In this section, suppose I need to change the size of the images so I will choose Multi-size output. The dialog box Multi-size outputappears with the interface as shown below:
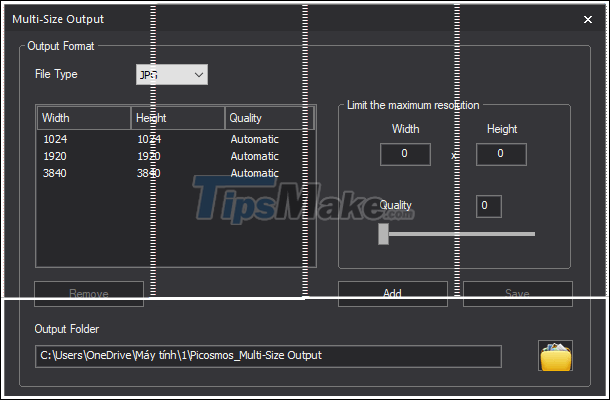
- File Type select the output image format can be (JPG, WebP, PNG, BMP, GIF)
- At Limit the maximum resolution you enter the width in the cell
Width, the height in the boxHeightand customize the degreeQualityby dragging the slider (if you let Quality is0synonymousAutomatic) => selectAdd - Output specifies the directory in which the images will be processed. By default, the software will automatically create a new folder named at the
Picosmos_Multi-Size Outputsame level as the original directory. - Select
Convertto have the processing begin. How fast or slow depends on the number of images and the speed of your computer.
=> After processing is completed, a dialog box PicosmosShowsappears informing the completion of the job, providing the number of images and processing time and this is the result.
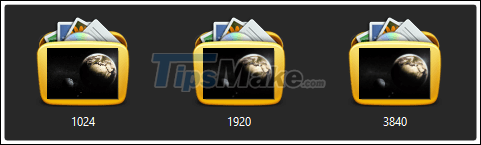
There are a total of 3 output folders, corresponding to 3 different sizes. The reason for up to 3 is because in the dialog box Multi-size output(the orange area) we have declared 3 dimensions
To fix, you select the unnecessary size => choose Removeto delete.
For details on how to use the rest of the functions, please see below.
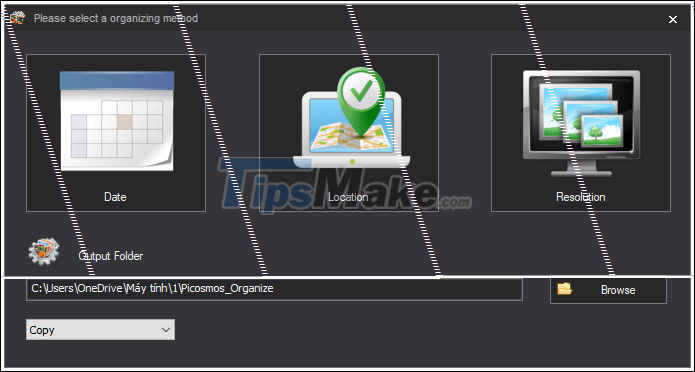
2. Organize: Organize and reorganize the images
There are 3 sorting options
- Date by date.
- Location by location .
- Resolution resolution.
Specifically, assuming your images have 10 different resolutions, the software will automatically create 10 corresponding folders to contain these images. Dateand Locationsimilar.
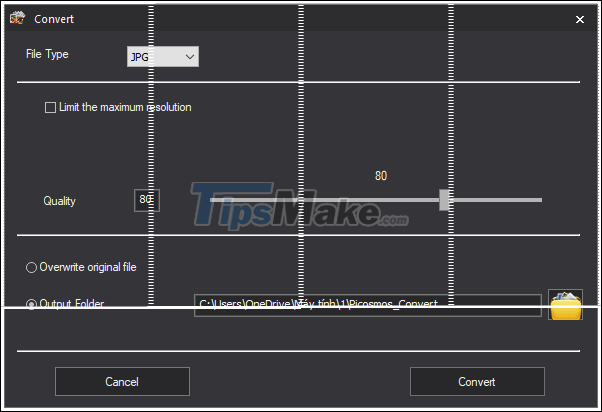
3. Convert: Convert the format and resolution of the image
- File Type output image format can be 1 of the following formats (JPG, WebP, PNG, BMP, GIF)
- If you want to limit the maximum resolution, please select
Limit the maximum resolution=> select the required limit - If you want to overwrite the original photos, select
Overwrite original file.
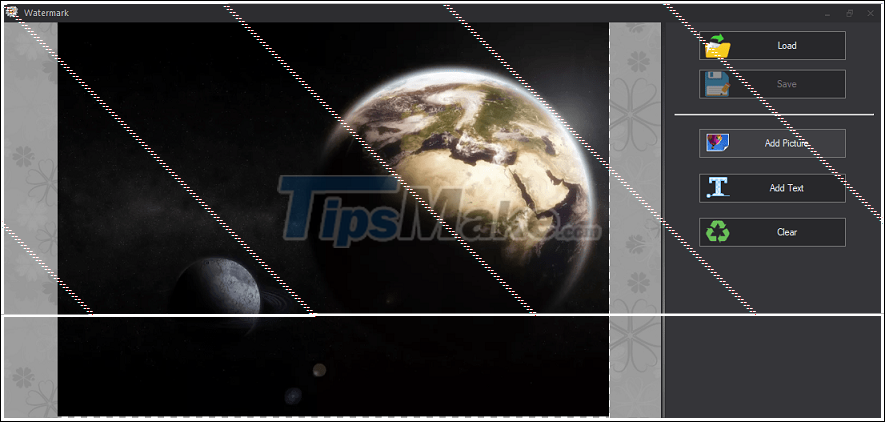
4. Watermark: All rights reserved
Usage is completely similar to inserting Watermark and video with Format Factory software.
Please see here for details of the steps. Format Factory and Picosmos Tools are the same born mother so they have many similar features.
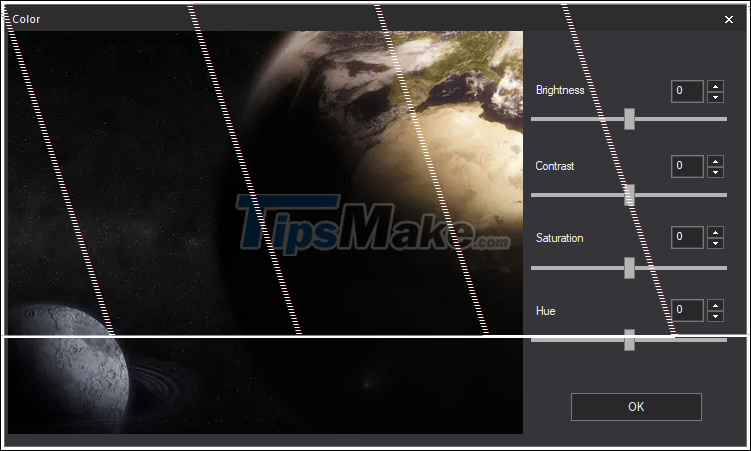
5. Color: Customize the color of the photo
For this function you need experience in image processing to be able to use it well. In the scope of this article I just explain the meaning of the parameters.
How to customize these parameters specifically depends on your image. There are 4 options:
- Brightness of brightness.
- Contrast contrast.
- Saturation saturation.
- Hue
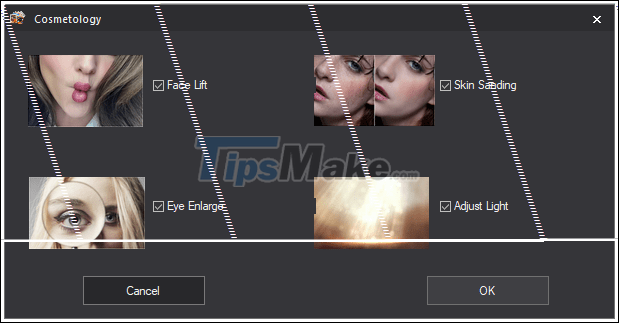
6. Cosmetology: Beauty portrait photos
Automatically detect (face, skin, eyes) and beautify it according to available algorithms. This feature is only approximate.
Tick the Face Lift, Skin Sanding, Eye Enlarge, Adjust Light to beautify the respective parts.
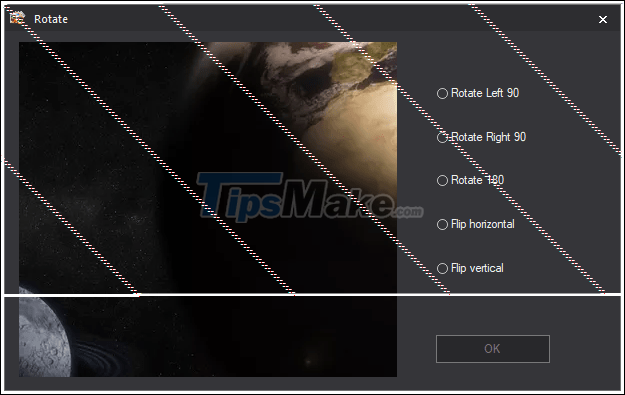
7. Rotate: Rotate the image
This feature allows you to rotate an arbitrary image at a given angle. With this feature we have a total of 5 options. Specifically:
- Rotate Left 90 rotate left 90
- Rotate Right 90 rotates right 90
- Rotate 180 rotates 180
- Rip horizontal
- Rip vertical
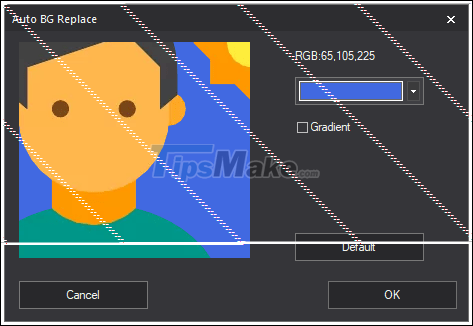
8. Auto BG Replace: Automatically replace the background color of the image (card image)
This feature allows us to easily replace the BG of any portrait image with a color or color gradient.
Similar to Cosmetology, the accuracy of this feature is only relative. This is understandable because Picosmos Tools is a free software.
9. Conclusion
Yes, so I have just finished showing you how to batch edit photos with Picosmos Tools in a very simple way.
Except for the Cosmetology feature and the Auto BG Replace feature, the remaining features according to my feel are working quite well. If you do not have strict requirements on the output product, this software is quite suitable already.
Features like (Optimize - optimize image, Rename - rename, Auto Level - auto-upgrade image, Auto Controst - automatically adjust contrast and Gray - convert color image to black and white), how to use Very simple application you can learn more by yourself.
Goodbye and see you in the next posts!
Was this article helpful?
Your feedback helps us improve.
Related Articles
 How to Split a large photo into several small photos and vice versa with Picosmos Tools7 minutes read
 6 Best Apps for Batch Photo Editing7 minutes read
 How to batch edit photos with Faststone Photo Resizer7 minutes read
 Free online photo editing services should not be missed!5 minutes read
 5 software to rename files in batch12 minutes read
 TOP best AI photo editing tools9 minutes read
Reader Comments 0
Sign in with email or Google to join the discussion.