How to set up a USB-only computer, increase safety
It is dangerous if strange USB drives contain dangerous viruses or malicious code that are "arbitrarily" connected to the computer when you are not sitting in front of the computer. Do not worry, we will guide you how to set up the computer without receiving the strange USB is attached to the computer but only receive the USB is safe.
Do not allow the computer to connect to all USB devices
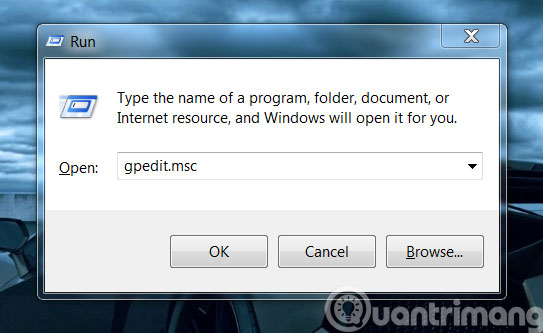
Step 1 : Open the Run dialog box with Windows + R key combination and then type gpedit.msc , press Enter
Step 2 : In Group Policy Editor , go to the following link: Computer Configuration > Administrative Templates > System > Device Installation > Device Installation Restrictions
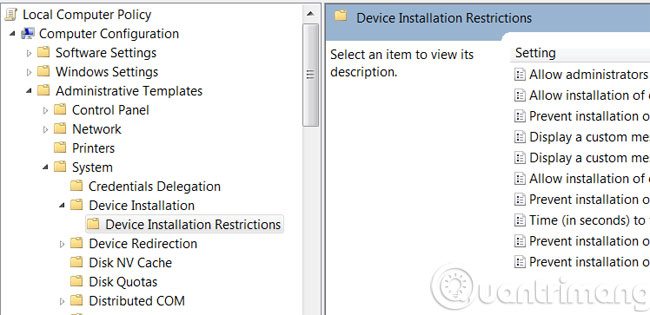
Step 3 : In the right column of Device Installation Restrictions , double-click on Prevent Installation of Removable Devices .

Step 4 : Then, the customized dialog box appears, check the Enabled item then click OK to save.

The computer only accepts Admin USB
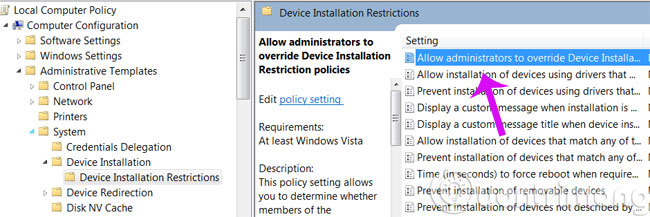
If the computer is the only one you are an Administrator account, the rest are regular and guest accounts. You can set up a license only your Administrator account has the right to plug the USB into the computer. Specifically, double click on the Allow Administrators to Override Device Installation Restriction option .
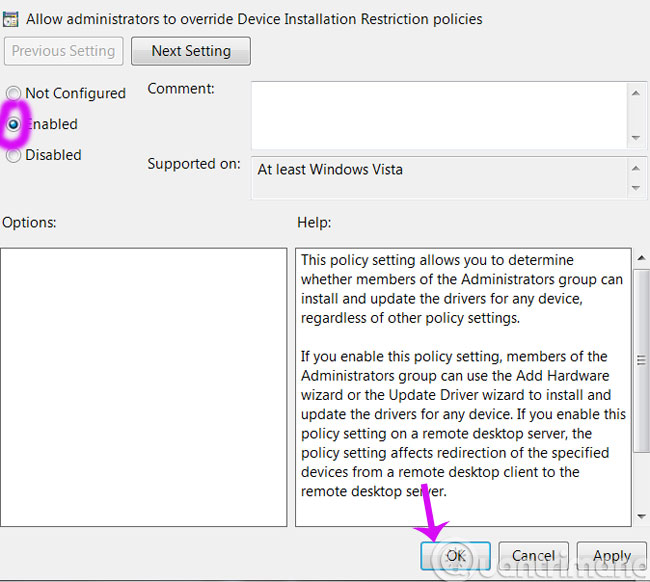
Then tick Enabled > OK and that's it.
The computer only accepts certain USB devices
For each USB device identified by Windows when connected to the computer, there are separate identification IDs, so to "set up" the connected USB you can exploit these IDs by clicking Double-click the Allow installation of devices that match any of these IDs devices and check Enabled .
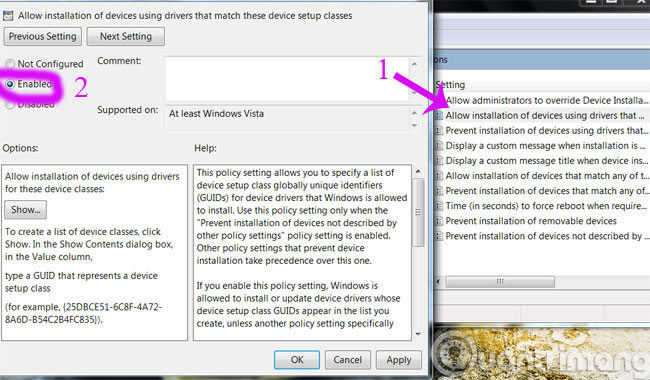
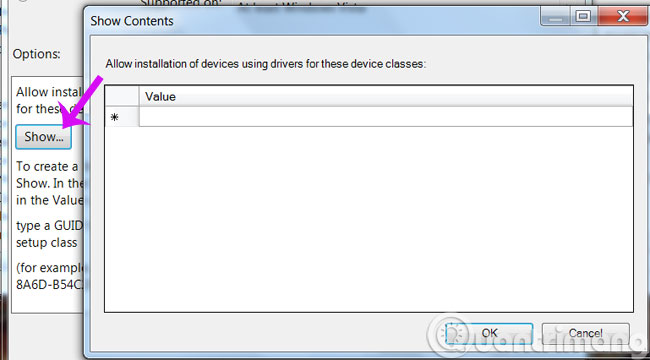
Then click the Show . button to display the list of IDs of licensed devices connected to the computer. Currently the list is empty, leave it as it is and open Device Manager . (right-click Computer, click Properties, then select Device Manager)
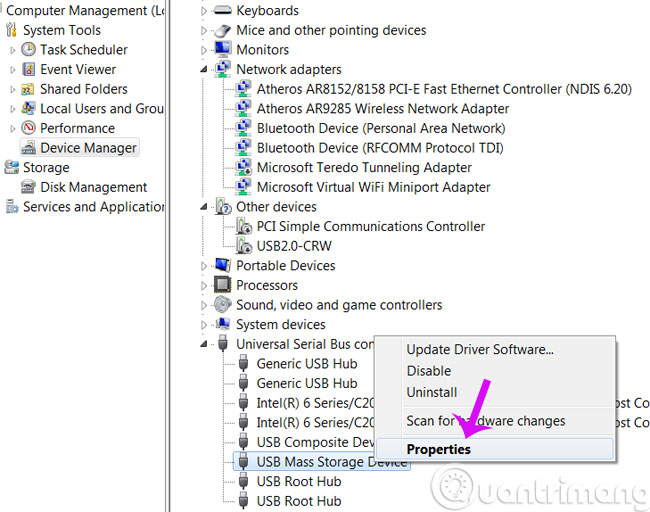
In Device Manager , locate the device group named Universal Serial Bus controllers and the USB device that you are connecting to the computer, right-click it and select Properties .
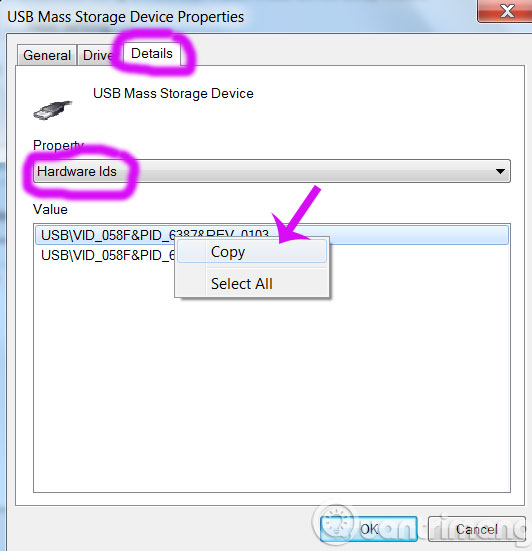
The Properties dialog box appears, click on the Details tab and select Hardware IDs in the Property section. Then right-click on the first Value row and select Copy .
Now go back to the Show Content dialog box in Group Policy Editor and paste the Value content that you just copied into it.
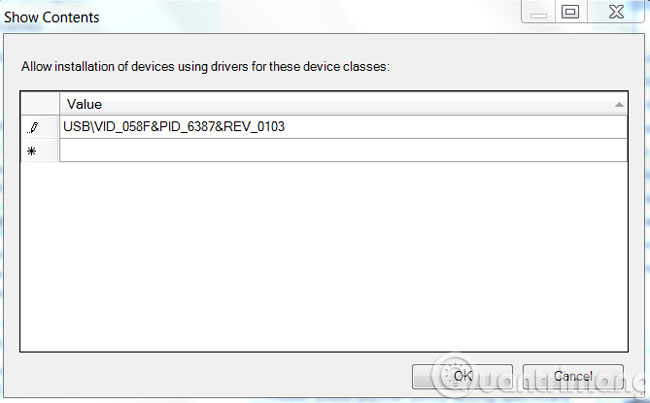
Similarly, each row is an ID of the device that you "licensed" to connect to the computer. After you have finished "listing", press OK > Apply > OK to save and restart Windows.
- 7 ways to fix, fix 'Write Protection' error on USB
- Safe ways to withdraw USB
- Fix USB errors that cannot copy files larger than 4GB
Good luck!