How to set default audio device on Windows 11
If you want to play sound from a specific device, you need to set it as the default device. Here's how to set the default audio device in Windows 11..
We often connect various audio output devices to our computers, such as speakers, headphones, etc. on Windows 11. If you want to play sound from a specific device, you need to set it as the default output device. Here is a guide to set the default audio output device on Windows 11.
Set Windows default audio device via Settings
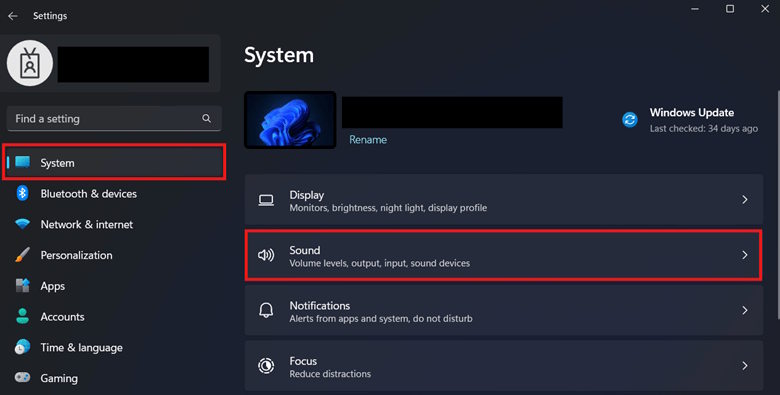
Step 1:
Open Settings on Windows then click on System . Now select Sound to adjust.
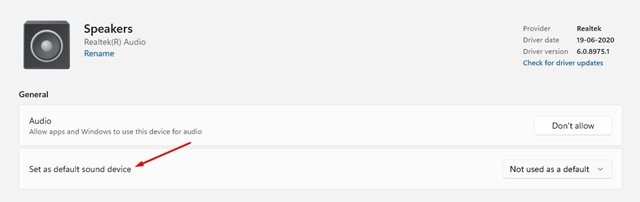
Step 2:
Now you will see a list of audio devices connected to the computer , click on the device you want to set as default and select Set as default sound device .
Set Windows default audio device via advanced settings
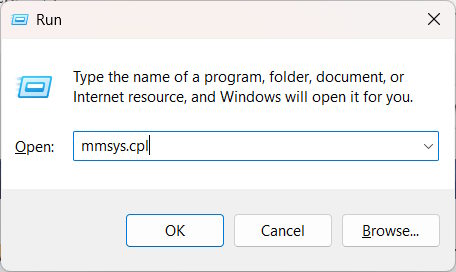
Step 1:
You open the Run dialog box then type the keyword mmsys.cpl and press Enter to access.
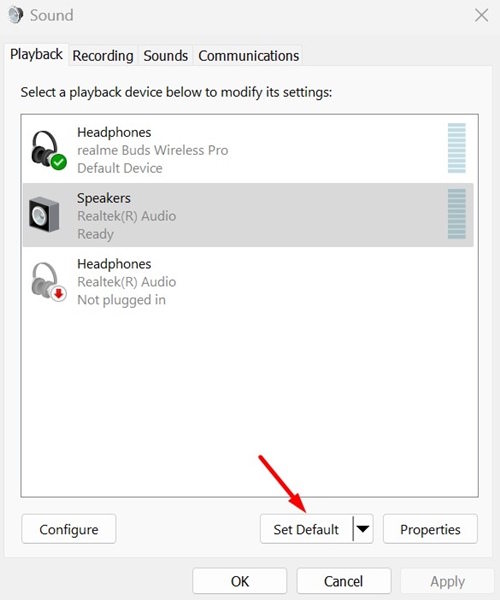
Step 2:
Then display the interface to manage the audio devices connected on the computer. Select the audio device you want to set as default, then click Set Default below.