How to Replace Keys on a Keyboard
Laptop keyboards and thin mechanical keyboards
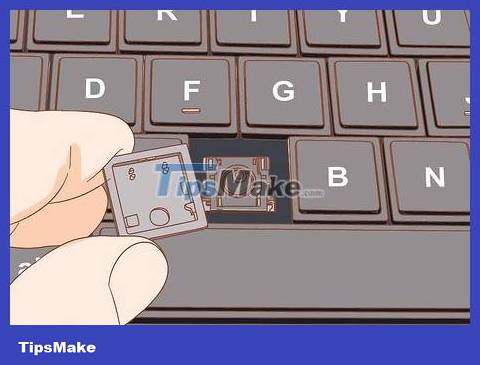
Look for damage underneath the dropped key. Flip the fallen key to check if the key bone is still there or not. The key bone is the small piece of plastic underneath that plays the role of connecting the plastic button to the key frame. Compare this key with the frame you intend to attach to see if the key bone is still enough or not. If there is no more, you will need to get another key's bone to replace it.
You can order individual key replacement parts online.
Laptop keyboards are very diverse, so the replacement steps for each type will be slightly different. If your laptop key differs from these instructions, visit https://laptopkey.com to find a video for your current computer model. Use the search bar at the top to find your laptop model, scroll to the bottom of the model-specific page, and click View Videos to watch videos of technicians repairing keyboards.
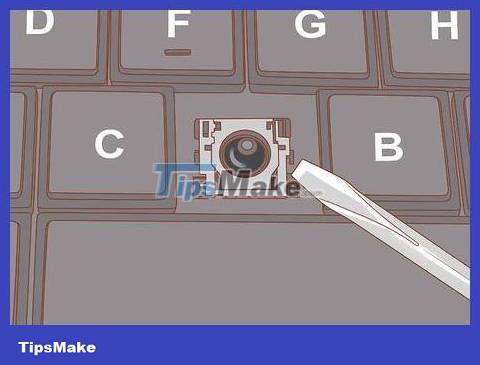
Check the keyboard to make sure the key frame is intact. To reinstall the key effectively, the key frame must still have enough parts such as the middle rubber knob, small plastic or metal hook to connect to the key.
The middle rubber knob is where you will attach the key.
The metal hook will fit into the bone underneath the key. If the hooks are metal and bent to the point where you can't get the retaining clip on the keybone, you can use needle-nose pliers and gently pry them back into place. Don't forget to disconnect the laptop or keyboard from the power source before proceeding.
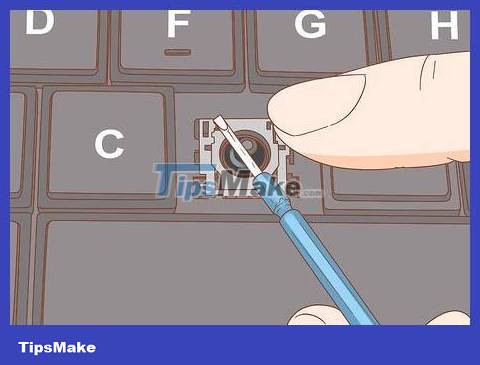
Replace key bones (if any). The key bone is a separate part (with 2 separate pieces nested together) that is usually transparent or opaque white. This part can be attached to the base frame or plastic button.
First, if the key bone has 2 pieces, you need to nest the small piece inside the large piece by aligning the hooks. The inner piece will easily pop into place once properly aligned.
Place the key bones after being nested together on the base frame on the keyboard. Align the frame so that it matches the base frame and then press down. You will hear a 'click' sound indicating that the key bone has engaged with the frame.
If you have difficulty installing the key bones into the keyboard, you can remove the spacer knob located in the middle of the base frame. Lift the rubber knob off the base frame, attach it to the key bone, then insert the key bone into the middle of the plastic button until it fits right.
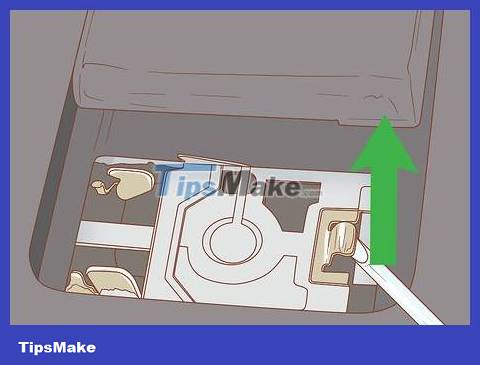
Insert one side of the key's clasp into place first. If the key frame uses a metal hook, insert the hook into the frame and then slide that side of the key into the frame first.
For plastic hooks, you need to slide the key into the frame so that one side of the frame matches the hook on the base frame first.
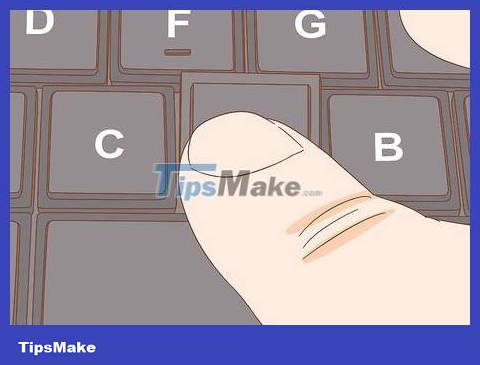
Press the other side into place. After attaching one side of the key to the clasp, gently press down on the other side of the key. The plastic button will pop into place with a 'click' sound.

Press down a few times to make sure the key is locked in place. Check by pressing the key a few times to see if the plastic button is firmly in place. The key will pop up each time it is pressed down.
If the keys still do not match, you need to bring the device to a shop for repair. For Macs, you can bring them to an Apple Store.
Desktop mechanical keyboard
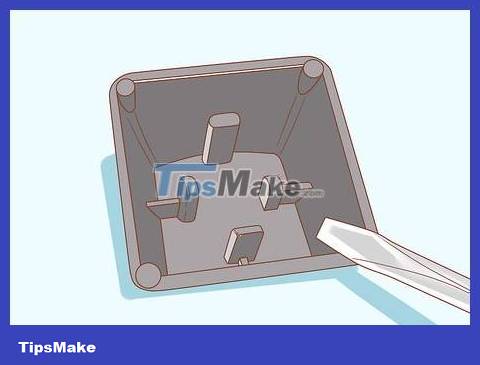
Look under the key to make sure the key bone is intact. For mechanical keyboards commonly used for PC gaming, reinstalling fallen keys is relatively simple. Start by turning the key over to see if the key bone is damaged.
If the key is broken, you will need to remove a replacement key from another old keyboard, or find one at an online retailer.
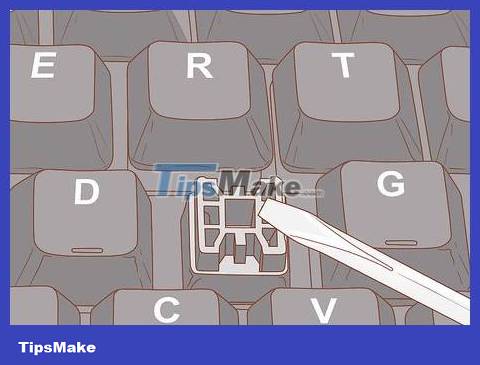
Check to make sure the key switch is intact. Observe the square frame where the button is inserted into the keyboard. Right in the middle of the base frame there will be a small switch linked to the button. This is the feedback part that helps the key return to its original position after being typed. This switch must be in the correct position and not damaged.
Each key has its own switch. As you type, the switch registers that this character is being pressed.
If this switch is broken or lost, repair will be even more complicated. If the keyboard is easy to remove, you can simply remove this part and replace it with a similar new switch. Usually you need to remove the old switch from the base and solder the new switch in, which is quite simple if you know how to solder. If you're not sure about this, it's better to take your keyboard to a computer repair shop or buy a new keyboard.

Align the keys to the frame and switches. Place the button directly above the switch. Press down slowly and observe from the side to see if the button fits into the key frame (you can use your phone's flash to help). The button must be in line with the switch and fit tightly into the key frame.

Press the key down on the switch until you hear a 'click' sound. Gently press the button down on the key frame. Do not press too hard as you may damage the key switch. When the key snaps into place, you will hear a 'click' sound.

Press the key a few times to make sure it works well. The keys will spring back without any resistance, and provide the same feel and movement as the surrounding keys.
If the key travel is difficult, remove it and re-adjust it. It's possible that the button or switch is broken. If the keys still cannot work smoothly after a few tries, you can consider replacing the keyboard with a new one.
 How to Protect Your Computer
 Intel launches 14th generation 'Raptor Lake-S Refresh' processor line
 4 reasons to buy a separate DAC instead of a sound card
 Is iPhone 15 Pro or Samsung Galaxy Z Flip 5 better?
 What is AMD RDNA 3.5? When will it be released?
 What is the difference between a workstation and a gaming PC?