Instructions for replacing mechanical keyboard switches with 5 simple steps at home
Replacing mechanical keyboard switches helps users have a smoother, higher quality keyboard experience. Discover the detailed instructions here.
Table of Contents
For those who love mechanical keyboards, the desire to own a quality keyboard is undeniable. However, over time, mechanical keyboard switches can become old and sometimes have problems. For those who want to experience something new without investing in a new keyboard, replacing switches at home becomes a suitable solution. Let's explore with TipsMake the simplest steps to replace mechanical keyboard switches at home, helping you not only save costs but also fully enjoy your passion for mechanical keyboards.
When should you choose to replace mechanical keyboard switches?
When to replace a mechanical keyboard switch is an important issue that mechanical keyboard users need to pay attention to. For mechanical keyboards that can replace the switch, the most obvious sign that the switch needs to be replaced is when you start to encounter annoying technical problems during use. If you often face the situation of pressing keys without any response or vice versa, when each time you press a key, it shows a different character, that is a clear sign that the switch is having problems.

Additionally, if you are a fan of the clicky sound when typing and are starting to feel that the sound is no longer as smooth as before, it may be time to consider replacing the switch. Some other cases include the double tapping phenomenon, where the keyboard mistakenly recognizes one press as two. To solve these problems, deciding to replace the mechanical keyboard switch is a suitable option. This process not only fixes the technical issues but also gives you a better experience.
Things to prepare when replacing mechanical keyboard switches
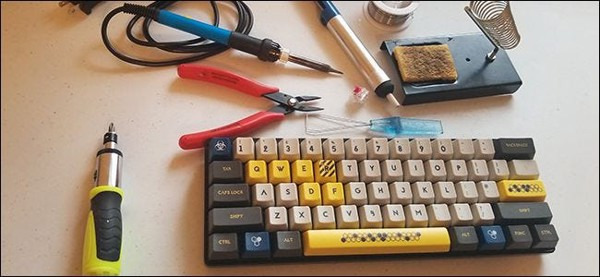
You need to prepare carefully and have all the tools is an important step when performing the process of replacing mechanical keyboard switches at home. Here is a detailed list of tools you need to prepare:
- Soldering iron : Used to solder the switch pins to the circuit board.
- Welding pump : Used to suck welding fluid from old welds.
- Electronic Soldering : Used to heat the solder joint and attach the new switch.
- Keypuller or O-ring : Used to remove keycap from switch without damaging.
- Small screwdriver : Needed to remove mechanical keyboard switches and screws.
- Lift bar : Used to open the keyboard cover easily.
- Compatible replacement keyboard switch : Select the new switch you want to replace.
- Tweezers or small pliers: For picking up small parts during switch replacement.
- LEDs and wire cutters : For keyboards with LEDs, these tools should be prepared to replace the LEDs when needed.
Note that the new switch must be compatible with the keyboard's circuit board to avoid mismatching the solder joints and the circuit board. Once you have prepared all the tools, you can refer to the following instructions for replacing the fastest mechanical keyboard switch to do it yourself:
Instructions on how to replace a mechanical switch keyboard in the simplest way
The steps in how to replace a mechanical keyboard switch is a technical process that requires care and patience even if you are replacing a mechanical keyboard switch without Hotswap. Here are more details on each step to perform this process correctly:
Step 1: Remove the key
Before you begin, it's important to disconnect the keyboard from your computer and remove the keys. You'll want to place the keyboard in a well-lit area so you can easily remove the keys. Next, remove the screws from the bottom corners of the keyboard. For more complex keyboards, this may involve removing keycaps, unscrewing, screws, and retaining pins. Once the keys are removed, the circuit board will be exposed, along with the switches mounted on a metal plate.

Step 2: Clean the circuit board solder
This step requires some dexterity and knowledge of electricity. First, clean the circuit board, then heat up the soldering iron and solder pump. Turn the PCB upside down on the table, making sure the back is facing up and the Switch is facing down on the table.
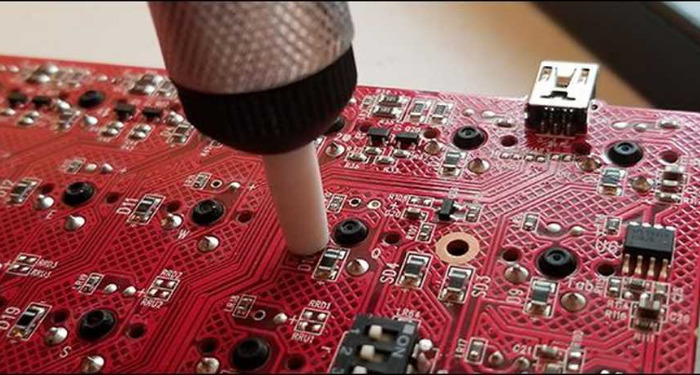
Once the soldering iron is hot enough, press the tip into the circuit of the Switch that needs to be replaced to melt the old solder. Then, use the solder pump to the top of the solder joint to suck out the liquid from the old solder joint. Note that this should be done quickly before the liquid cools and hardens.
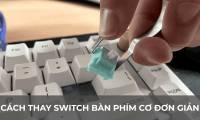
Step 3: Remove the old switch
After cleaning the solder joints, remove the old Switch from the circuit board. For keyboards with PCB-mounted Switches, you can pull out the Switch with your fingers or small pliers with moderate force. For mechanical keyboards with plastic or metal Switches, you just need to press lightly and shake to pull the Switch out of the connection.
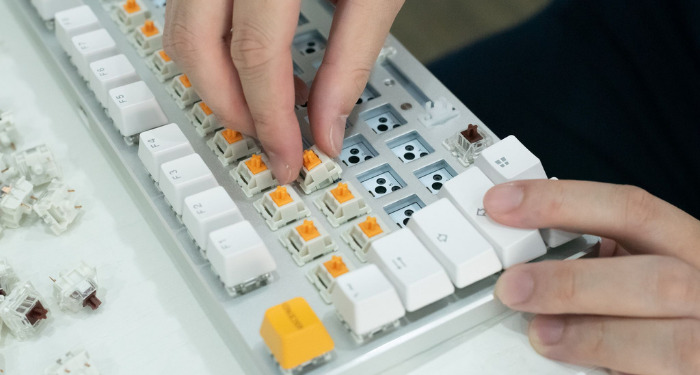
Step 4: Install the new switch
Before installing the new Switch, make sure that they are properly seated and not bent. This step is quite simple, just install each Switch in its original position. Then, use the soldering iron to cover the Switch pins without melting too much solder.
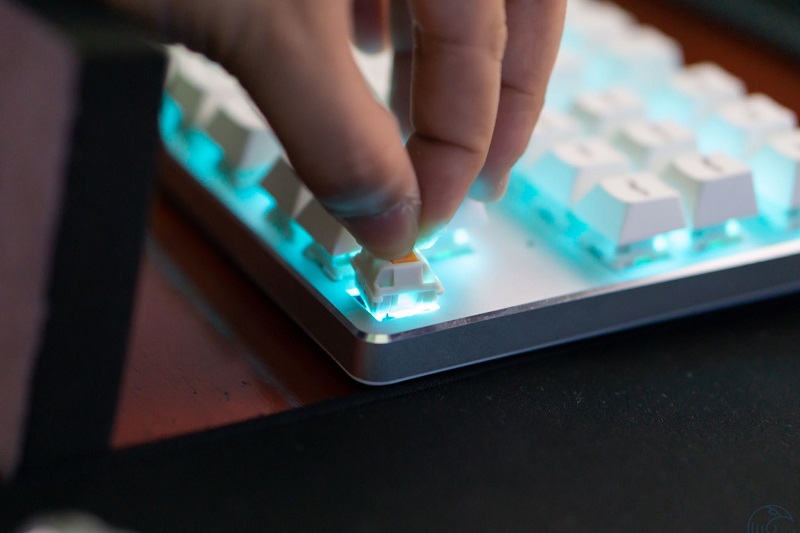
Step 5: Check the keyboard again
To test your new Switch, connect the keyboard to your computer and try it out in a web browser or text editor. If everything works fine, replace the keyboard case and start using it.
The process of replacing a mechanical keyboard switch at home requires not only technique but also special care and attention. Follow each step and make sure you are working in safe conditions.
So, replacing a mechanical keyboard switch at home is not only cost-effective but also a useful experience for those who love to upgrade and repair their personal technology devices. Through the detailed and clear instructions above, you can confidently perform this process easily. Take this opportunity to personalize your typing experience, from the clicky sound to the smooth feel. Wish you success in changing and optimizing your keyboard to your liking!
Was this article helpful?
Your feedback helps us improve.
Related Articles
 How to easily replace mechanical keyboard switches for beginners.9 minutes read
 6 most popular mechanical keyboard switches8 minutes read
 How to replace mechanical keyboard switches simply at home10 minutes read
 What is a blue switch mechanical keyboard? Comparison of mechanical and imitation mechanical keyboards8 minutes read
 6 most popular types of mechanical keyboard switches in 202324 minutes read
 How to change the mechanical keyboard switch at home with 5 steps9 minutes read
Reader Comments 0
Sign in with email or Google to join the discussion.