Table of Contents
This guide explains how to remove Acne with Photoshop, with clear steps, practical tips, and important checks before you begin.
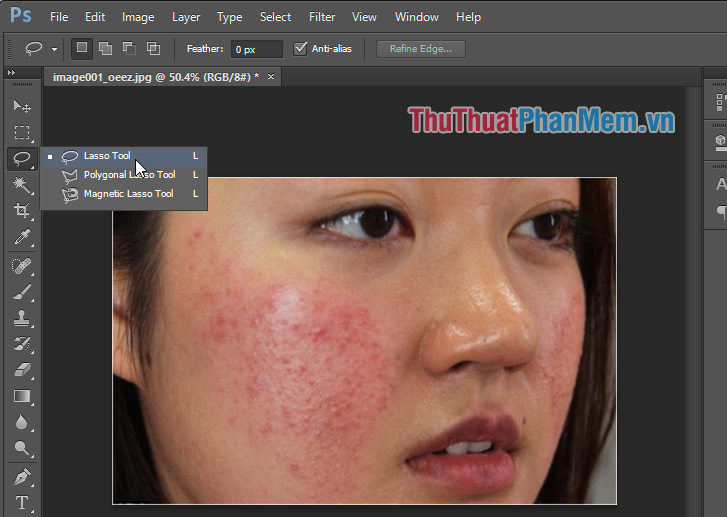
Step 1: Open the image you need to delete acne with photoshop and select the Lasso Tool
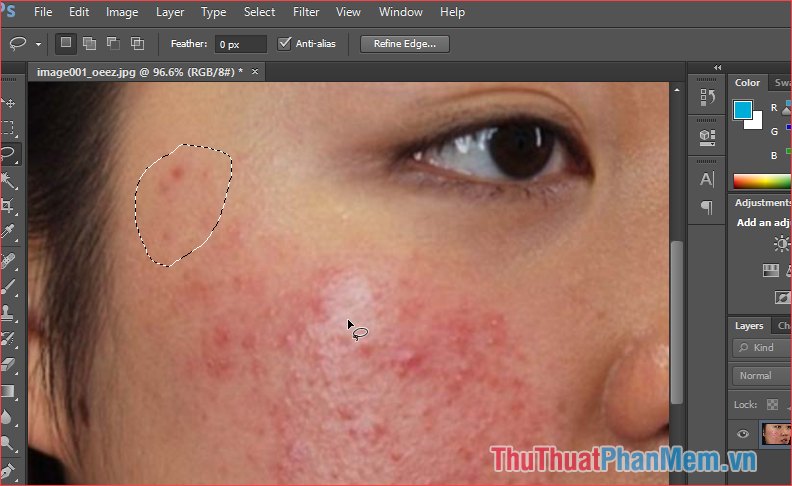
Step 2 : Use the Lasso Tool to circle areas with acne, you can circle many areas by holding down Shift to circle more new areas.
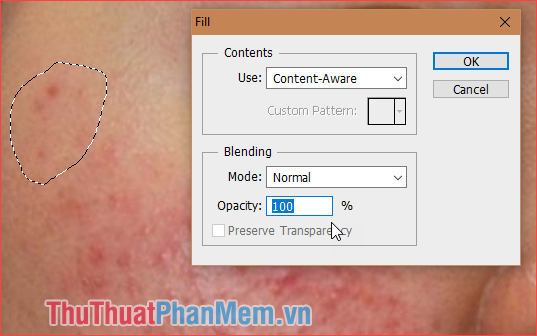
Step 3 : Press the Delete key, then a small window appears, select the parameters as in the image, you can adjust the Opacity from 0 to 100% so that when we press OK, the skin will be most natural.
You will see the acne is gone
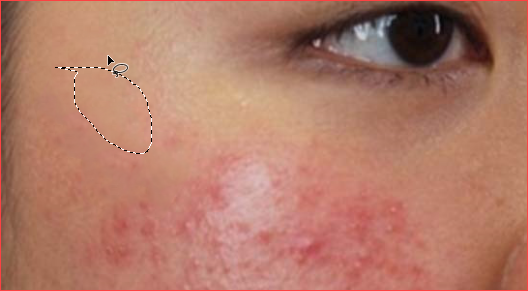
Do the same thing for the other acne areas until all the acne is gone.
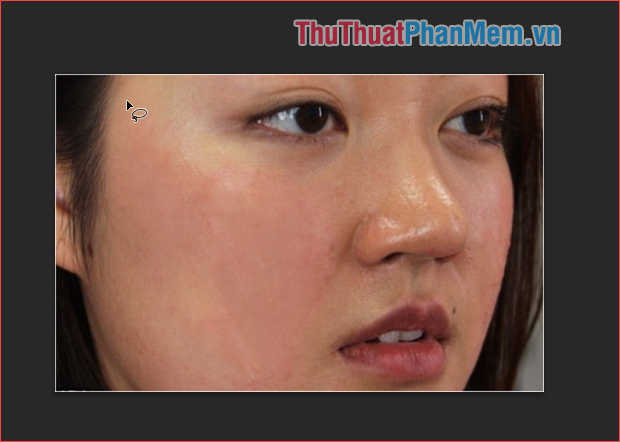
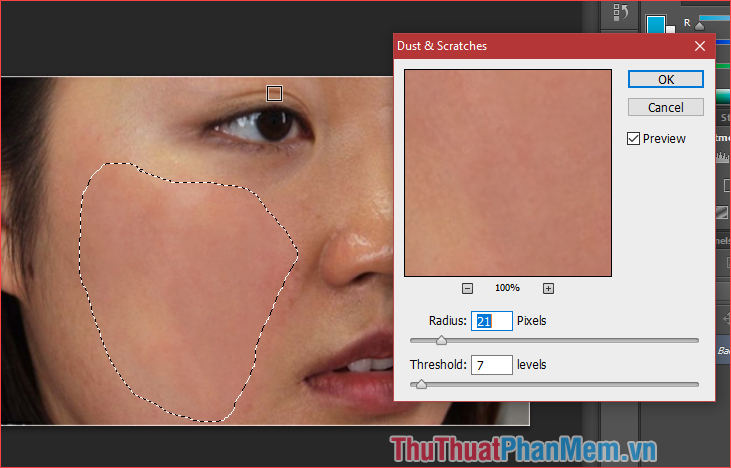
Step 4: After all acne has been cleared we will make the skin more smooth and natural by circling the entire skin you want to smooth then select Filter -> Noise -> Dust & Scratches.

Step 5: Window Dust & Scatches pops up you adjust 2 parameters Radius and Threshold so that the skin is the most natural beauty, then click OK .
And here are the results before and after we remove acne with photoshop:
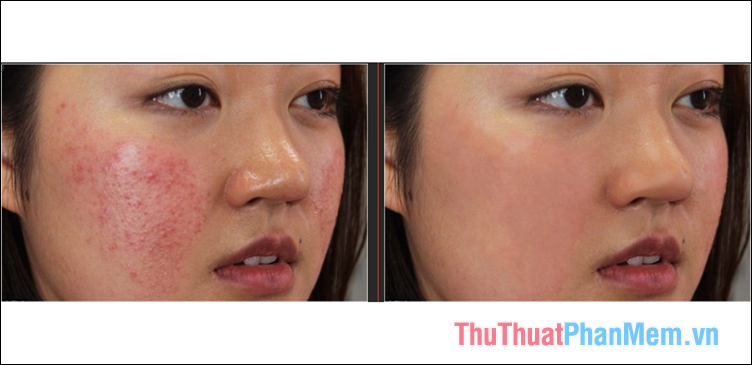
Above is a guide to remove acne with photoshop quickly and effectively, hope the article will be helpful to you. Good luck!
FAQ
What should I know about Remove Acne with Photoshop?
Focus on the key features, requirements, limitations, and practical use cases explained in this guide.
How do I get the best results with Remove Acne with Photoshop?
Follow the recommended steps, use current software or information, confirm compatibility, and review settings before major changes.
Are there any risks or limitations?
Potential limitations depend on compatibility, data quality, cost, privacy, support, and how the product or method is used.
Related Articles
 How to Remove Acne Effectively in Just 1 Day12 minutes read
 Top 5 Apps to Remove Acne Quickly, Simply, and Easily: What to Know8 minutes read
 12 Tips to Remove Acne Scars Quickly and Effectively with Natural6 minutes read
 Vacuum Blackheads, Bran Acne Good? Which Kind Is Good?7 minutes read
 How to Remove Power Lines in Photoshop9 minutes read
 How to Delete Tattoos in Photoshop3 minutes read
Reader Comments 0
Sign in with email or Google to join the discussion.