How to reinstall audio drivers on Windows 10
If you're experiencing audio problems on your Windows 10 computer, TipsMake recommends updating to the latest driver version. If the problem worsens after updating, you can roll back to an older version. And if you've tried everything and the problem persists, try reinstalling the audio driver. Refer to the instructions below for reinstalling the audio driver on Windows 10..
Whenever users encounter audio problems on their Windows 10 computers, the first solution they think of is running the Troubleshooter. The Troubleshooter will automatically search for Windows 10 errors and fix most issues. If the Troubleshooter fails, the next solution is to try reinstalling the audio driver.
Important note: Remember to note down the name and version of your audio driver before uninstalling to find the correct new version.
How to reinstall audio drivers on Windows 10
Reinstall the audio driver on Windows 10 from Device Manager.
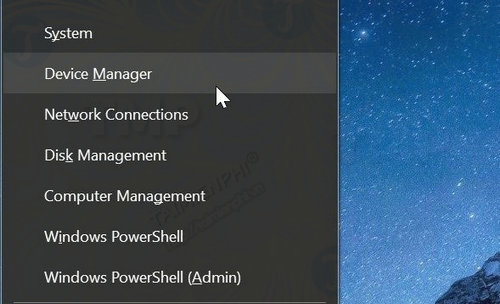
Step 1: Right-click the Start button on the Taskbar and select Device Manager to open the Device Manager window.
Step 2: In the Device Manager window, expand the Sound, video, and game controllers section .
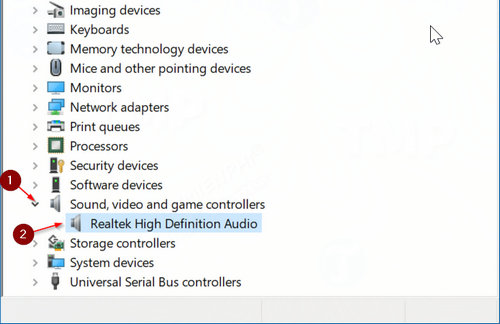
Step 3: You will now see the name of the audio driver. It's usually Realtek High Definition Audio . Right-click on it and select Uninstall device .

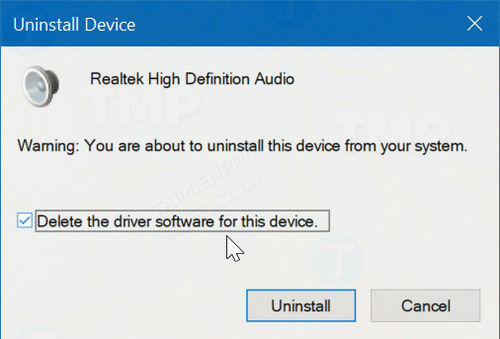
Step 4: A confirmation dialog box will appear on the screen as shown below. Check the box next to " Delete the driver software for this device ," then click "Yes" in the confirmation dialog box to uninstall the audio driver on the device.
Restart your computer, then go to the manufacturer's website, find and download the latest version of the audio driver to your computer and install it.
If you can't find the audio driver on the manufacturer's website, you can search online for the latest version using the model number. Previously, Taimienphi introduced a method for updating Windows 10 drivers using third-party software that automatically downloads and installs computer drivers; automatically updating Windows 10 drivers will save you a lot of time.
Reinstall the audio driver through the Control Panel.
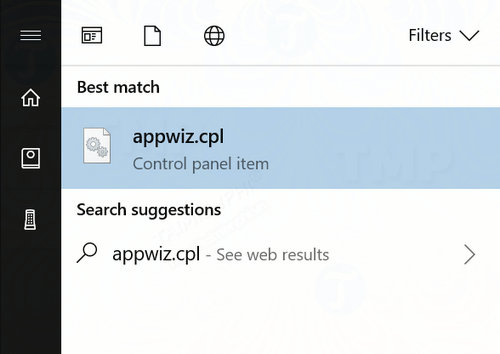
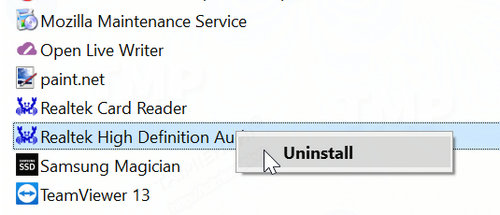
Step 1: Type Appwiz.cpl into the Search box on the Start Menu or Taskbar and press Enter to open the Programs and Features window.
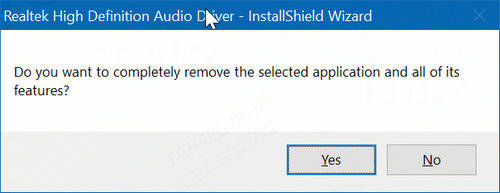
Step 2: Find the audio driver. Right-click on it and select Uninstall . Then click Yes on the confirmation dialog to uninstall the audio driver.
After uninstalling the audio driver, restart your computer. Finally, go to the manufacturer's website, find and download the latest version of the audio driver to your computer and install it.
Currently, there are many software programs that automatically find and install drivers for computers and laptops. However, these automatic driver installation programs are only applicable to models that automatically recognize internet drivers, because without an internet connection, these programs are useless.
If you're wondering why your computer has no sound , here's how to reinstall the audio driver on Windows 10. If you happen to encounter audio problems on Windows 10, you can apply the two methods above to fix the audio issue.