How to Recover Data with MediaRECOVER for Windows
MediaRECOVER is Kingston's program for recovering lost or deleted files from memory or storage devices. The program is free to download, but will require a compatible Kingston memory or storage device to be activated. Once installed, it...
Table of Contents
Part 1 of 3:
Downloading and Installing MediaRECOVER
-
 Go to the download page. Visit http://www.kingston.com/us/flash/media_recover from any web browser.
 -
 Download the program. Scroll to the bottom of the page. Click the 'Download' button for Windows and wait for the installer file to be downloaded.
 -
 Extract the installer file. Double-click on the downloaded installer file. The file name is 'MediaRECOVER.exe.' Extract the contents to your computer.
 - Install the software. Look for the 'setupmr.exe' file and double-click on it. This will run the setup for Media Recover. Follow the on-screen instructions to complete the installation.
Part 2 of 3:
Activating MediaRECOVER
-
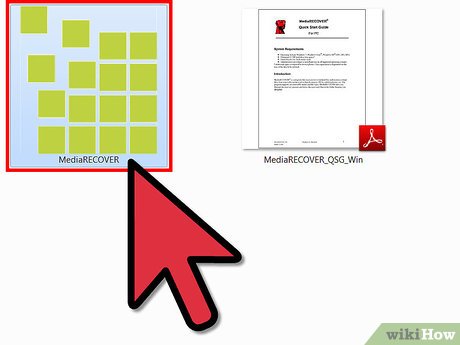
 Launch MediaRECOVER. Click on the Start menu and look for the program under All Programs. Click on it.
 -
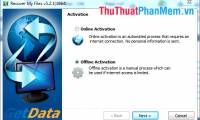
 Enter the activation code. Upon initial launch, you will be prompted for an activation code. The activation code is Kingston's way to ensure that users of the program have compatible Kingston memory devices. The code is bundled with the media card's packaging. Click the 'Enter Activation Code' button, enter the code in the field, and click the 'Verify' button.
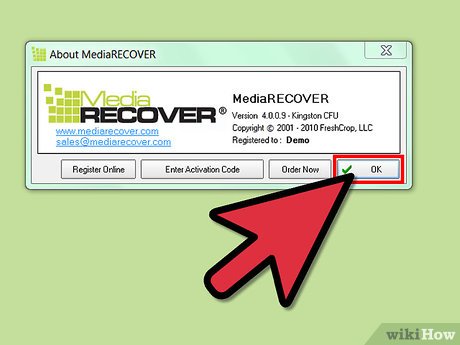
 - Complete the activation. After Kingston verifies your activation code, a message box will appear. Click the 'OK' button to proceed.
Part 3 of 3:
Recovering Lost or Deleted Data
-
 Launch MediaRECOVER. Open on the Start menu and look for the program under All Programs. Click on it. You will reach the main menu this time since you've already activated the program from Part 2.
 -
 Insert a Kingston media card. Plug in the Kingston memory or storage device that contains the files you want to recover to your computer.
 -
 Scan for files. Select a scan option from the main menu.
- Do a Basic Scan. Click the 'Scan' option from the main menu if you want to do a quick scan of deleted files.
- Do an Advanced Scan. Click the 'Advanced Scan' option from the main menu if you want to do a more thorough scan of deleted files. This option takes longer as it searches for RAW or formatted files sectors.
-
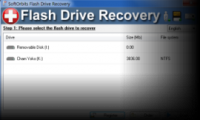
 Select a drive. You will be presented with the list of memory or storage devices connected to your computer. This will also include your main local hard disk drive. Select the drive where you inserted your media card from Step 2 and click the 'Next' button.
 -
 Identify the save path. On the next screen, you have to define where the recovered files will be placed. Enter the destination folder here. You can use your hard disk drive or another attached storage device, but not the media card to be scanned. Click the 'Next' button to proceed.
 -
 Scan for files. The program will start scanning the selected drive for files that can be recovered. Wait for it to finish.
- You will be able to see the progress on your screen.
-
 Complete scan. Once the scan is completed, a 'Scan Completed' message box will appear. Click the 'OK' button to proceed.
 -
 View recoverable files. The files that can be recovered by the program will be listed. Browse through them.
 -
 Save files. From the list, tick the tick boxes of the files you wish to save then click the 'Save' button. The selected files will be saved in the destination folder you specified in Step 5.
 - View recovered files. Open the destination folder and you will be able to see the files recovered by the program. You now have your lost or deleted data back.

Was this article helpful?
Your feedback helps us improve.
Related Articles
 Tips for recovering selected data for iPhone2 minutes read
 Recover deleted data with Recuva4 minutes read
 Instructions to recover lost data using Recover My Files software2 minutes read
 Invite Any Data Recovery - software that helps recover lost data on a Mac, costing 56 USD, is free2 minutes read
 Recover accidentally deleted data in USB2 minutes read
 How to recover data from 'Ghost' (or image) error-free hard drive4 minutes read
Reader Comments 0
Sign in with email or Google to join the discussion.