How to record laptop screen with sound simply and quickly
How to record laptop screen with sound is very necessary. However, this feature is different, HACOM will guide you how to record laptop screen with sound.
Table of Contents
How to record laptop screen with sound is very necessary for work, meetings and entertainment. You can record your study process, play games or do some tricks and want to share with everyone on Youtube. But this feature is different on many devices. TipsMake will guide you how to record laptop screen with sound!
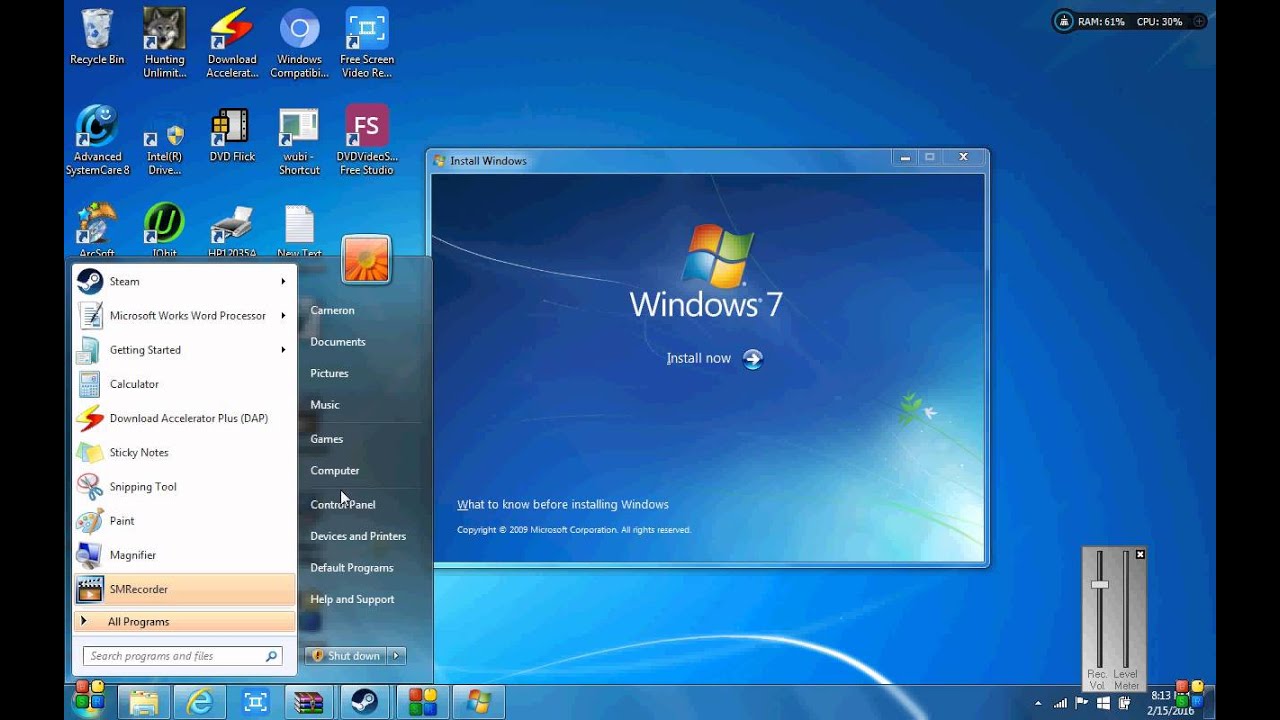
How to record computer screen Win 7/8
On Win 7 computers, there is still a tool to support recording computer screen videos, which is Steps Recorder or Problem Steps Recorder (PSR).
The laptop screen recordings with sound are as follows:
Step 1: Open Steps Recorder
- Method 1: Press the key combination Win + R, the Run window appears, enter 'psr' in Run and press OK to open Steps Recorder.
- Method 2: Open the Start menu, then search for 'Problem Steps Recorder', then select the software to open.
Step 2: In Steps Recorder, click on the arrow next to the Help button and then go to Settings.
Step 3: Settings can be changed for the screen recording session with the following items:
- Output location: Select default save location
- Enable screen capture: Select No if you want to disable the computer screen capture function.
- Number of recent screen captures to store - The default is 25 screens, so if you need to record more than that, increase this number.
Step 4: After setting up, click the Start Record button or press Alt+A to start recording.
Step 5: After the operations are completed on the screen, press the Pause Record button to pause recording (Alt+U) and Resume Record to continue recording (Alt+S).
Step 6: To stop recording, click Stop Record or press Alt+O. Finally, name the file and save it.
How to record Windows 10 computer screen video
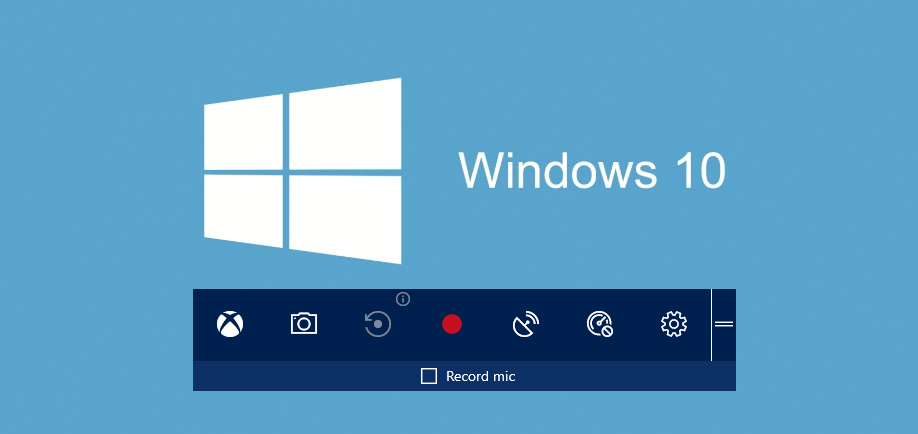
Method 1: How to record computer screen video using Xbox
Follow these steps to enable this feature:
- Open the pre-installed Xbox app
- Set up basic information for first use.
- Press Windows + G key combination to activate "Game Bar"
- After the toolbar appears, click the Record button or press the Alt + Windows + R key combination to start recording the application screen. To choose whether to record via the microphone or not when recording by clicking or unchecking Record mic.
- Use the same key combination Alt + Windows + R or click the Record button when you want to stop recording. The recorded content will be saved in the Captures folder in MP4 format. You go to the path: This PC > Local Disk (C:) > User > PC Name > Videos > Captures.
Method 2: How to record computer screen video using Powerpoint
How to record screen is completely simple with powerpoint, you will not need to install any additional software. The steps are as follows:
Step 1: Go to Insert > click Screen Recording to open the screen recording feature.
Step 2: Click Select Area or use the shortcut key combination Windows + Shift + A.
Step 3: Using the crosshairs tool that appears, click and drag to select the part of the screen you want to record. Click the dock button to turn off the mouse cursor on the screen.
Step 4: Start recording by pressing the Windows + Shift + R shortcut key or the Record button.
Step 5: When the recording process ends, press the Stop button or the Windows + Shift + Q key combination. Then right-click on the video and select Save Media As.
How to record macbook screen with sound
Method 1: Use the built-in screen recorder
Many versions of macbook have built-in screen recording software.
Follow the steps below:
Step 1: Press Shift + Command + 5 to open the screenshot toolbar.
Step 2: A series of tools will appear on the screen, including: 3 screenshot tools in the left corner and 2 video recording tools in the middle, Options and Capture (or Record) buttons.
Click the Record Entire Screen button on the left or the Selected Portion button on the right as shown in the image below, then click the Record button to start recording the screen.
Step 3: When the recording process is complete, click the Stop Recording button located at the top corner of the menu bar as shown below or press the key combination Command + Control + Esc to end the recording.
Method 2: Using QuickTime Player
You can use QuickTime Player to record your computer screen with sound. This tool is built-in in macOS Catalina and Big Sur.
Step 1: From Launchpad, open QuickTime Player. If QuickTime Player doesn't appear, you can look in the Other folder.
Step 2: Then, on the menu bar, click File.
Step 3: Click on the New Screen Recording option from the drop-down menu bar,
Step 4: A notification will appear on the screen, asking for permission to record computer screen video . Click Open System Preferences, check the box next to the QuickTime Player option. Next, close and reopen QuickTime Player to apply the changes.
Step 5: Continue, click File => New Screen Recording.
Step 6: A series of tools will appear on the screen: 3 screenshot tools on the left side, 2 screen recording tools in the middle. Click Options to display options to add or remove the mouse cursor, use the built-in microphone and specify the location to save the video.
Step 7: Click the Record Entire Screen button on the left or the Selected Portion button on the right as shown in the image below, then click the Record button to start recording the screen.
Step 8: Once the recording is complete, navigate to the menu bar, find and click the Stop Recording button or alternatively press the assigned icon.
Step 9: Click File > Save, select location, name the video and click Save to save the video.
Above, TipsMake has just guided you through some ways to record computer screen with sound on Windows and macOS. Hopefully the article has provided you with useful information. Wish you success!
Was this article helpful?
Your feedback helps us improve.
Related Articles
 How to record Windows 11 screen with sound (AutoRecovered)4 minutes read
 Instructions on how to record laptop screen win 10 with sound9 minutes read
 How to record Asus laptop screen simply and quickly5 minutes read
 How to record your iPhone screen and audio is super easy.5 minutes read
 How to record Windows 10 screen with sound, without installing software2 minutes read
 Record Laptop Win 10 screen without software4 minutes read
Reader Comments 0
Sign in with email or Google to join the discussion.