Table of Contents
Installing an SSD is one of the most effective laptop upgrades, but the drive must match the laptop and be fitted without damaging the case, connectors, or motherboard. Check the service manual first, back up important data, and stop if opening the laptop requires force or unfamiliar cable removal.
Confirm which SSD your laptop supports
Laptops commonly accept an M.2 drive, a 2.5-inch SATA drive, or both. M.2 describes the physical shape, not the interface: an M.2 slot may support NVMe, SATA, or only one of them. Keying and length also matter. Look up the laptop's exact model number and service manual rather than relying on the appearance of the slot. See how to check whether a laptop supports an M.2 SSD for a fuller compatibility checklist.
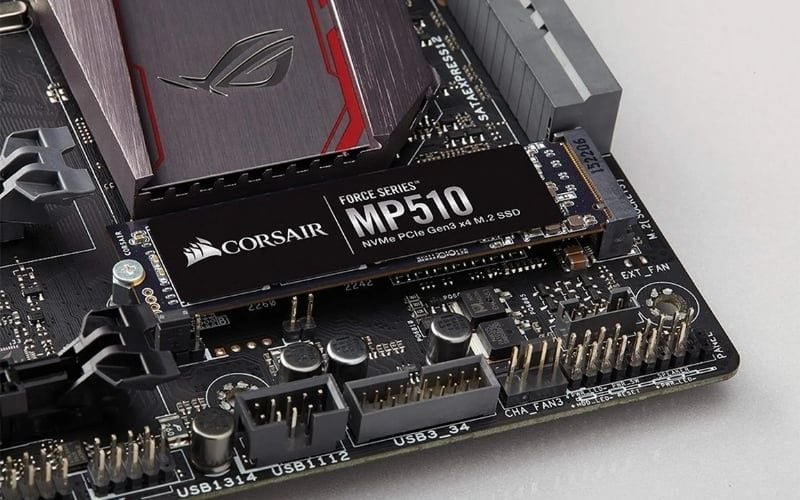
Match the SSD's form factor, interface, and length to the laptop's specifications.
A 2.5-inch drive also needs the correct tray, cable, and connector. Some laptops have an empty bay but omit the proprietary cable or bracket, so verify that those parts are present before buying a drive.
Prepare before opening the laptop
- Back up important files. If replacing the Windows drive, also save the BitLocker or device-encryption recovery key.
- Gather the correct tools. Use a precisely fitting screwdriver, a plastic opening pick, and a container or labeled diagram for screws of different lengths.
- Shut down fully. Unplug the charger and all peripherals. Remove a detachable battery if the manual instructs you to do so.
- Control static electricity. Work on a clean, hard surface away from carpet. An ESD wrist strap connected to a suitable ground is best; otherwise, regularly touch grounded metal and handle the SSD only by its edges.
- Check service and warranty terms. User upgrades are permitted on many models, but accidental damage and some sealed designs may require authorized service.
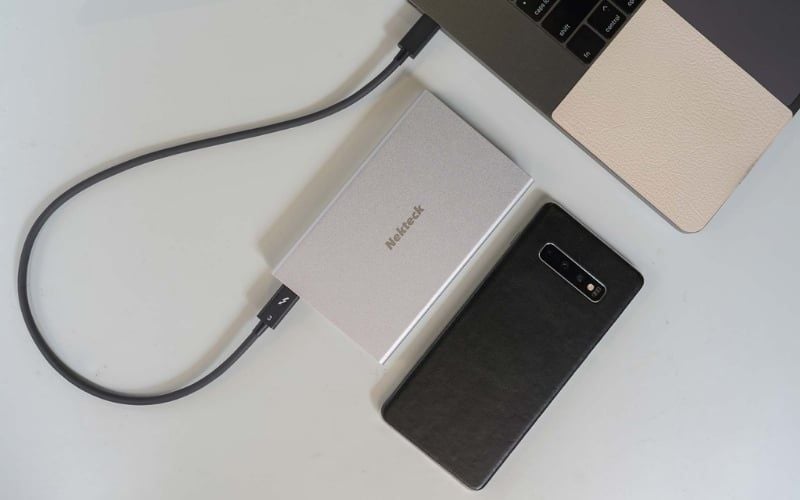
Make a current backup before replacing or repartitioning any drive.
Install an M.2 SSD
- Follow the service manual's screw order and opening points to remove the bottom cover. Do not pull the panel away until you have checked for attached cables.
- Disconnect the internal battery cable from the motherboard if it is accessible and the manual specifies this step. Hold the power button briefly to discharge residual power.
- Find the correct M.2 slot and remove its small retaining screw. Make sure the standoff is in the position required for the drive's length.
- Align the notches and slide the SSD into the socket at a shallow angle without forcing it.
- Press the free end down onto the standoff and secure it. The screw should hold the drive flat without being overtightened.
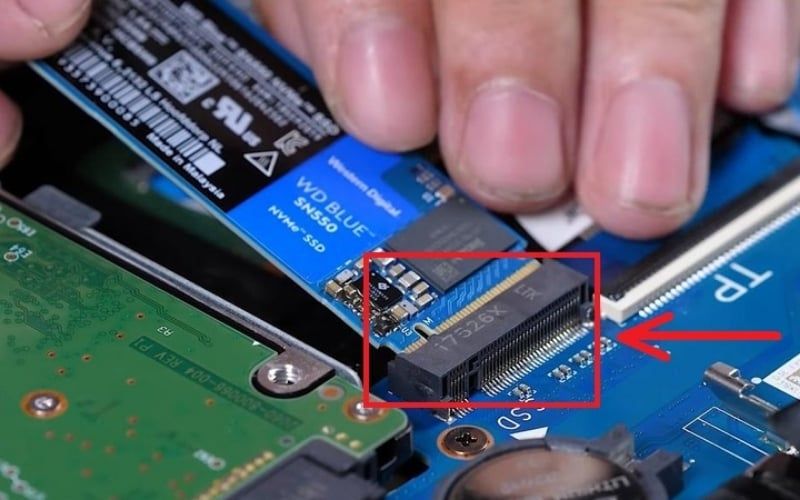
Insert the M.2 drive at an angle, then secure its free end to the standoff.
Use a heatsink or thermal pad only when the laptop's design or service manual calls for one. An incorrectly sized pad can bend the drive or prevent the bottom cover from closing.
Replace a 2.5-inch SATA drive
- With power and the internal battery disconnected, locate the 2.5-inch drive assembly.
- Remove the screws securing the tray to the chassis, keeping track of their original positions.
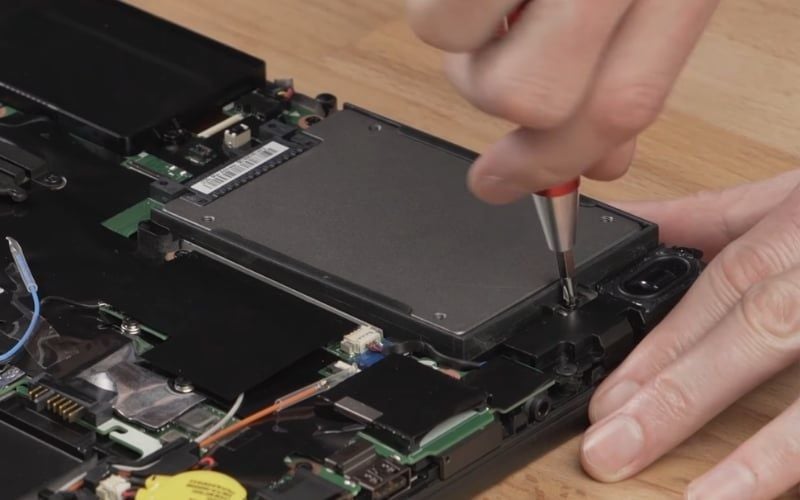
Release the tray rather than pulling directly on the SATA ribbon cable.
- Lift the assembly only as far as the cable allows. Release the connector by its tab or reinforced end, not by pulling the ribbon.
- Transfer the old drive's bracket and connector adapter to the SSD in the same orientation.
- Reconnect the cable, seat the tray, and reinstall the original screws without overtightening them.
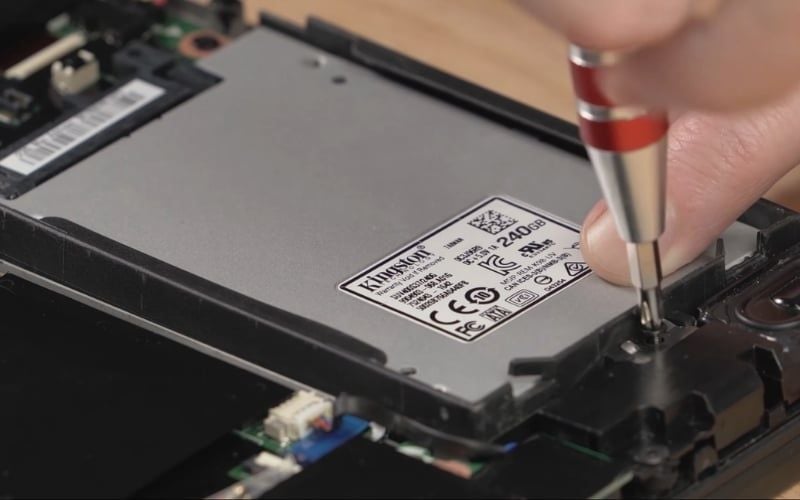
Reuse the model-specific tray and cable in their original orientation.
Reconnect the internal battery, inspect the work area for loose screws or tools, and refit the cover. If the cover does not sit flush, reopen it and check the drive, cable, and clips rather than tightening screws against resistance.
Set up a new secondary SSD in Windows
First check whether the SSD appears in BIOS or UEFI. In Windows, open Disk Management. A genuinely blank secondary drive may prompt you to initialize it; confirm its capacity carefully so you do not select an existing disk. GPT is the normal choice for a modern UEFI system.
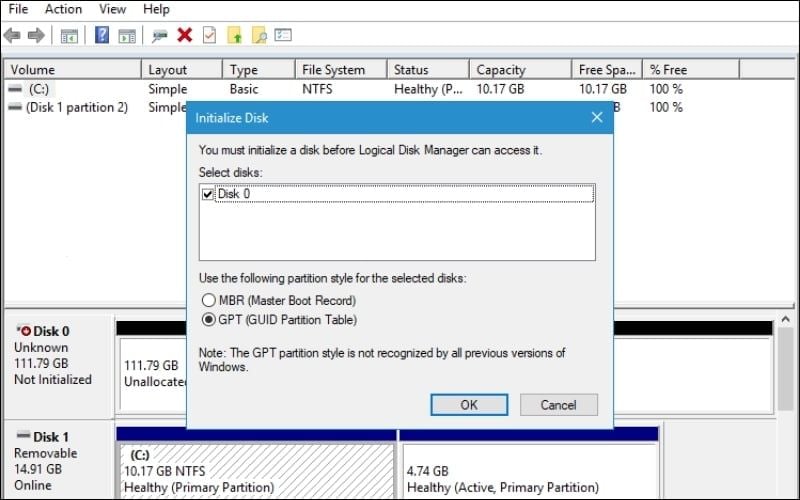
Use GPT for most current Windows systems unless a specific legacy requirement applies.
After initialization, right-click the unallocated space, select New Simple Volume, choose a drive letter, and format the volume—normally as NTFS for Windows-only use.
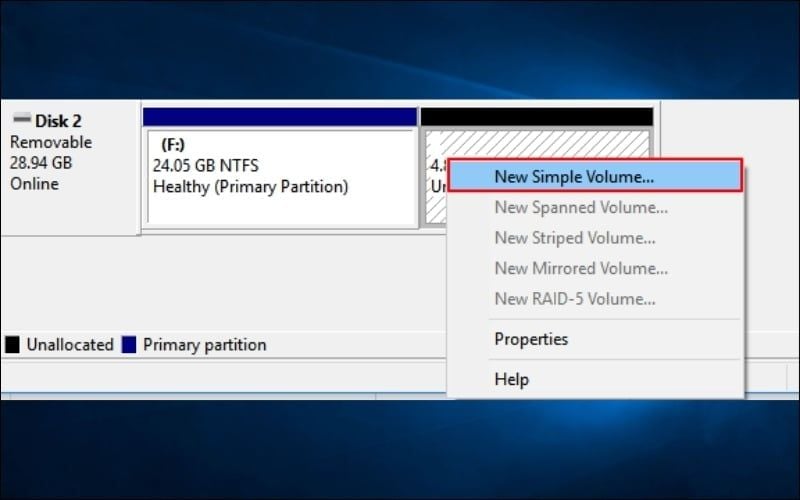
Create a volume only after verifying that you selected the new, blank SSD.
Do not initialize or format a drive that already contains needed data. If the SSD is intended to replace the system drive, follow the migration plan instead.
Clone Windows or perform a clean installation
Cloning preserves the existing Windows installation, programs, settings, and files. Use the SSD manufacturer's migration utility or a reputable cloning tool, make sure the used data fits on the destination, and suspend BitLocker if the tool or drive maker requires it. Keep the old drive unchanged until the new one has booted successfully.
A clean installation is useful when you want a fresh setup or the old installation has persistent problems, but it requires reinstalling applications and restoring data. Neither choice is automatically better for a particular type of user.
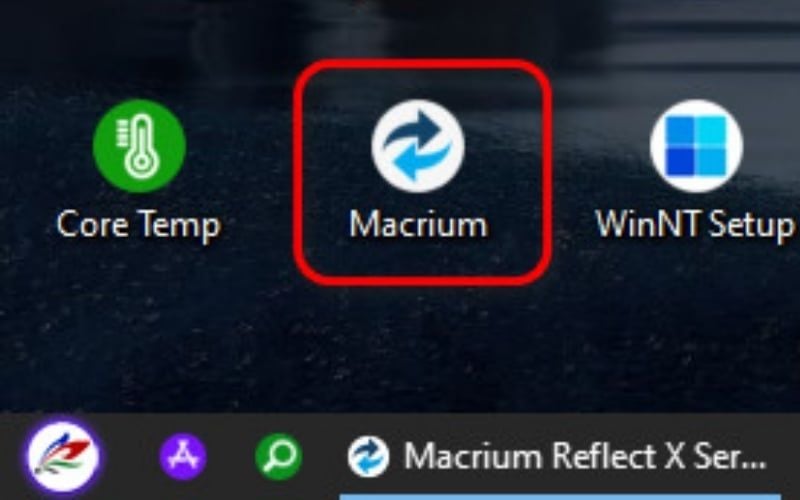
Verify the source and destination drives before starting a clone.
If the laptop does not detect the SSD
- Turn the laptop off, disconnect power, and reseat the drive and cable.
- Check BIOS or UEFI storage information. If the drive is absent there, recheck interface, key, length, and slot compatibility.
- Look for a BIOS update or storage-controller requirement in the laptop manufacturer's support documentation.
- If the drive appears in BIOS but not File Explorer, inspect Disk Management before assuming the hardware has failed.
After the upgrade, Windows normally handles TRIM and routine optimization automatically. The guide to using an SSD effectively explains the few maintenance settings worth checking.

Buy the exact compatible drive and any model-specific bracket or cable needed for the installation.
Related Articles
 Install Win 7 from Your Hard Drive, No Need for USB, Install Win7 minutes read
 How to Install an Additional HDD for Your PC: Step-by-Step Guide8 minutes read
 How to Identify Hard Drive Failure, Hard Drive Failure, Bad Hard Drive7 minutes read
 What Is a Hard Drive? There Are Several Types?7 minutes read
 Computer Hard Drive Is Fast, Why?6 minutes read
 How to Install Windows 7 Using a DVD, USB Drive, or Hard Drive5 minutes read
Reader Comments 0
Sign in with email or Google to join the discussion.