How to pause updates on Windows 11
By default, Windows 11 automatically checks for and installs new updates on the system as they become available. However, if those automatic updates bring unexpected changes, or you simply do not want to apply the new update on your system at this time,.
Table of Contents
Windows 11 will let you pause the rollout of automatic updates for a week. Here's how to do it.
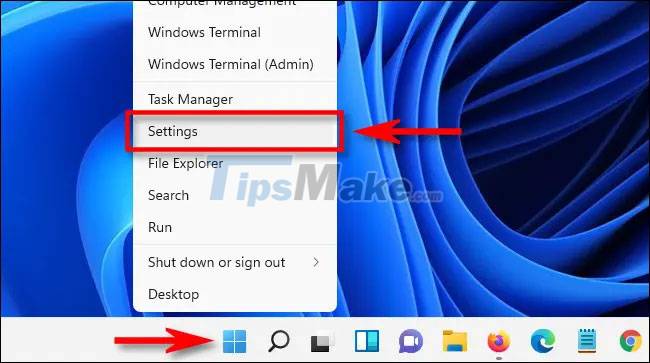
First, open the Settings Windows application by pressing the Windows + i key combination . Or, you can right-click the Start button on the taskbar and select ' Settings ' in the menu that appears.
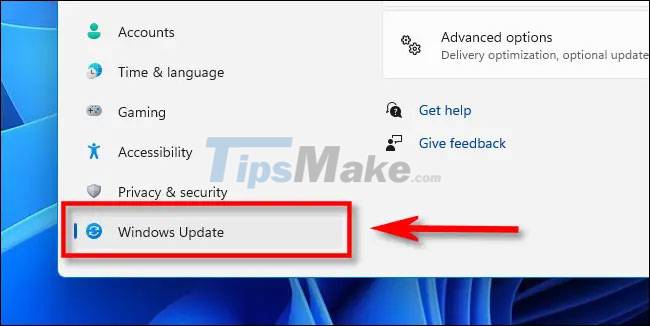
When the Settings interface opens, look at the list of items on the right and click ' Windows Update ' at the bottom.
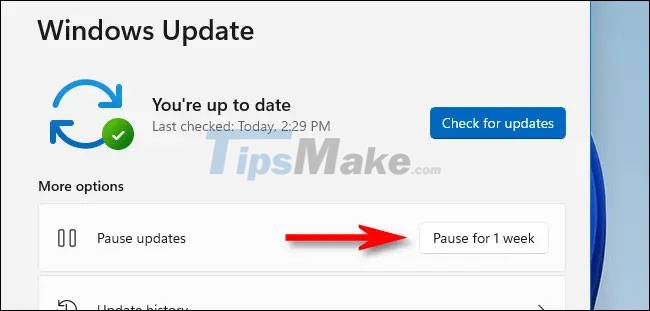
On the Windows Update settings screen that opens, look down at the ' More Options ' section and click the ' Pause for 1 Week ' button.
Immediately, the Windows Update settings page will display the content ' Updates paused until [.] '. Where [.] is the one week time since you clicked the pause button. When that date is reached, automatic updates will continue to roll out.
Continue automatic updates on Windows 11
To re-enable automatic updates, open the Windows Settings app and navigate to ' Windows Update '. On the Windows Update settings screen, click the ' Resume Updates ' button .

Windows Update will immediately check for new updates and if it finds any available, you can click ' Download Now ', ' Install Now ' or ' Restart Now ' to apply the update. new date, depending on each specific case.
Wish you have a good experience with Windows 11!
Was this article helpful?
Your feedback helps us improve.
Related Articles
 How to fix 'Pause Windows Updates' option not available in Windows 11/105 minutes read
 Tips to increase the number of days to pause updates in Windows 112 minutes read
 How to enable / disable the Pause Updates feature for Windows Update in Windows 103 minutes read
 How to pause updates on Windows 10 Home2 minutes read
 How to turn off automatic app updates in Microsoft Store2 minutes read
 How to stop Windows updates on your PC9 minutes read
Reader Comments 0
Sign in with email or Google to join the discussion.