How to open VMDK files in VirtualBox and VMWare Workstation
Opening VMDK files with VirtualBox and Workstation is not as simple as many people think. You can't just double-click a file and expect it to load, nor can you load it directly with your hypervisor.
Table of Contents
To open a virtual image like VMDK, you will need to mount the file, then configure the settings and hardware resources before your hypervisor can load the virtual machine.
However, things are not as complicated as you might think and here is a step-by-step guide on how to do it using VirtualBox and VMware Workstation Player.
How to open VMDK file in VirtualBox
VMDK is one of the most widely used virtual disk image formats for virtualization. After the release of VMware Workstation 5.0, VMDK was created as an open format. This means you can open VMDK files with VirtualBox without compatibility issues.
To create a working VM with a VMDK file using VirtualBox, you must first create the VM, mount the VMDK image file as a virtual hard drive, and configure the VM to use the mounted file as a boot drive.
Step 1: Create a new virtual machine
1. Open VirtualBox.
2. Click New or hold CTRL + N on the keyboard. Give your new virtual machine a descriptive name, select the operating system type and version of the operating system you are trying to run. You will be asked to provide an ISO image but leave this blank for now.

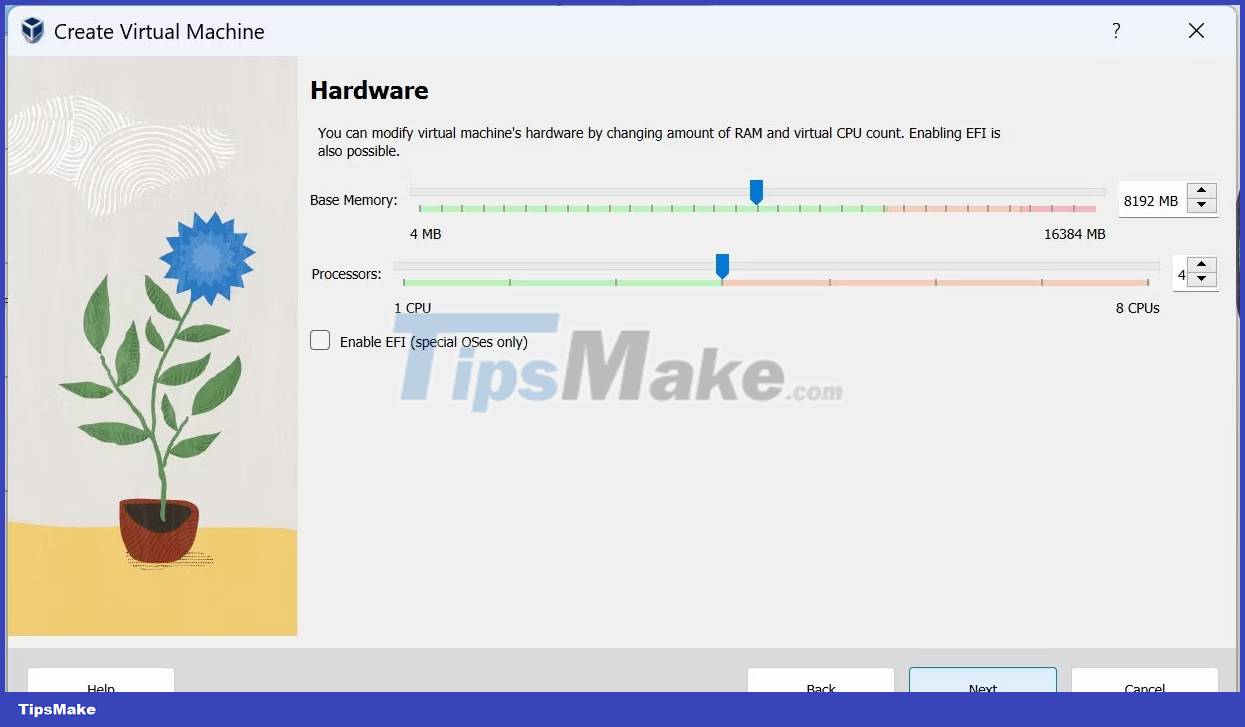
3. After naming the VM, click Next and allocate hardware resources to the VM using the sliders provided. Then, click Finish to create the new virtual machine and return to VirtualBox Manager.
Step 2: Mount the VMDK file
Mounting a VMDK file is similar to importing a VDI file in VirtualBox.
1. Select your newly created VM in VirtualBox Manager and click Settings or hold CTRL + S on your keyboard to access the settings menu.
The settings menu allows you to configure the VM after creation. In this menu, you can reconfigure hardware, display, network, storage, and USB resource settings in case you forgot to configure them before.

2. Because we skipped adding the ISO image earlier in the process, the VM is now missing the boot drive. Mount the VMDK file as a virtual hard drive and use it as a boot drive. Do the following:
- Go to Storage and click Controller: SATA .
- Mount your VMDK file by clicking the Add hard disk icon , which will take you to the Hard Disk Selector menu.
- To add a hard drive, click the Add icon at the top left of the menu, find your VMDK file and press Open .

3. You will be prompted to return to the Hard Disk Selector menu. Click the VMDK file below the Not Attached list and click Choose . Now, you have successfully mounted your VMDK as a virtual hard drive.
It's time to set the VMDK file as the boot drive.
Step 3: Delete the default hard drive
There will be two hard drives mounted to your virtual machine. The first will be the default hard drive created during VM creation. Since this drive does not contain any operating system to boot from, you will need to give boot priority to the second attached drive, which is your VMDK file.
1. Right-click on the first hard drive and select Remove Attachment . This will leave your VMDK file as the only hard drive mounted in the virtual machine, meaning you don't have to keep selecting the boot drive whenever you turn on your virtual machine.

2. Once you have removed the remaining hard drive, click OK and start your VM.
It is done! Now, you can open the VMDK file using VirtualBox.
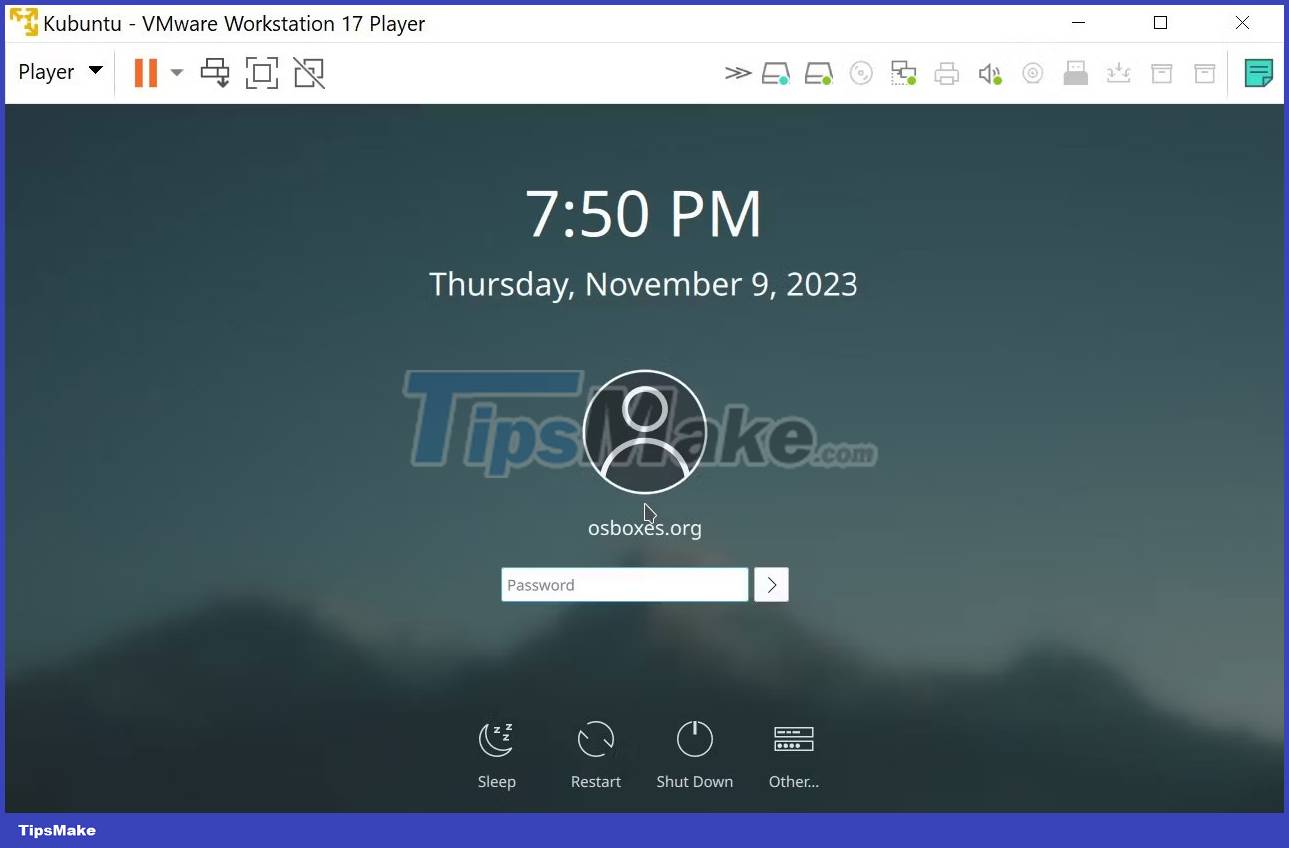
How to open VMDK file in VMware Workstation
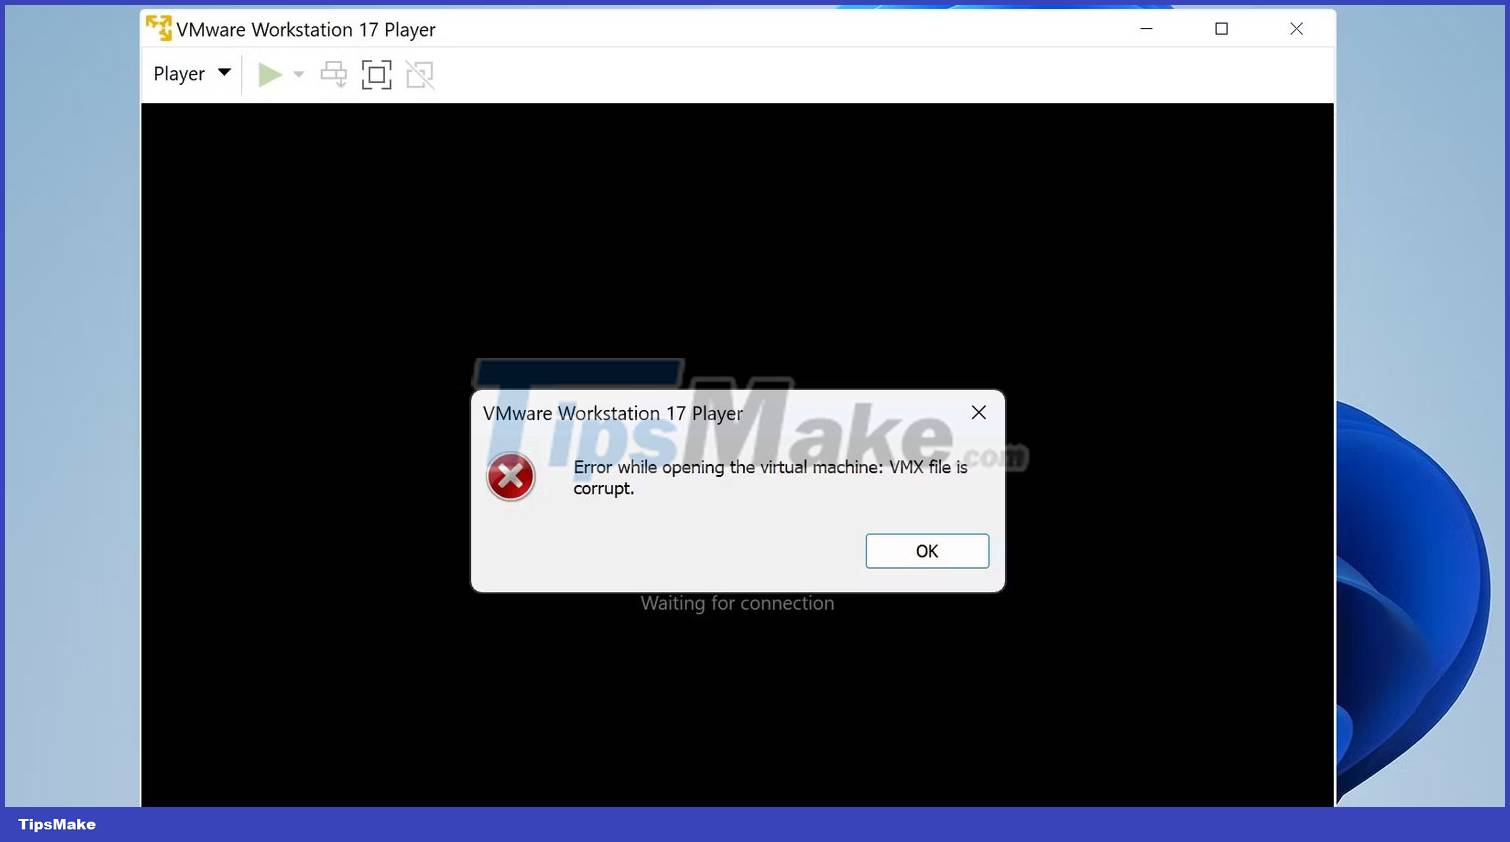
Although VMDK is specifically designed to work with VMWare virtualization products like Workstation, you still need to mount your virtual disk image properly. Trying to open the VMDK file directly will only give you a corrupted VMX file error.
This is because the VMDK file can only act as a virtual hard drive. If you do not configure your VM to use this virtual hard drive, your VMDK file is essentially a hard drive without a PC running.
So, to configure this virtual PC, you must first create a VM, mount your VMDK file and set the boot priority just like what was done on VirtualBox.
Step 1: Create a virtual machine
1. Create a VM by opening VirtualBox and clicking Create a New Virtual Machine . This will open the virtual machine wizard. Select the following operating system installation option and click Next .

2. Now, go through the usual creation process by selecting the operating system you will install, naming the VM, and specifying the disk space. You can then click Finish to create the virtual machine or click Customize Hardware to allocate hardware resources for your virtual machine.

After creating the VM, you can now mount your VMDK file.
Step 2: Mount the virtual image file
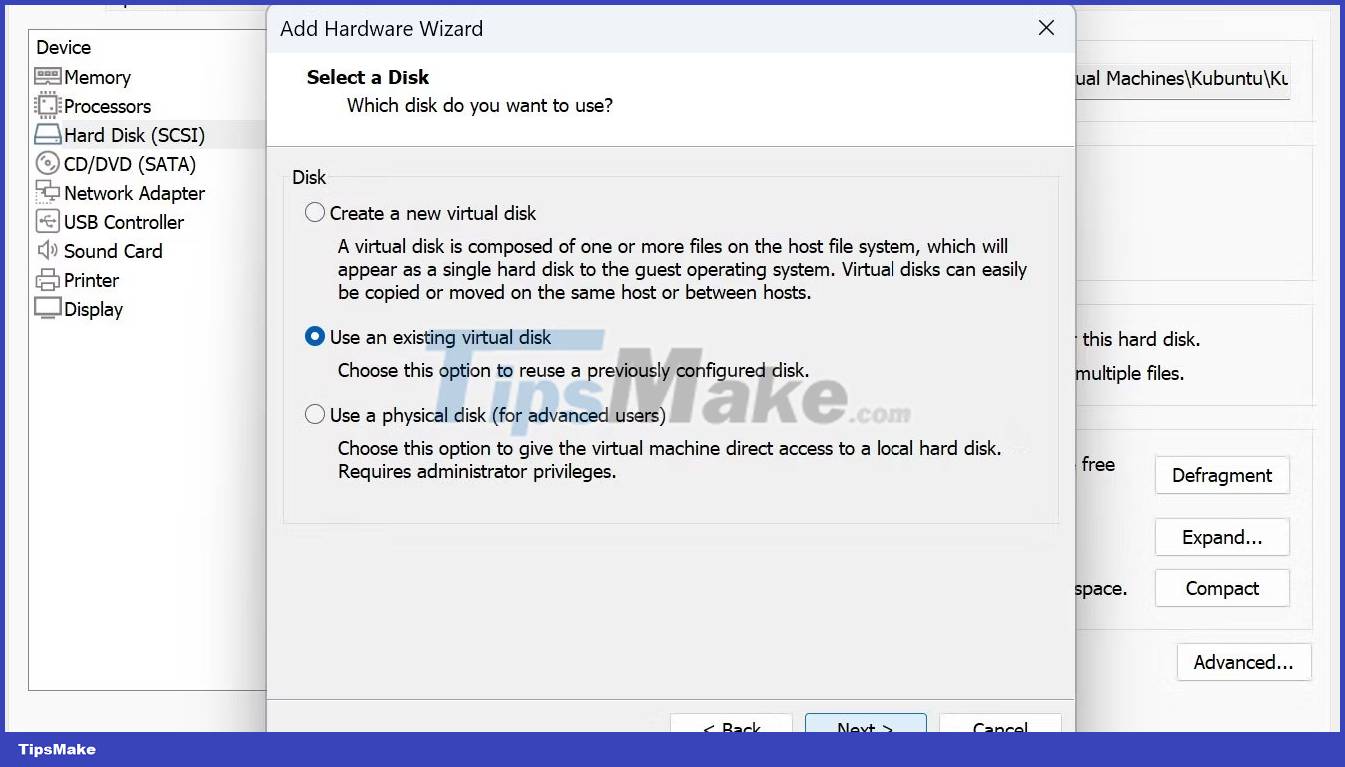
1. Select your newly created VM and click Edit virtual machine settings . A VM settings menu will appear. Mount your VMDK file by selecting Hard Disk (SCSI) and clicking the Add button at the bottom of the menu.

2. Now, select the Hard Disk , SCSI and Use an existing virtual disk options , then press Next . Select your virtual hard drive by clicking Browse and then locate your VMDK file.
When you return to the VM setup menu, note that you have mounted two hard drives. VMWare Workstation will automatically set boot priority to whichever hard drive comes first. Because the first hard drive is the default hard drive that does not contain a VMDK file, your virtual machine will have nothing to boot from. You must set the boot priority for the VMDK file you recently mounted.
Step 3: Set boot priority order
The fastest way to ensure your VMDK file has boot priority is to erase the hard drive first. You can do so by selecting the hard drive and clicking the Remove button at the bottom of the menu. However, if you want to keep the first virtual hard drive, you will have to place it after your VMDK hard drive.
1. Select the first hard drive and click the Advanced button on the right side of the menu. The hard drive's advanced settings menu will appear. Click the scrolling menu, select anywhere behind your VMDK hard drive, and press OK . For example, SCSI 0:2 was selected.

2. Once you have set the boot priority for the VMDK hard drive, you can now open your VMDK file on VMWare Workstation.

3. When opening the VM, a prompt will inform you that sata0:1 is no longer available. This is expected because you have previously repositioned the corresponding hard drive before. Click No for Workstation to skip connecting to this virtual hard drive and directly open your VMDK hard drive.
Congratulations! Now, you can open VMDK files with VMWare Workstation!
Was this article helpful?
Your feedback helps us improve.
Related Articles
 Compare VMware Workstation Pro and VMware Workstation Player5 minutes read
 How to extract VMDK virtual disk file on Windows3 minutes read
 VMware Workstation Player - Download VMware Workstation Player3 minutes read
 VMware Workstation Pro - Download VMware Workstation Pro here5 minutes read
 How to fix VMware Workstation VMCIDevVMX error on Windows3 minutes read
 How to run macOS on Windows 10 using VMware Workstation Player9 minutes read
Reader Comments 0
Sign in with email or Google to join the discussion.