Table of Contents
This practical guide walks through how to open the next photo by scrolling on photos in Windows, explains the main requirements, and highlights common issues that may appear along the way.
Instructions to transfer photos on Photos by scrolling
Step 1:
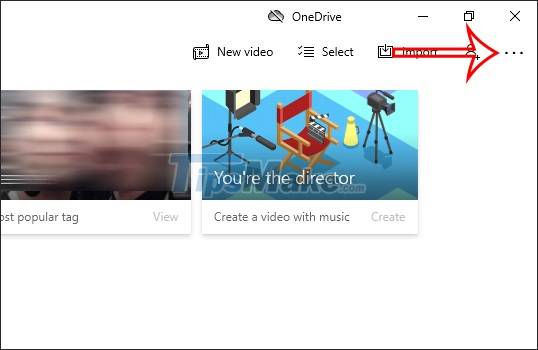
First, open the Photos application on your Windows 10 computer. At the interface of the application we click on the 3 dots icon in the top right corner of the screen.
Step 2:
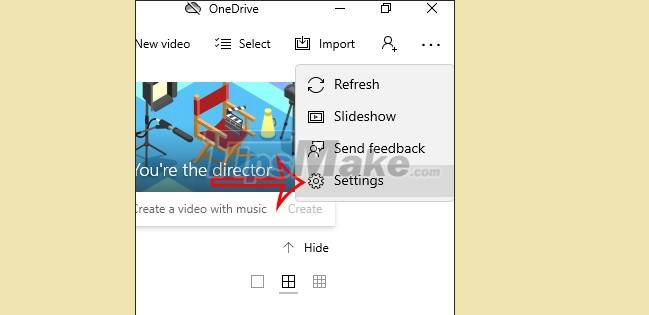
Displaying a list of options right below, click on the Settings item to adjust the Photos application.
Step 3:
Switch to the settings interface for the Photos application, here you find the Mouse wheel item to adjust the mouse wheel action. Next, select View next or previous item to use the mouse wheel to move the previous or next image.

Changes are automatically saved. Then you go back to the Photos app and use the mouse wheel to move the image before or after. Scroll forward to view the next image and scroll down to view the previous image.
Key Takeaways
Use the information above as a practical reference for how to open the next photo by scrolling on photos in Windows. Review each step carefully, confirm any requirements, and choose the option that best fits your situation.
FAQ
What does this guide explain about Open the Next Photo by Scrolling on Photos in Windows?
It explains the main concepts, practical considerations, and useful steps related to open the next photo by scrolling on photos in Windows without requiring advanced knowledge.
Who can benefit from learning about Open the Next Photo by Scrolling on Photos in Windows?
This information is useful for readers who want a clear overview, practical guidance, and reliable steps related to open the next photo by scrolling on photos in Windows.
What should I check before applying this information?
Review the requirements, confirm that your device, software, or situation matches the instructions, and back up important data before making major changes.
Related Articles
 Get Back Windows Photo Viewer on Windows 10 to Help You See8 minutes read
 Open Photos App: How to Open the Photos App on Windows 105 minutes read
 How to Take Scrolling, Long Screen Screenshots in Windows13 minutes read
 How to Enable Two-finger Scrolling on Windows Laptop: Step-by-Step Guide6 minutes read
 How to Use Camera360 Photos to Manage Photos on Windows 103 minutes read
 How to Take Live and Animated Photos on iPhone6 minutes read
Reader Comments 0
Sign in with email or Google to join the discussion.