How to install Windows 10 April 2018 Update
So, the latest Windows 10 April 2018 Update 1803 has been released, and have you already downloaded the Windows 10 April 2018 Update installer? For those who don't want to update and prefer to install a completely new version of Windows 10, the following guide will show you how to install the Windows 10 April 2018 Update correctly..
The Windows 10 April 2018 Update 1803 has been officially released. If you don't want to update and prefer to reinstall Windows 10 from scratch, the following guide will show you the best way to install the Windows 10 April 2018 Update , ensuring you have the best possible Windows experience before using it for work or entertainment.
Instructions for installing the Windows 10 April 2018 Update, setting up Windows 10 Update 1803.
With each new version released, and before installing the Windows 10 April 2018 Update, we need to check the system requirements first. Each version has different system requirements, and if your computer isn't powerful enough, don't try to install it. Of course, most basic computer configurations today will meet the requirements, but knowing the Windows 10 April 2018 Update requirements will help you be more proactive in installing Windows 10 and subsequent updates.
Instructions for installing the Windows 10 April 2018 Update
Tools needed
- 1 USB drive for installing Windows with a minimum capacity of 8 GB .
- This is the latest version of Windows 10, April 2018 Update 1803.
* Download Windows 10 April 2018 64-bit .
* Download Windows 10 April 2018 32-bit .
- Download the Windows USB Installation Tool software , which allows you to add a USB 3.0 drive to your Windows 10 installation media.
- Download the Windows 7 USB/DVD Download Tool , an application that allows you to create Windows 7, 8, and 10 installation media.
1. Install the Windows 7 USB/DVD Download Tool.
Although it's called the Windows 7 USB/DVD Download Tool, it can be used to install Windows 8 and Windows 10 using a USB drive or DVD. Since it's an official Microsoft tool, you can rest assured about its reliability and safety.
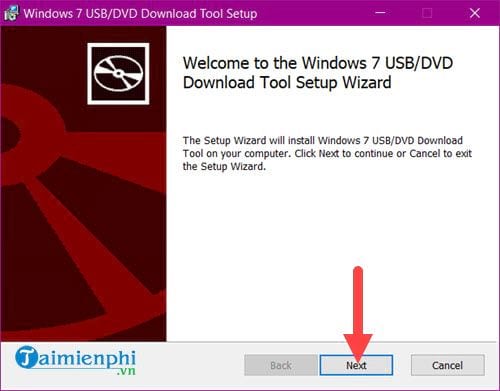
Step 1: First, download the Windows 7 USB/DVD Download Tool from the link above, then run it and click Next to proceed to the initial welcome screen of the software.
Step 2: Next, click Install to proceed with installing the Windows 7 USB/DVD Download Tool.

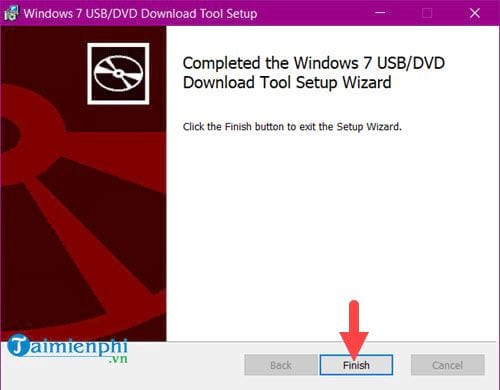
Once everything is complete, click Finish to end this process before proceeding to the final stage of installing the Windows 10 April 2018 Update.
2. Add the Windows 10 April 2018 Update installer to the USB drive.
Here, TipsMake uses the method of installing Windows 10 via USB, so we will use the Windows 7 USB/DVD Download Tool to add the installation files to the USB. Note that you should plug in the USB at this step.
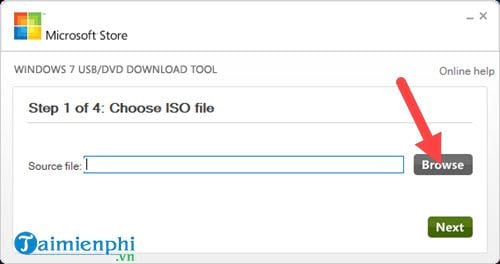
Step 1: Open the Windows 7 USB/DVD Download Tool and then click Browse .
Step 2: Select the Windows 10 April 2018 Update 1803 file and then Open it .
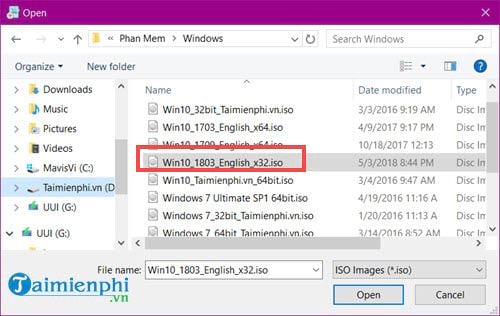
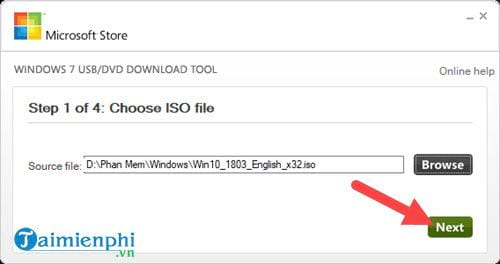
Step 3: Then click Next to proceed to the next step.
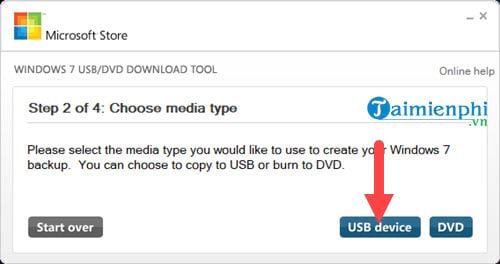
Step 4: Here you choose the tool to install Windows 10 onto: USB or DVD. Of course, we choose USB device .
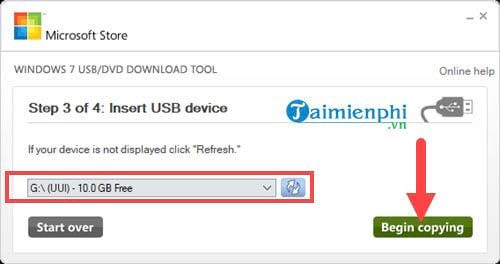
Step 5: Select the USB drive where you want to install the Windows 10 Spring Update, then click Begin Copying .
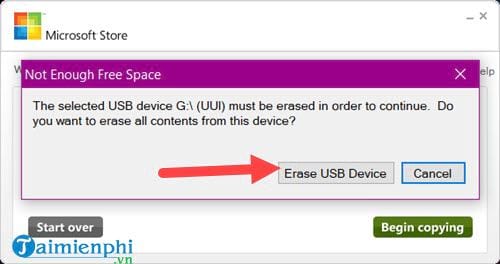
The system will ask if you want to erase all data from the USB before installation; click Erase USB Device .
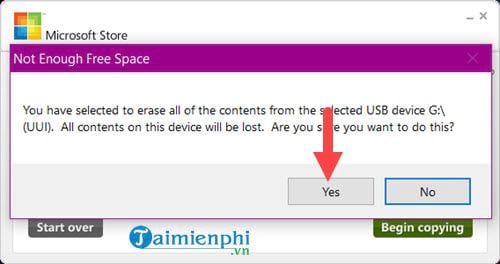
Continue pressing Yes to delete all previously stored data on the USB drive.
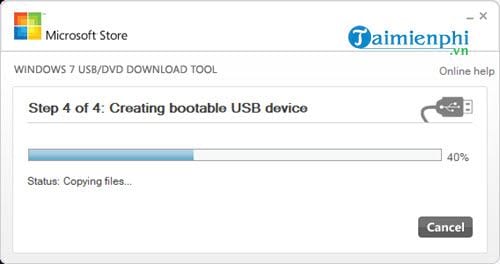
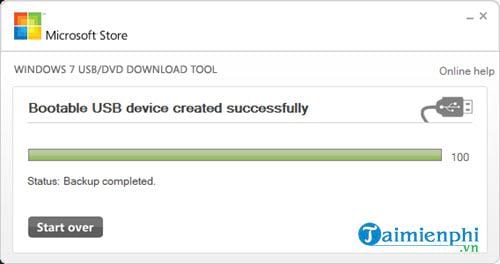
This process will take approximately 5 to 10 minutes , depending on your computer. Please wait until the file copy is 100%.
Step 6: Once complete, close this software and proceed to the next step before installing the Windows 10 April 2018 Update.
Additionally, you can find instructions on how to create a Windows 10 April 2018 installation USB here.
3. Add USB 3.0 drivers to the Windows 10 Spring Update installation package.
Note: This step is optional.
Adding USB 3.0 drivers to Windows 10 is only a precaution in some cases where you install Windows 10 but your computer doesn't recognize the USB drivers, including the USB drive used for installing Windows 10 or the mouse and keyboard itself. This typically applies to some desktop devices, though not all, and you can completely skip this step if you feel it's unnecessary.
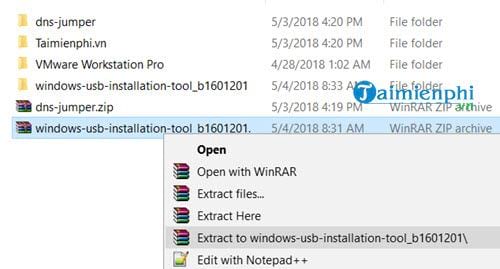
Step 1: Download the Windows USB Installation Tool mentioned above to your computer and then extract it using WinRAR or Zip, whichever you prefer.
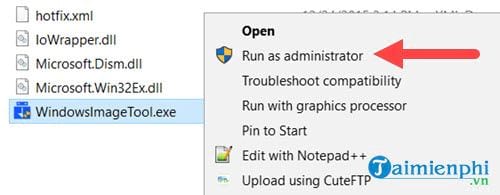
Step 2: Next, right-click on the Windows USB Installation Tool and run it in Administrator mode.
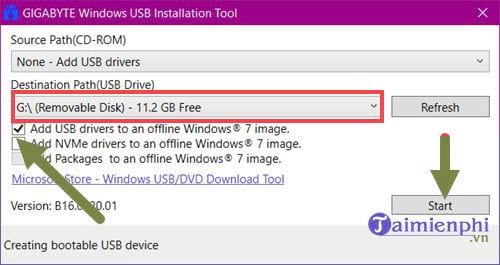
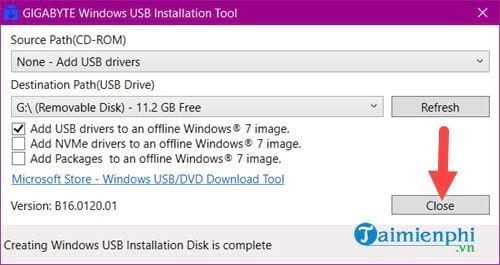
Step 3: The Windows USB Installation Tool interface will appear. Click on " Add USB drivers to an offline Windows 7 image" and select the USB drive where you are installing Windows 10. Finally, click " Start" .
Note: Although the description is for Windows 7, this tool can be added to Windows 8 and Windows 10 as well.
This process will take quite a while, about 15 to 20 minutes , to add the USB 3.0 driver to your Windows 10 Spring Update.
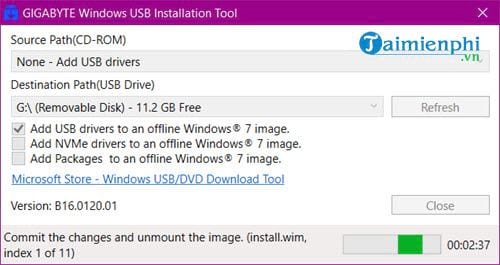
Step 4: After you see the message "Creating Windows USB Installation Disk is complete," simply click Close.
4. Install the Windows 10 April 2018 Update
Step 1: First, access the BIOS to select the USB boot system. Refer to the instructions on how to access the BIOS here.

Step 2: Then wait a moment, the Windows 10 April 2018 Update installation screen will appear, select Next .

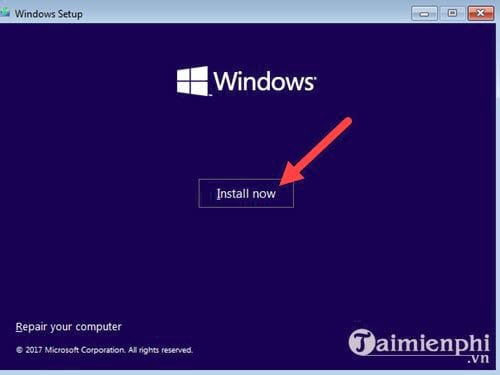
Step 3: Click Install now to begin the installation process.
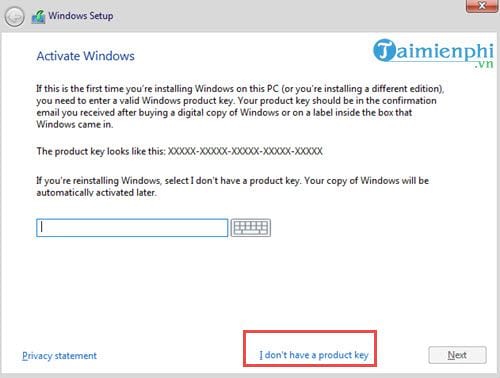
Step 4: This step requires a Windows 10 product key, but since we're allowed to use a trial version, select "I don't have a product key ".
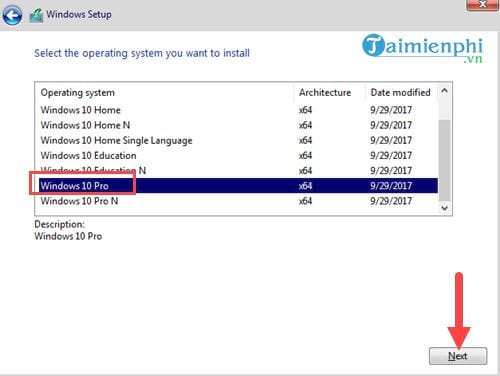
Step 5: Next, choose the version; here we choose Windows 10 April 2018 Update to experience the full range of features.
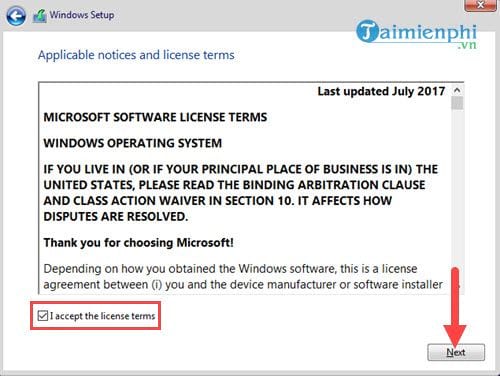
Step 6: Then agree to the terms and click Next.
Step 7: Here you have two options, and the decision is yours.
- The first option is that you can reinstall the Windows 10 April 2018 Update if you want (you'll need to format) or update directly from an older operating system like Windows 7, 8, or even Windows 10 itself.
- The second option is to simply reinstall the Windows 10 April 2018 Update on the computer.
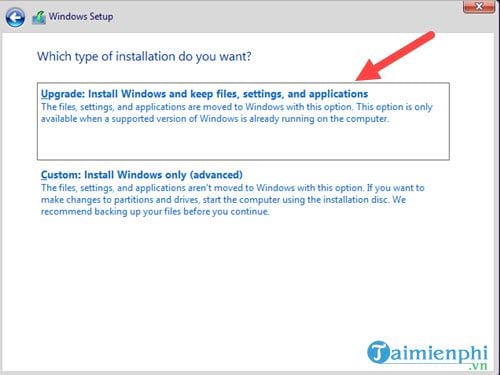
Here, just choose the first option because if you don't want to update, you can install the new Windows 10 April 2018 Update.
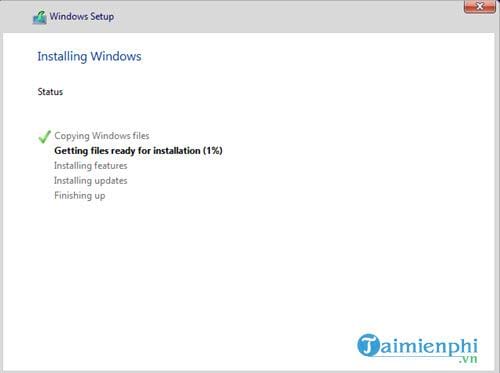
Step 8: Select your computer's hard drive and then click Next to proceed with the installation.

Then you will have to wait about 15 minutes for the system to load the Windows 10 April 2018 Update and proceed with the installation.
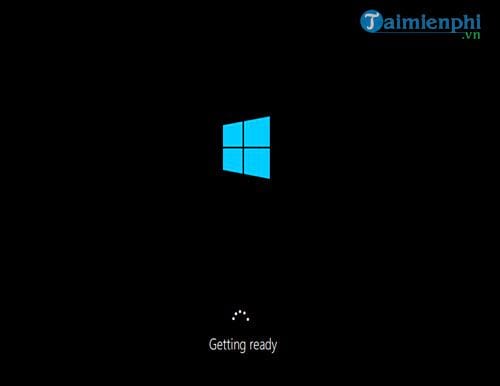
After the Windows 10 April 2018 Update logo appears, you'll just have to wait a little longer.
Continue following the basic installation steps of Windows 10 April 2018 Update 1803, and then you can use Windows 10 with the new version. Typically, the Microsoft Edge browser will appear first to introduce the new features.
The Taskview system has been revamped with a view of the history of accessed items.

Windows 10 Settings allows you to manage fonts more flexibly.

Above is a guide to installing the Windows 10 April 2018 Update. With clear steps, you just need to follow our instructions to ensure you get the perfect Windows 10 Spring Update before using it for work, study, or gaming. This is also a common method for creating a Windows 10 Spring Update installation USB, and you can apply it to previous versions of Windows 7 and 8, as well as future versions.