Table of Contents
UltraViewer is a Windows remote-support application. To install it safely, download the setup file from UltraViewer's official website, run the installer, review the destination and shortcut options, and select Install. After launch, share the displayed ID and password only with a person you trust and only when you expect a support session.
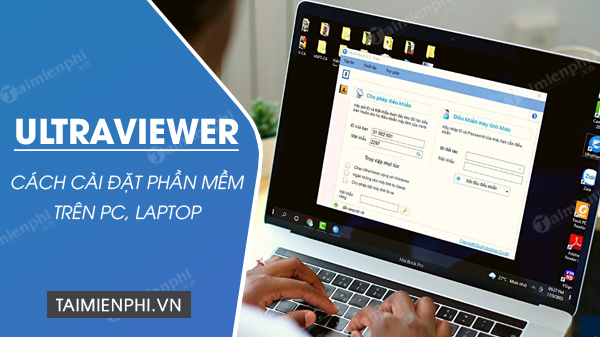
Compatibility and preparation
UltraViewer's support documentation currently describes it as a Windows-only product; there is no official macOS, Android, or iOS version. If you need mobile or cross-platform access, compare other remote computer control tools instead of downloading an unofficial “UltraViewer APK” or Mac build.
- Use a Windows account that is allowed to install desktop software.
- Close any old UltraViewer installer and save your work before beginning.
- Download from the official UltraViewer download page. Avoid download portals that wrap the installer in their own setup program.
- If Windows shows a security prompt, check that the file name and publisher match what you intended to download. Cancel if anything looks unexpected.
Install UltraViewer step by step
- Open the downloaded UltraViewer setup file. When the installer welcome page appears, select Next.
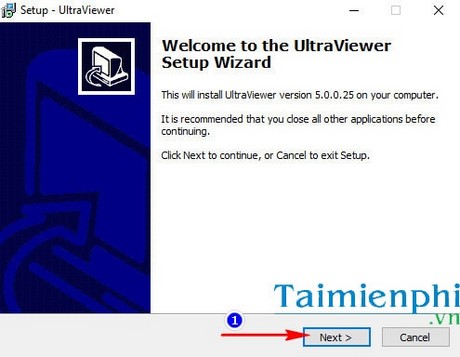
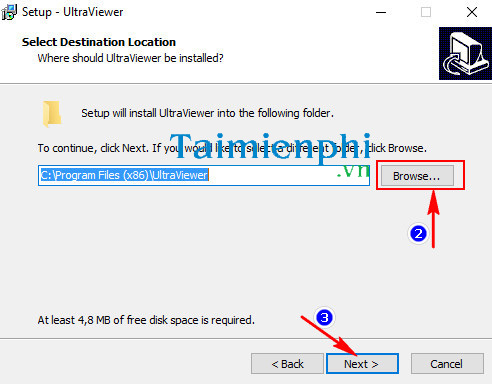
- Review the destination folder. Most users should keep the default location; change it only when you have a specific storage or administration requirement. Select Next.
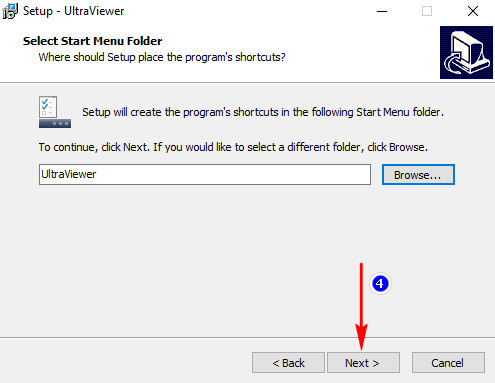
- Review the Start Menu folder or shortcut group, then select Next.
- Choose whether to create a desktop shortcut. This affects convenience only and is not required for the program to work.
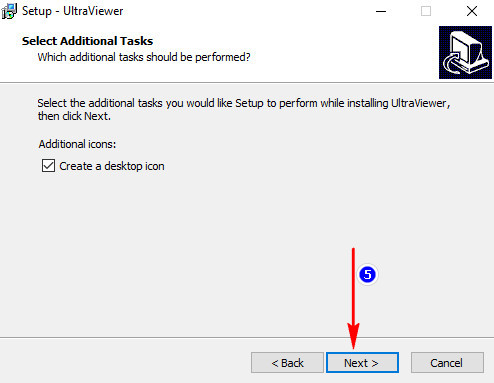
- Check the summary page and select Install. Approve the Windows User Account Control prompt only if it refers to the installer you just opened.
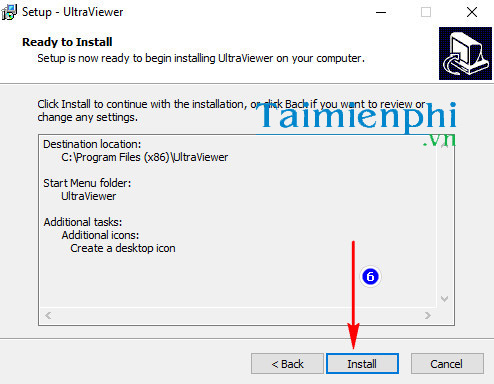
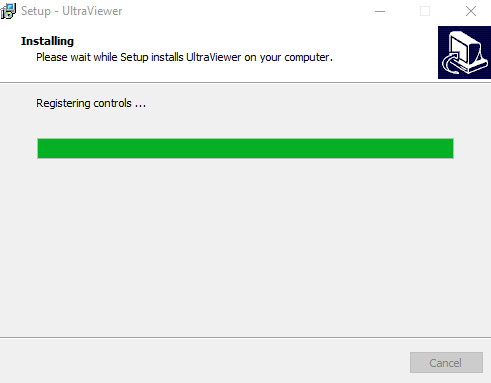
Wait while the wizard copies the program files. Do not launch another copy of the installer during this step.
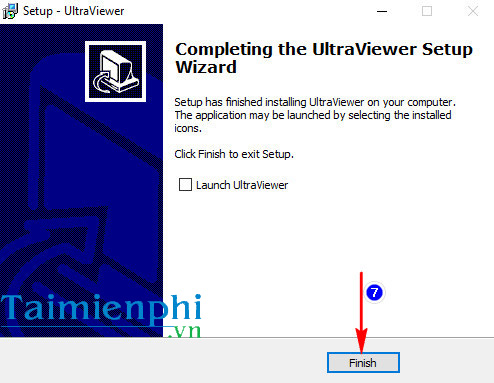
- Select Finish. If the option to launch UltraViewer is selected, its main window should open immediately.
Understand the first screen
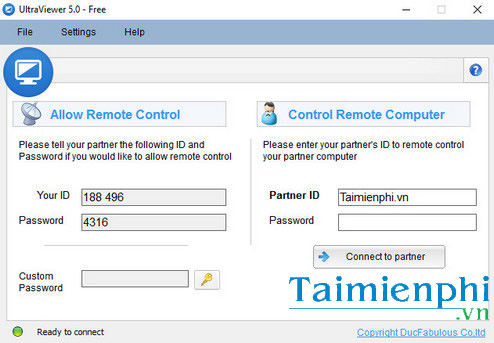
The main window normally shows your device's ID and a temporary password on one side, plus fields for a partner's ID and password on the other. To receive help, give your current credentials to the trusted helper. To control another Windows computer, enter the credentials shown on that computer and start the connection.
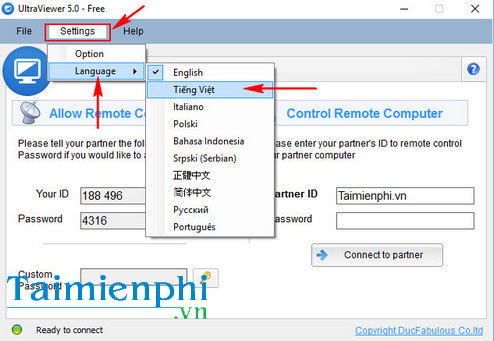
The interface may provide a language menu. Changing the display language does not alter IDs, passwords, or network settings.
Make the first connection safely
- Arrange the session with the helper before sharing an ID or password.
- Close banking, password-manager, private-message, and confidential work windows first.
- Watch the remote session. End it immediately if the other person opens unrelated files or asks you to disable security controls.
- Never let an unsolicited caller use UltraViewer to “verify” a refund, payment, investment, or account problem.
- Close UltraViewer after the session. If you configured a fixed password or unattended access, disable it when it is no longer required.
The vendor's installation FAQ confirms the standard setup flow and current Windows-only support. Do not interpret marketing claims such as “absolute security” literally: safe remote access also depends on the person you authorize, the permissions you grant, software updates, and the protection of your credentials.
If installation or connection fails
- The installer will not open: download a fresh copy from the official site, then check Windows Security or your organization's application policy. Do not disable antivirus protection just to force an unknown file to run.
- No ID appears: confirm the computer has internet access, restart UltraViewer, and check whether a firewall or filtered network blocks the application.
- The helper cannot connect: recheck every digit of the current ID and password; temporary credentials can change after restarting the program.
- You need Android, iPhone, or Mac access: UltraViewer is not the right client. The options in our guide to controlling a computer from a phone support broader platforms.
Related Articles
 How to Control a Remote Computer with UltraViewer for Free4 minutes read
 How to Install the Latest Version of Ultraviewer for Remote Computer Control4 minutes read
 How to Use Ultraviewer to Control Remote Computers4 minutes read
 How to Install Ultraviewer on Windows 11 and How to Use It3 minutes read
 How to Use Ultraviewer to Send and Receive Files4 minutes read
 How to Fix Ultraview Not Being Able to Retrieve ID7 minutes read
Reader Comments 0
Sign in with email or Google to join the discussion.