Table of Contents
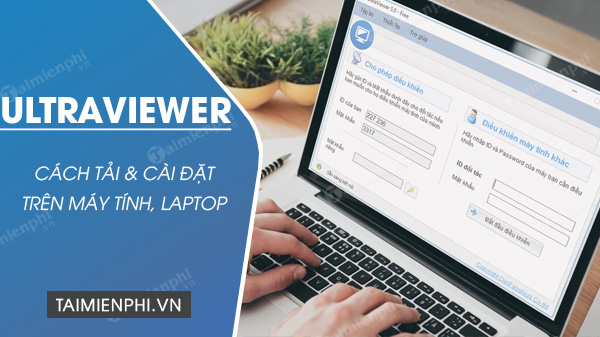
To install UltraViewer safely, download the recommended EXE installer from UltraViewer's official website, run the setup, and follow the standard Windows installer prompts. Install it on both Windows computers if one will control the other. Do not use repackaged installers from download portals, and do not share an UltraViewer ID and password with anyone you do not trust.
System and download choices
UltraViewer's official documentation currently supports Windows and does not provide a native macOS version. The download page offers a recommended installer and an unsupported portable ZIP with fewer features. Use the installer for normal use, unattended access, startup integration, and the best chance of receiving the complete feature set.
| Download | When to use it | Important limitation |
|---|---|---|
| EXE installer | Normal personal, office, and support setups | Installs the application and may require administrator approval |
| Portable ZIP | A temporary, attended session when installation is not appropriate | UltraViewer labels it unsupported and says it has fewer features |
1. Download UltraViewer from the official site
- Open the official UltraViewer download page.
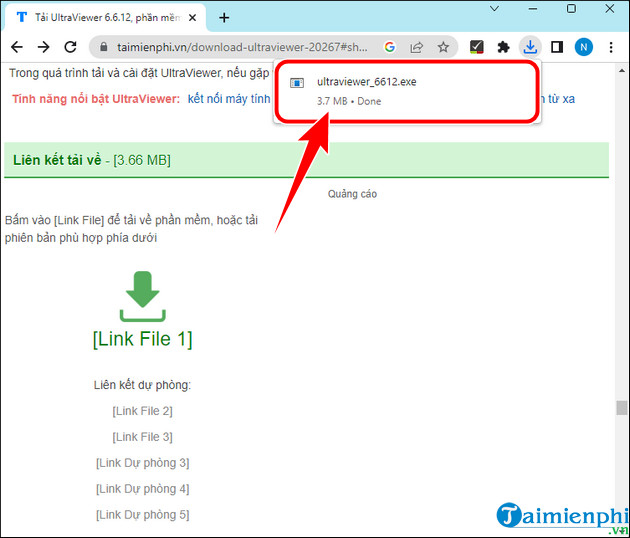
- Select the recommended Windows installer rather than an old mirror or third-party bundle.
- Save the setup file to your Downloads folder.
- Before running it, right-click the file, select Properties, and inspect the Digital Signatures tab when available. The signature should be valid and identify the expected UltraViewer publisher.
The two screenshots from the original guide that used an intermediate “Link File 1” download page are no longer necessary. Going directly to the developer reduces the chance of selecting an outdated or modified package.
2. Run the installer
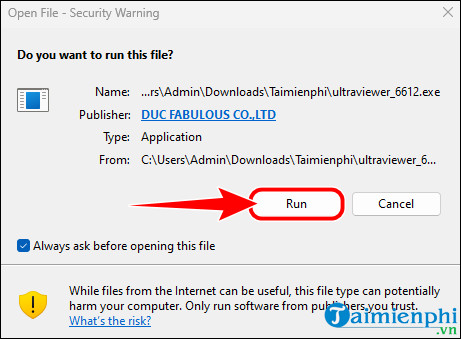
- Open the downloaded UltraViewer setup file.
- If Windows asks whether to allow the installer to make changes, verify the filename and publisher before selecting Yes or Run. Stop if the details do not match what you downloaded from the official site.
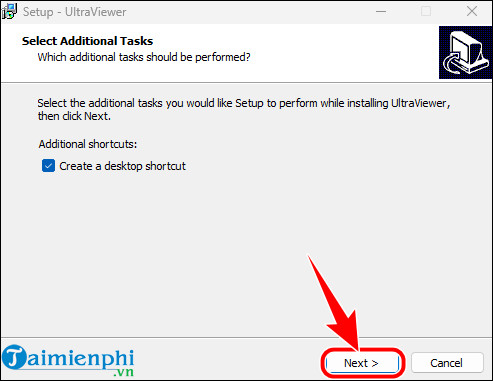
- Select Next in the setup wizard.
- Review the installation folder and shortcut options. The defaults are suitable for most users.
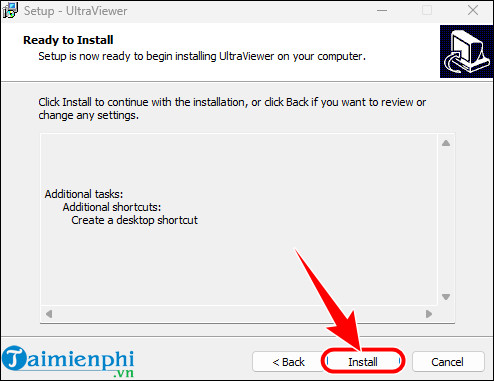
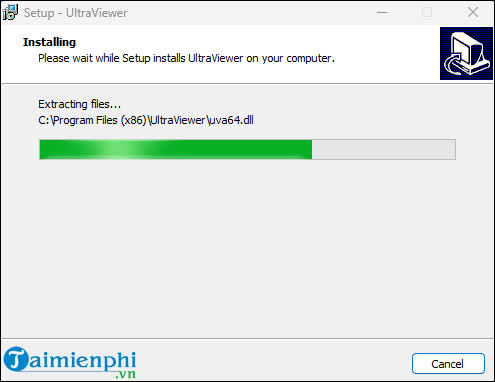
- Select Install and wait for the files to be copied.
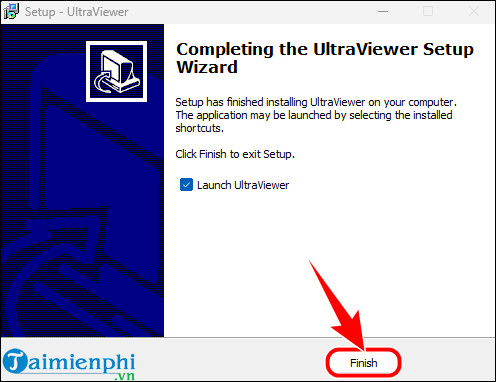
- Select Finish to close the wizard and open UltraViewer.
3. Understand the main window
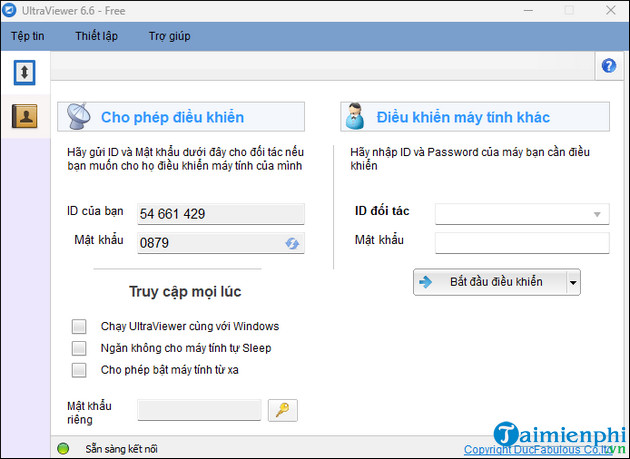
After installation, the main window is divided into two tasks:
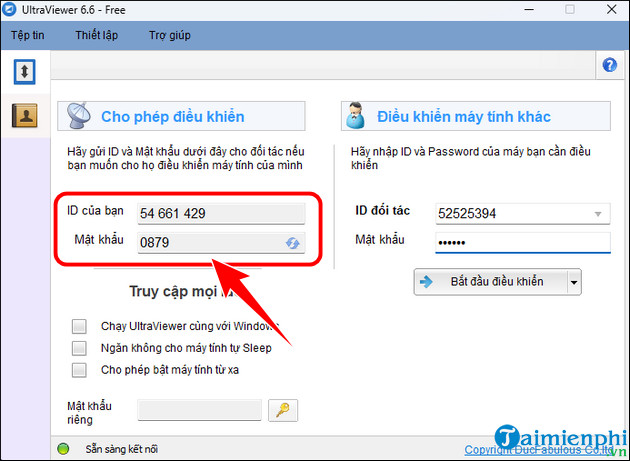
- Allow remote control: shows the ID and session password that an authorized helper uses to connect to this PC.
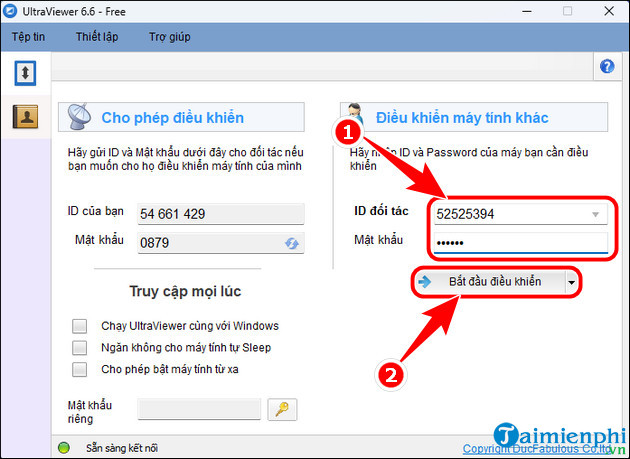
- Control another computer: accepts the partner ID and password from the computer you have permission to control.
A remote-control password is not a harmless meeting code. Anyone who can connect may see the screen, use the mouse and keyboard, and access files available to the Windows account within the permissions granted. Treat the ID and password as sensitive until the session ends.
4. Make the first authorized connection
To control another computer
- Ask the person at the other computer to install and open UltraViewer.
- Confirm that they expect the session and understand what you will do.
- Enter the Partner ID and current Password they provide.
- Select Start control or Connect to partner, depending on the version.
- Explain each sensitive action before taking it. End the connection when the task is complete.
To let a trusted person control your computer
- Open UltraViewer and read the ID and temporary password from the allow-control section.
- Send them only to the person who is actively helping you, using a private channel.
- Watch the screen throughout an attended support session. Disconnect immediately if the person opens unrelated files, payment pages, password managers, or account settings.
- Close UltraViewer after the session if you do not need it running.
For a walkthrough of the controls after installation, use TipsMake's UltraViewer remote-control guide. If files must be exchanged, read the separate guide to send and receive files with UltraViewer and verify every transfer before accepting it.
Security settings to review
- Startup: enable Run UltraViewer with Windows only when recurring access requires it. Leaving remote-access software running expands the time it can be targeted.
- Temporary versus custom password: prefer the changing session password for one-time support. Create a custom password only for a justified unattended-access setup.
- Custom password: make it long, unique, and stored in a password manager. Never reuse a Windows, email, or banking password.
- Least privilege: use a standard Windows account for routine remote work when administrator access is unnecessary.
- Updates: check the official download page or in-app update controls regularly, especially on an unattended PC.
- File transfer: do not open an unexpected file merely because it arrived through a remote-support session.
If UltraViewer will not install or get an ID
- Download a fresh copy from the official site and confirm that Windows has not left an incomplete file.
- Restart Windows, then run the installer again from a local folder rather than a network or temporary location.
- On a work-managed PC, ask the administrator; application-control policy may intentionally block remote-access tools.
- Do not disable antivirus protection simply to force the installation. Check the file's signature, scan it, and consult the vendor or administrator if it is flagged.
- If UltraViewer remains on Getting my ID, verify Internet access and the organization's firewall or proxy rules. Do not open arbitrary inbound ports based on an unverified forum post.
- Make sure both computers use current versions if a connection starts but fails immediately.
Uninstall UltraViewer
If remote access is no longer needed, open Settings > Apps > Installed apps (or Apps & features on older Windows versions), find UltraViewer, and select Uninstall. After removal, check Startup apps and confirm that no unattended-access password or scheduled remote-wake configuration remains relevant.
Related Articles
 How to Use Ultraviewer to Control Remote Computers4 minutes read
 How to Control a Remote Computer with UltraViewer for Free4 minutes read
 How to Install UltraViewer, Remote Computer Control Software4 minutes read
 How to Fix Ultraview Not Being Able to Retrieve ID7 minutes read
 How to Install Ultraviewer on Windows 11 and How to Use It3 minutes read
 How to Use Ultraviewer to Send and Receive Files4 minutes read
Reader Comments 0
Sign in with email or Google to join the discussion.