Table of Contents
This guide provides a clear, practical overview of Ubuntu server upgrade steps, with useful context, important details, and straightforward takeaways for everyday readers.
Ubuntu also constantly updates itself with newer versions. If you're using the desktop, you'll be prompted when an update is available and receive instructions on the process.
However, on the server, you may not have this privilege. So updating Ubuntu server will involve running a few command lines. Learn how to do that through this guide!
Condition
Before you start, it's a good idea to have a backup of your website files and database or a snapshot (record of all settings) of your server. This way you can always revert to the previous state of the server in case the update fails or something on the site goes down.
If you're running a production site where users are constantly using the site, you might want to send them a notification that the site will be momentarily under maintenance.
Finally, you need to have root or pseudo access to the server as it will require high privileges to run the update operation.
Once all these prerequisites are in place, you can get started.
Version check
First, check the current Ubuntu version you have. As can be seen in the image below, the current version the example is running is Ubuntu 18.04 LTS.

LTS (Long-term Support) means that it will be provided by Canonical with updates, security patches, and support for at least 5 years, plus a few more years for maintenance releases, during when the non-LTS version is only supported for about 1 year.
At the time of writing, the current LTS version is 20.04. So the article will update it to 20.04.
Clean and update packages
First, delete the files in the local repositories that can't be downloaded anymore, and remove obsolete packages that were automatically installed, as these files are now mostly useless. To do this:
Step 1. Type the command:
apt clean && apt autoclean && apt autoremove -y
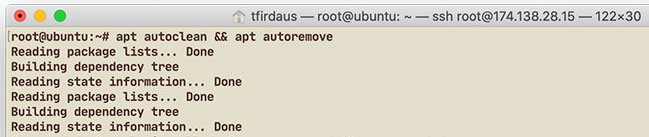
Step 2. Then type the following command to update the package index list and repositories, as well as upgrade some packages:
apt update && apt dist-upgrade -y
The dist-upgrade command also fixes some conflicts on installed packages and dependencies, so it can also remove some packages that are no longer in use.
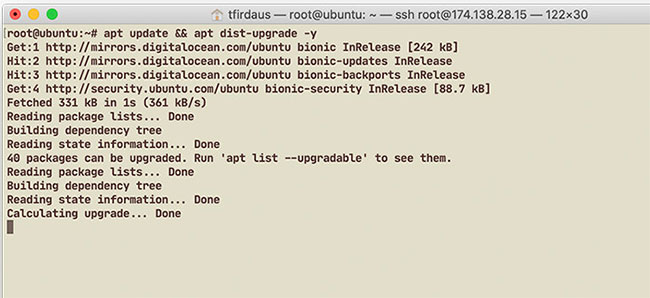
Step 3. In this step, you may have to restart the server after performing these package upgrades. So when you're prompted to reboot, type:
reboot
This command will automatically log you out of the current SSH session. Wait a while and then re-login SSH.
Upgrade Ubuntu Release
Now, you've got everything covered, updating and dealing with packages in Ubuntu. Next, you can perform the Ubuntu upgrade.
Step 1. To upgrade Ubuntu, enter the following command:
do-release-upgrade
Step 2. This process will first ask you to perform the upgrade on a new SSH daemon. Type 'y' to continue.
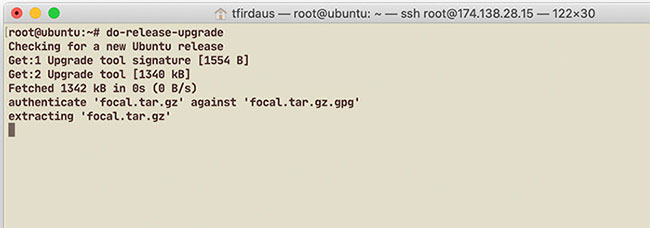
Step 3. Second, it will ask to update the package repositories list to Ubuntu 20.04 ('Focal' Fossa). So type 'y' when you want all the list to be updated, then continue.
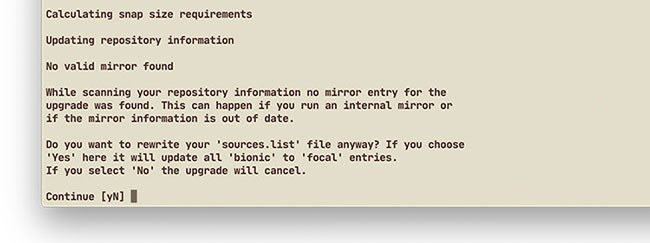
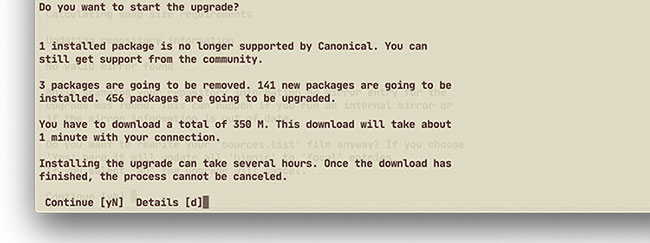
Step 4. Next, the number of packages and downloads for the upgrade will be confirmed, and the upgrade can take hours. This is usually true when you are upgrading on your local computer, but server upgrades are usually faster.
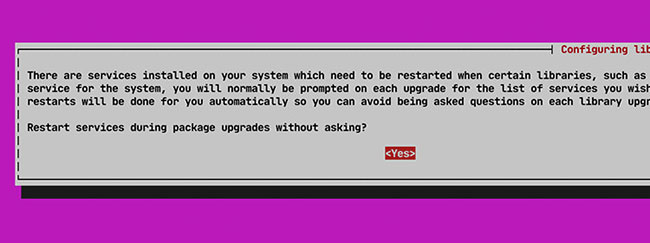
Step 5. During the upgrade process, you will also receive a message as shown below. This indicates that the upgrade will update some running services and requires a service restart. Select 'Yes' so that the device does not ask for permission every time it needs to be restarted.
Step 6. Now, wait for the upgrade to proceed. At the end of the process, it will ask you to reboot again.
Those are all the steps to upgrade Ubuntu on your VPS. When you log back into SSH after rebooting, you'll be greeted with the new version: Ubuntu 20.04.
Hope you are succesful.
Key Takeaways
Use the information above as a practical reference for Ubuntu server upgrade steps. Review each step carefully, confirm any requirements, and choose the option that best fits your situation.
FAQ
What does this guide explain about Ubuntu Server Upgrade Steps?
It explains the main concepts, practical considerations, and useful steps related to Ubuntu server upgrade steps without requiring advanced knowledge.
Who can benefit from learning about Ubuntu Server Upgrade Steps?
This information is useful for readers who want a clear overview, practical guidance, and reliable steps related to Ubuntu server upgrade steps.
What should I check before applying this information?
Review the requirements, confirm that your device, software, or situation matches the instructions, and back up important data before making major changes.
Related Articles
 7 Reasons to Upgrade to Ubuntu 23.048 minutes read
 What Is the Difference Between Ubuntu Desktop and Ubuntu Server?5 minutes read
 How to Configure DNS Server on Ubuntu Server 11.044 minutes read
 How to Install FTP Server on Ubuntu6 minutes read
 Computer: How to Install Ubuntu Server9 minutes read
 5 Things to Do After Upgrading to Ubuntu 22.04 LTS9 minutes read
Reader Comments 0
Sign in with email or Google to join the discussion.