How to fix Windows 10 automatically activating Sleep Mode
Some computers running Windows 10 fail to activate Sleep Mode by themselves, causing users to turn on the computer again. Usually, this Sleep Mode error usually occurs due to settings on a Windows 10 computer and we can handle it as follows:.
1. How to fix Windows 10 automatically activating Sleep Mode by Registry error
Interfering with the Registry to fix Windows 10 automatically activates Sleep Mode is the fastest and most effective way.
Step 1: You proceed to access the Start Menu and enter Registry Editor to open.

Step 2: After the Registry Editor is opened, copy the link below and paste it into the navigation bar.
HKEY_LOCAL_MACHINESoftwareMicrosoftWindowsCurrentVersionPoliciesSystem

Step 3: Now, right-click System and choose New => DWORD (32-bit) Value to create a new key.

Step 4: Please name the new key: ' DisableLockWorkstation '.

Step 5: Finally, open the key ' DisableLockWorkstation ' and set Value Data to 0 . To complete the change, click OK .

2. How to fix Windows 10 automatically activating Sleep Mode using Settings
In Settings, you can also fix the error Windows 10 automatically activates Sleep Mode through the following steps:
Step 1: Open Settings in the Start Menu or press Windows + I on your computer.

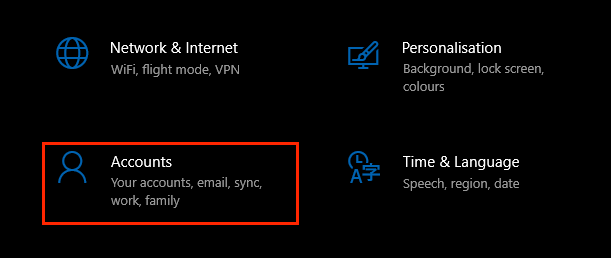
Step 2: In Settings , go to Accounts section to open account settings.
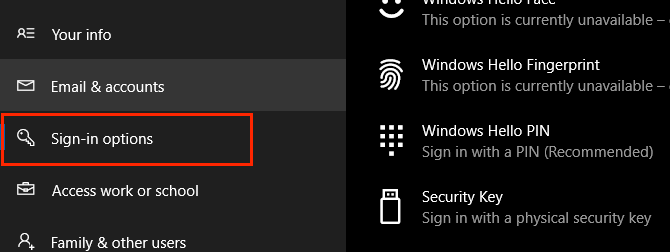
Step 3: In the Accounts section , go to the Sign-in Options tab to view the login settings.
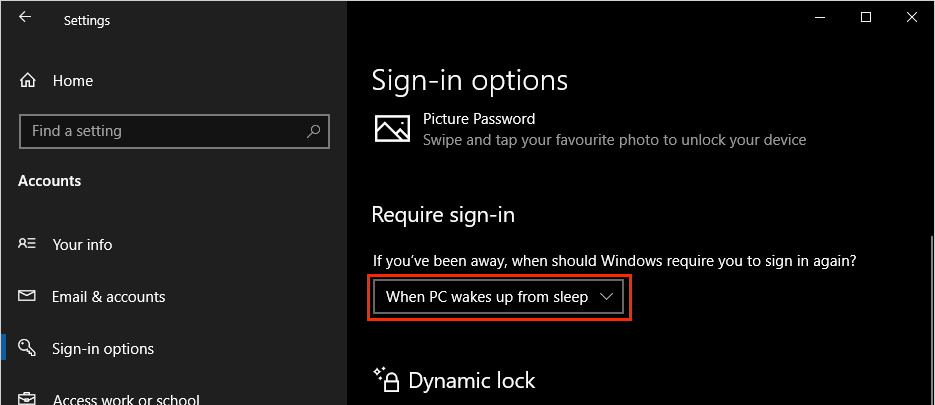
Step 4: Here, go to the Require Sign-in and set them to ' When PC wakes up from sleep '.
Thus, your computer will no longer fall into sleep mode after a period of inactivity.
3. How to fix Windows 10 automatically activating Sleep Mode using Screen Saver
Most likely your computer will activate Sleep Mode by itself due to Screen Saver mode (energy saving), to solve this problem you need to do the following:
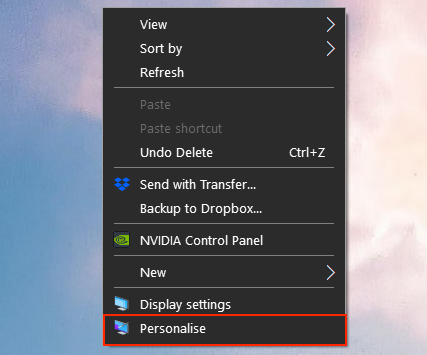
Step 1: You proceed Right-click on the computer screen and select Personalize .
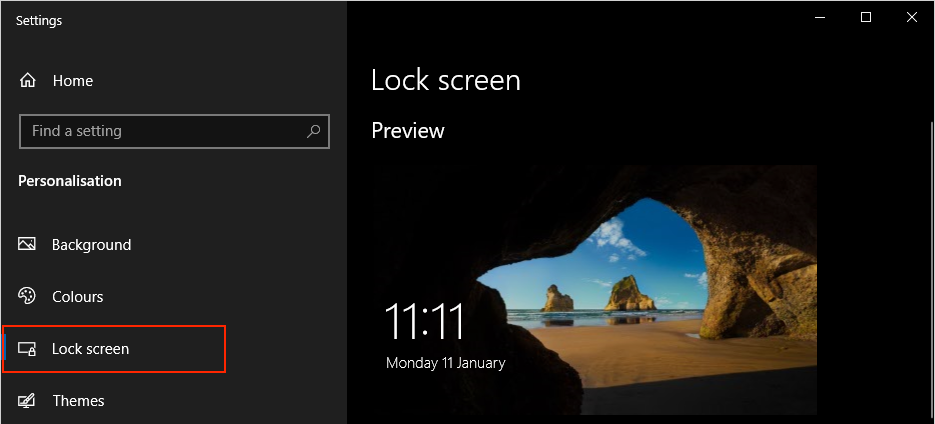
Step 2: Then, you select Lock Screen to set up screen lock mode.
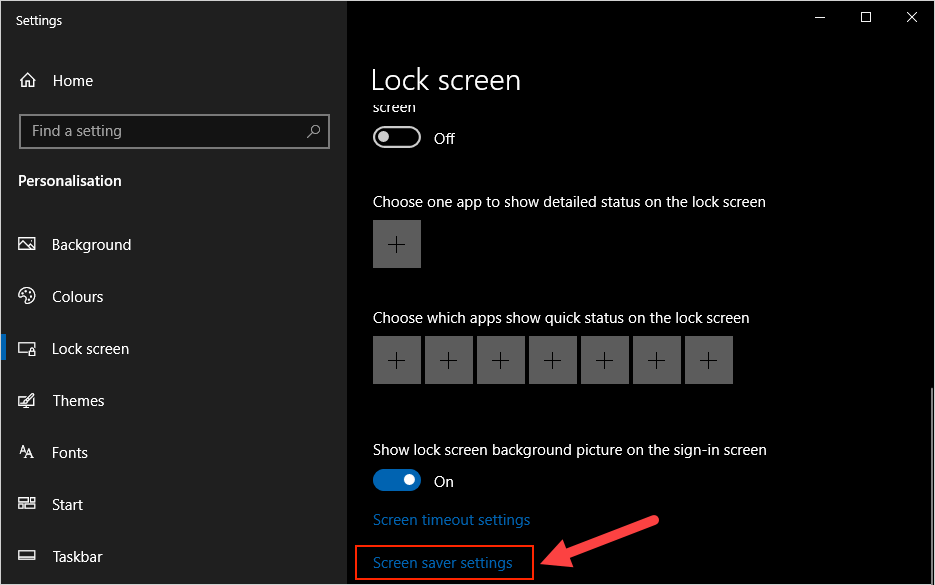
Step 3: Then, you select Screen saver settings to open screen energy saving settings.
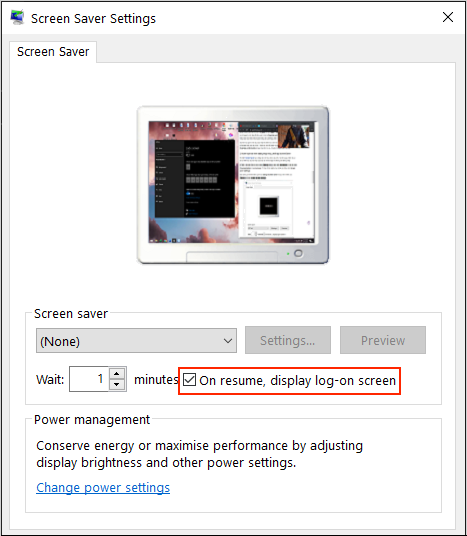
Step 4: At Screen saver settings , you proceed to tick On resume, display log-on screen to prevent the computer from entering Sleep mode when not in use.
In this article, I have shown you how to fix the error of entering Sleep Mode.
Have a nice day!