How to fix Full Disk error 100% on Windows 10 effectively
Many of you use Windows 10 or encounter a full disk error, this is a very annoying error because it will make your computer sometimes freeze, lag causing us to do nothing. This error has many causes that can be caused by software or hard drive and mainly by HDD, those who use SSD will not have this error. However, if you are using a HDD, you can perform the following methods to fix this annoying full disk error, please refer.
1. Disable the Superfetch service
The Superfectch service is one of the causes of the Full Disk error, so we need to turn it off.
Step 1: You press Windows + R to open the Run dialog box, then type Services.msc and press Enter
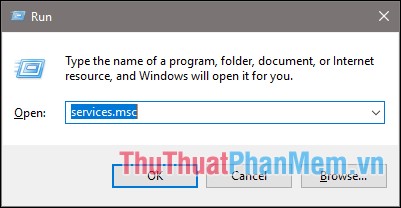
Step 2 : Services window pops up looking for and double-click on Superfetch service

Step 3 : A new window appears, select Disabled then click Stop and click OK .

In addition to the Superfetch service, you can disable the Windows Search service to fix full disk errors.
2. Set additional virtual RAM for the computer
Step 1 : You open the search function enter keywords performance then select Adjust the appearance and performance of windows.
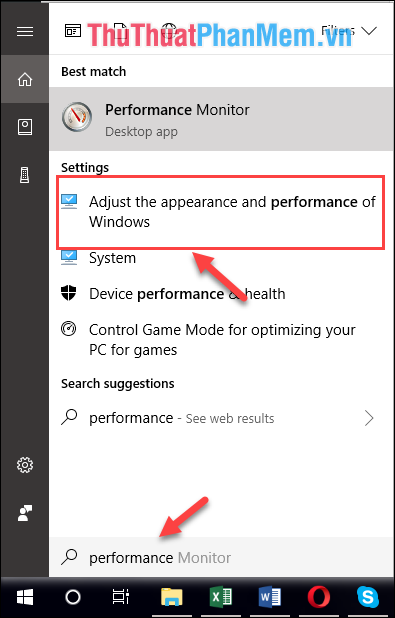
Step 2 : In the Performance Options window, select the Advanced tab and then select Change .
In the Virtual Memory window, uncheck Automatically manage paging file size for all drives.
Next, select Custom size and then enter the virtual RAM capacity in the Initial size box (You enter the capacity in the Recommended size.
Finally click Set and click OK is done.
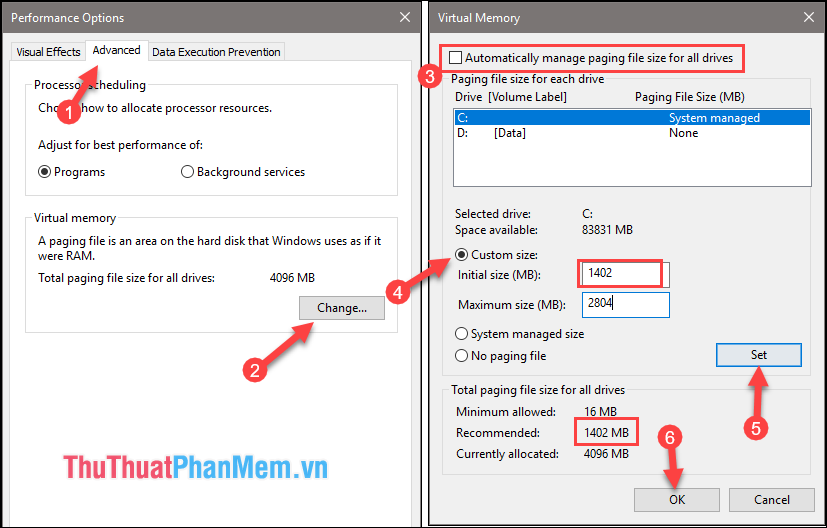
After setting up the virtual Ram, reboot your computer to see if it has run out of full disk.
3. Run the automatic troubleshooting Troubleshooting
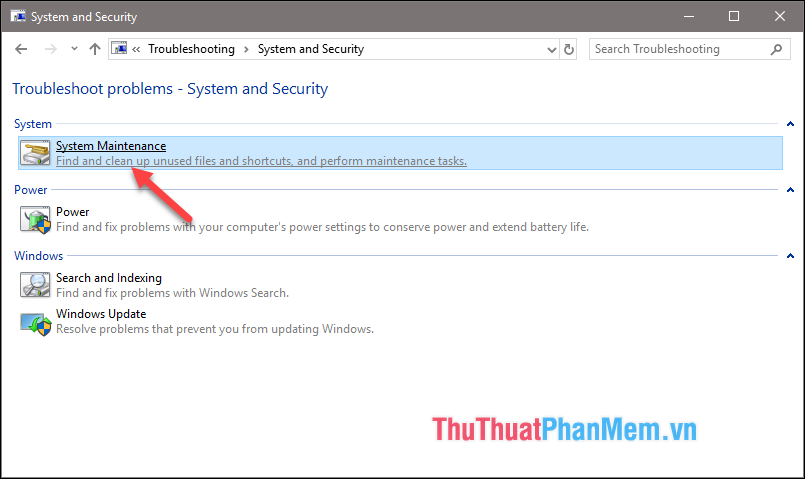
Step 1 : Go to Control Panel and look for Troubleshooting , next click on System and Security.
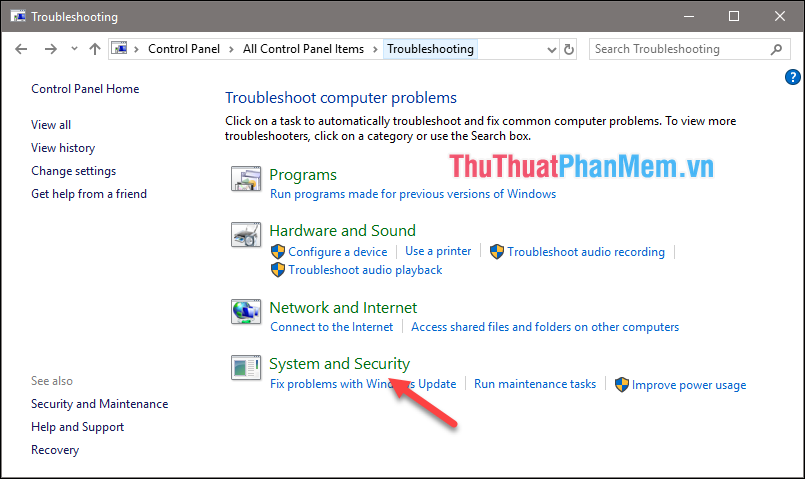
Step 2 : Select System Maintenance then click Next and select Try troubleshooting as an administrator.
Then wait for your computer to scan for a while and click Close to finish.
4. Turn off background applications
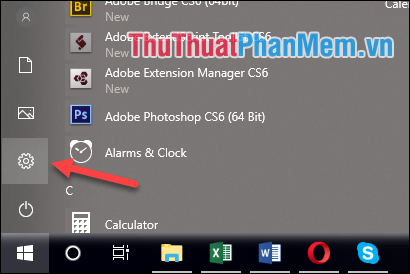
Step 1 : Open the Start menu and select Settings
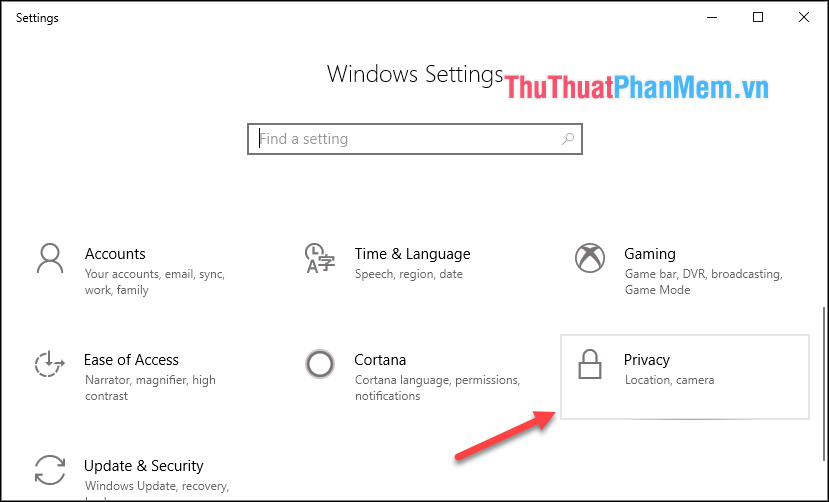
Step 2 : You select the Privacy section
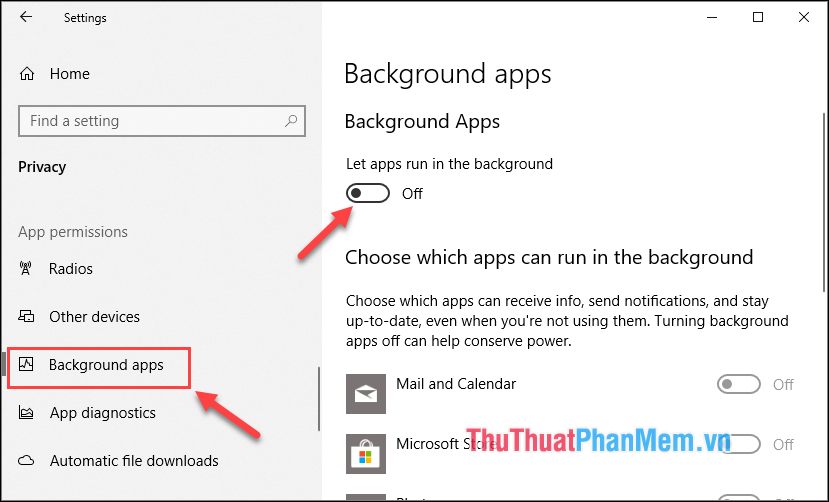
Step 3 : You select the Background apps section then turn off Let apps run in the background (Switch from On to Off). So we have successfully turned off applications that run in the background.
5. Upgrade to SSD
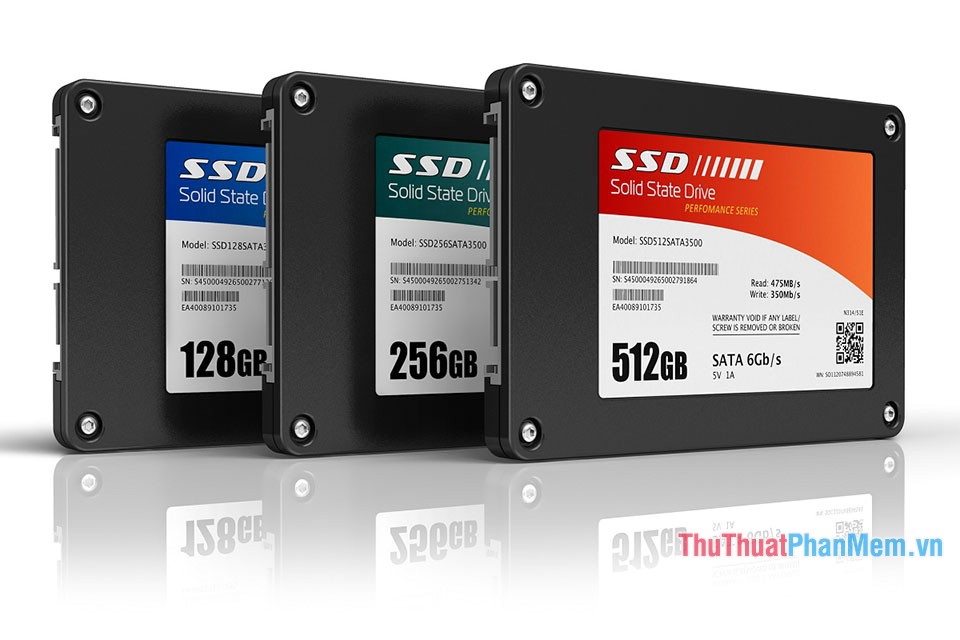
If all of the above methods do not work, you should consider upgrading the hard drive from HDD to SSD. Ensure this way the Full disk error will run out of 100%, in addition, when upgrading the SSD, your computer will operate extremely fast because the access speed of the SSD is very fast.
Above are some of the most effective methods to fix full disk error on windows 10, hopefully through this article you will fix the full disk error for your computer. Good luck!
You should read it
- 12 steps to fix Full Disk error 100% on Windows 10
- Instructions on 3 ways to fix Full Disk error 100% on Windows most effectively
- How to create disk full BAT file repair Windows 10
- Instructions for fixing 100% Full Disk error on Windows 10
- Fix Full Disk error 100%, 99% on Windows
- Everything you need to know about The disk is full error in Excel
 How to view the LAN and WAN IP addresses of computers on Windows 7, 8,10
 Create Sticky Note - Notes on the Windows 10 Desktop
 How to back up and restore drivers in Windows 10, backup and restore drivers in Windows 10
 Activate the Administrator account on Windows 7,8,10
 How to delete Windows.old folder on Windows 10 to free up hard drive space
 How to find files and files on your computer fast and effective