How to fix error 0xc1420121 on Windows 10 computers
Error 0xc1420121 usually appears when you start updating Windows 10 and they warn that the system is not eligible for the new update, this error is usually due to the amount of storage on the computer system..
There are many ways to solve error 0xc1420121 as following instructions.
1. Fix error 0xc1420121 with Windows 10 fixer sửa
Windows 10 provides a multi-purpose fixer, and they can fix almost all the basic errors on the operating system. Taking advantage of this feature, you can easily fix error 0xc1420121 on Windows 10.
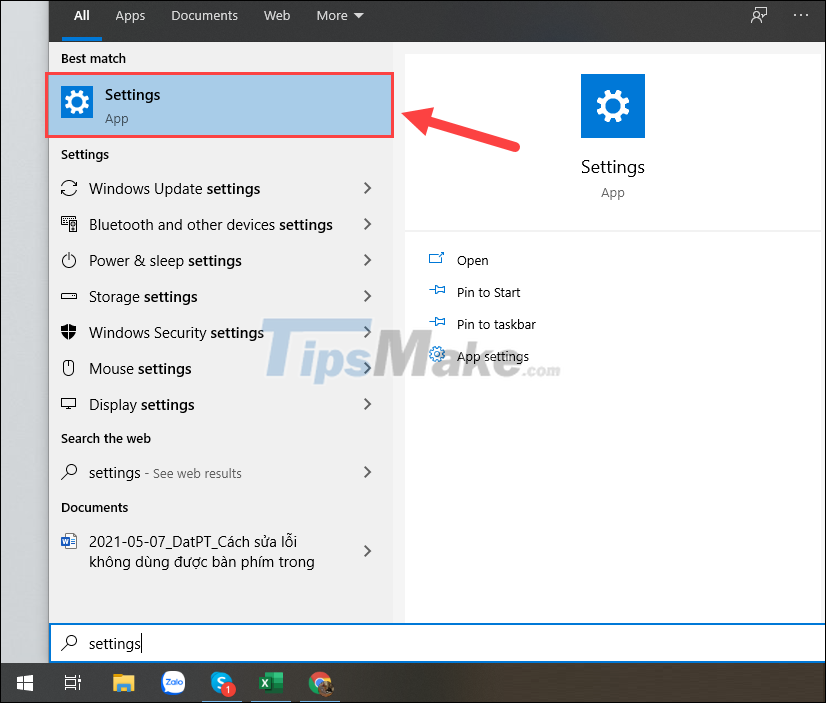
Step 1: Open the Start Menu and enter Settings to open the settings on your computer.
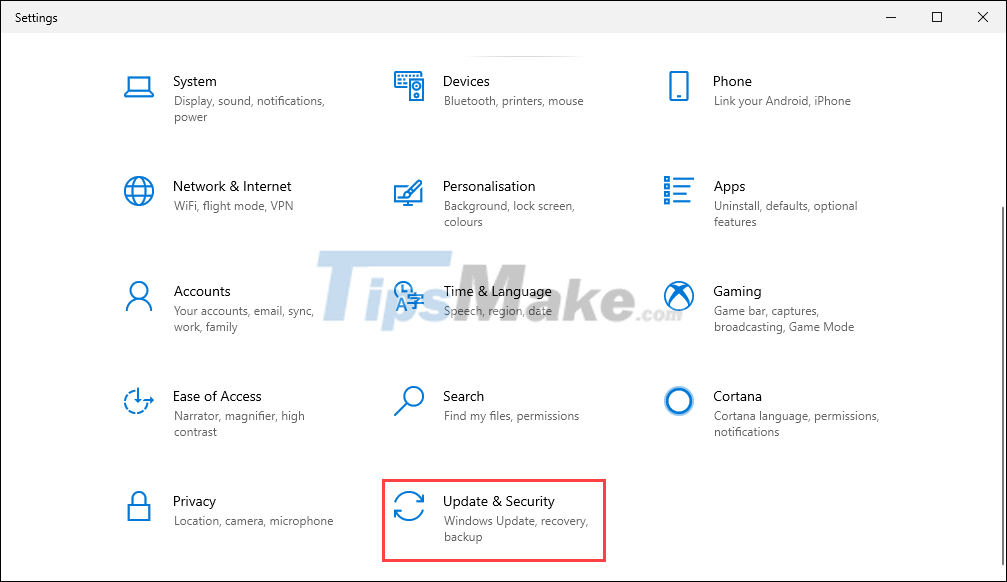
Step 2: Then, select the Update & Security tab to open update and security settings.
Step 3: Select the Troubleshoot tab and select Windows Update => Run the troubleshooter to open the troubleshooting toolkit on Windows 10.

Step 4: Finally, you just need to wait for the Windows Update tool to automatically scan and fix errors on your computer. The process of fixing errors on the computer will take about 3-5 minutes.
When the fix is successful, try updating again to check for error 0xc1420121.

2. Fix error 0xc1420121 by cleaning up disk space
In some cases, error 0xc1420121 also appears when the hard drive space is not enough for the downloaded installation. In this case, you just need to clean up the hard drive to free up space.
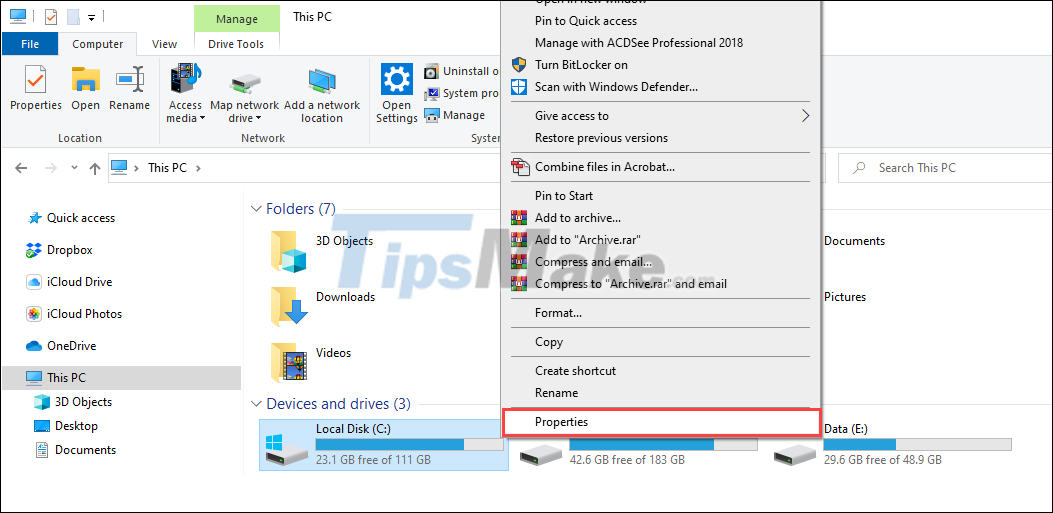
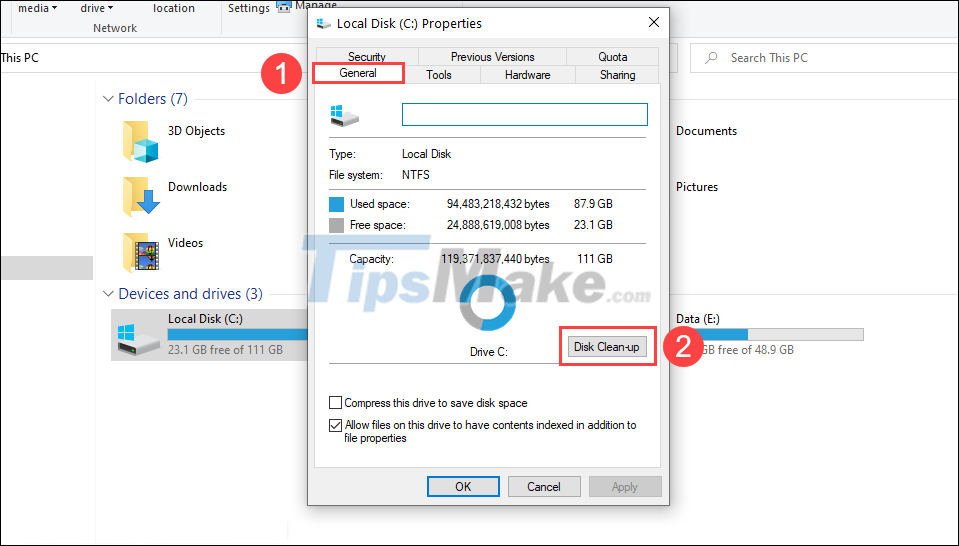
Step 1: Open This PC and right-click on the C drive => Properties to open the settings.
Step 2: On the Properties window, select the General tab (1) and select Disk Clean-up (2) to start cleaning data on the hard drive.
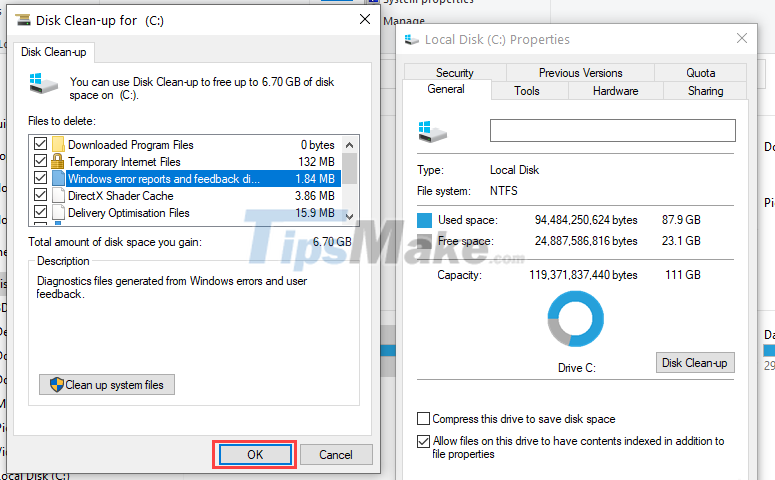
Step 3: After the system successfully scans all junk data, select all and click OK to start cleaning.
When the data is successfully cleaned, go back to Update Windows 10 and update again to check.
3. Fix error 0xc1420121 with Registry
Registry allows you to interfere with a lot of information on the computer and includes fixing error 0xc1420121 when updating Windows 10.
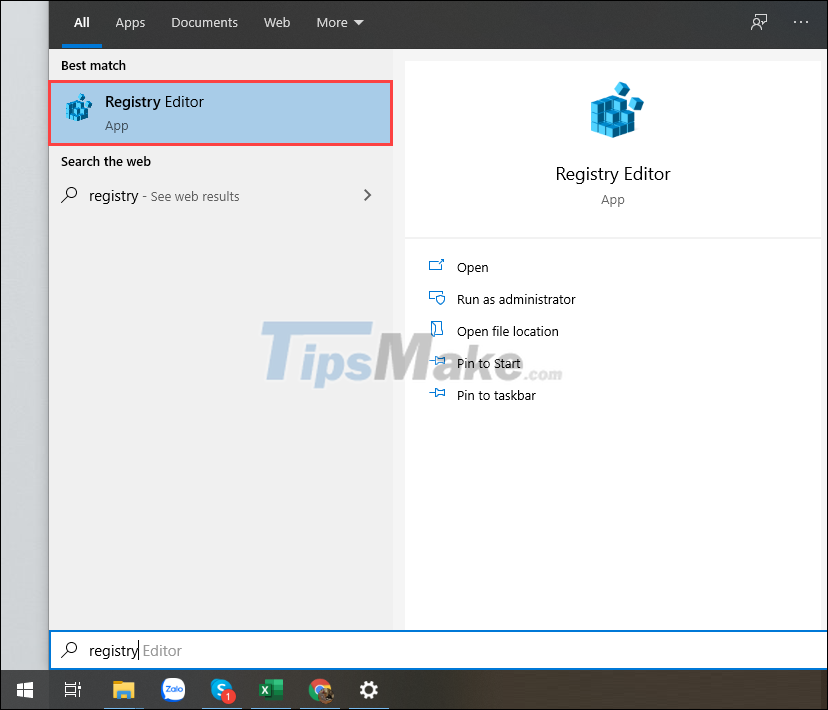
Step 1: Open MenuStart and enter Registry Editor to open.
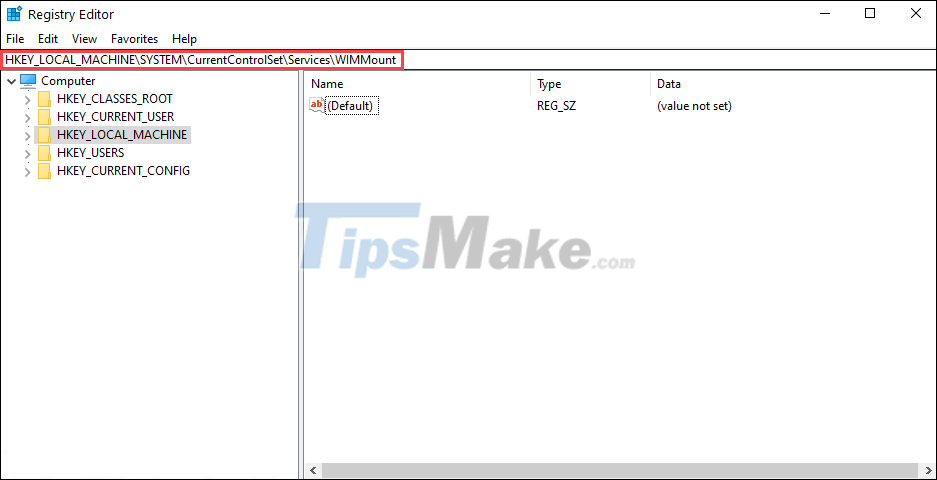
Step 2: Then, copy the link below and paste it into the Registry Editor to open it to the location of the folder you want to check.
HKEY_LOCAL_MACHINESYSTEMCurrentControlSetServicesWIMMount
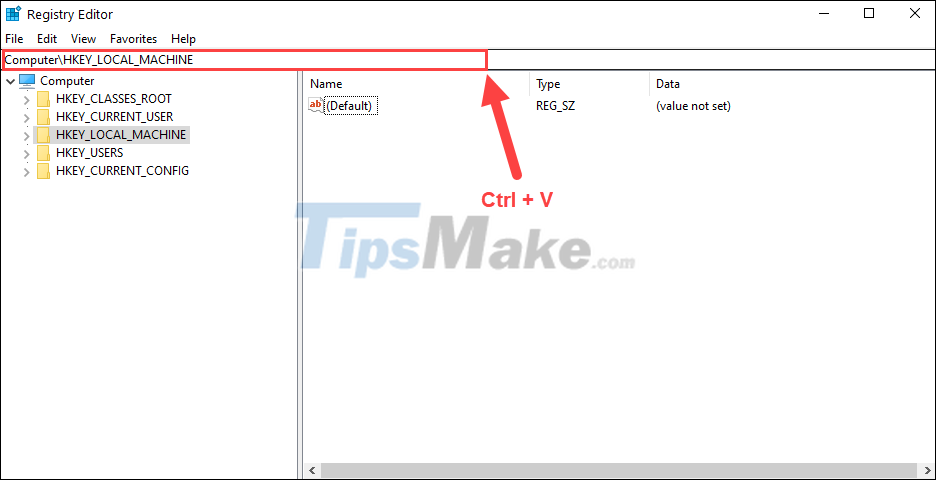
Step 3: Paste the link into the navigation bar on Registry Editor and press Enter to open it.
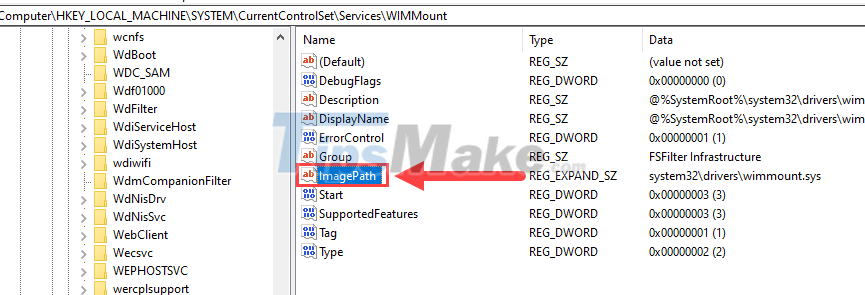
Step 4: In the folder we open on Registry Editor, select the ImagePath item to start making changes.
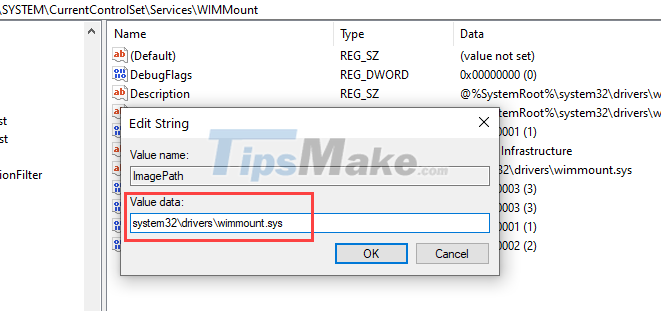
Step 5: In the Edit String window, copy the data below and paste it in Value Data instead. After successfully replacing the data, click OK to finish.
system32driverswimmount.sys
In this article, Tipsmake showed you how to fix error 0xc1420121 on Windows 10 computers. Have a nice day!