How to fix Color printer not printing red?
In this article, I will show you how to fix the printer does not output red and the cause of this error. Follow along!
1. Explain the phenomenon of the printer not output red
With errors such as printing in the wrong color, it is most likely in the cartridge unit or there is a problem with the inkjet part on the device. It's available on any device, whether you're using a 2-color home printer, a 4-color office printer, or a professional 4- to 8-color model. And the above error also often occurs on color printers.

2. Cause the printer does not output red
The printer has not been used for a long time
This often happens if you use inkjet printers, if not used for a long time, it is easy to lead to the condition of the nozzles being clogged, causing inaccurate colors.
How to fix
If the case is mild, you only need to print continuously about 10 to 15 copies until the color returns to its place and in addition you need to clean the nozzle. In more severe cases, you need to replace the ink nozzle.
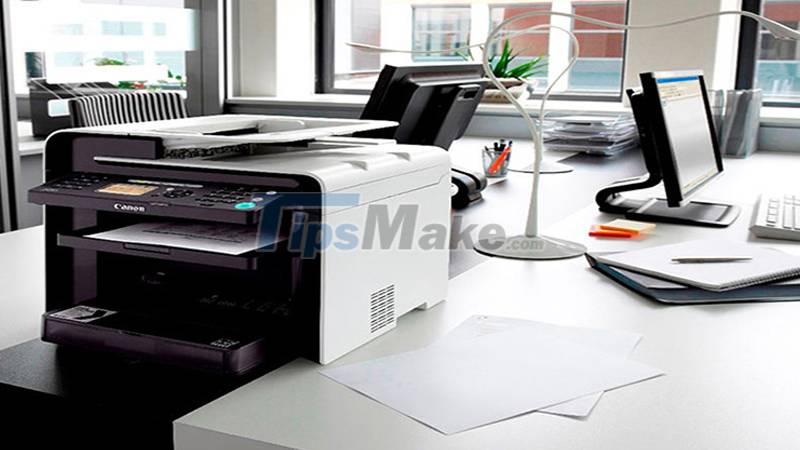
Printer not cleaned regularly
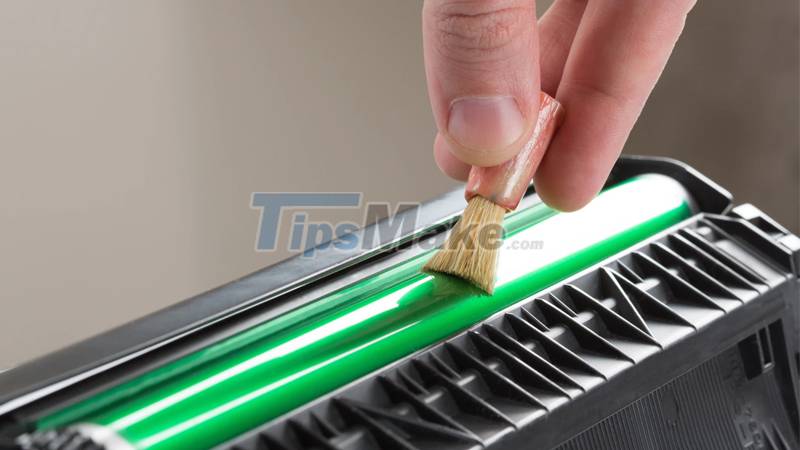
The occurrence of printer errors in the wrong color, loss of color is also partly due to the machine not being cleaned, causing parts to get dusty and even dirty your printing paper. This happens on conventional color laser printers where each color uses a cartridge with its own wiper system, separate axis.
How to fix
In addition to cleaning the printer, you must also clean the ink cartridges including the ink wipers, the components inside the printer to ensure the best performance as well as correct the wrong color printer error, definitive color loss.
Out of printer ink
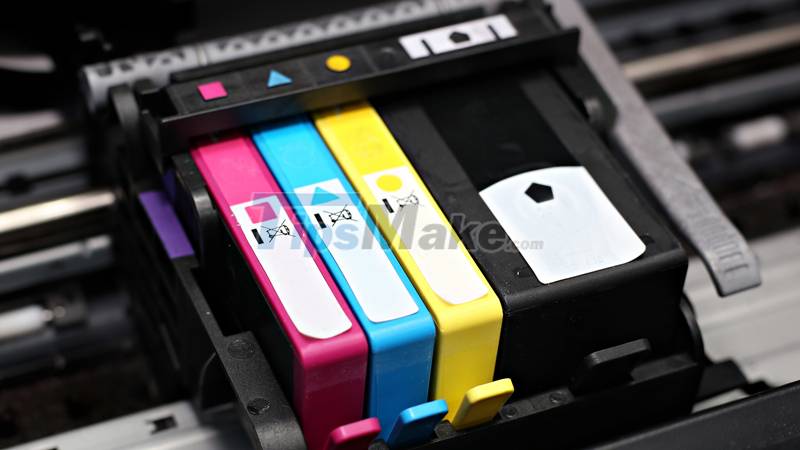
Running out of printer ink or about to run out of ink is easy to cause color mismatch compared to the printout because the number of printed colors is not enough, causing the printer to limit the use of colors and compensate.
How to fix
This is because the ink is out of ink, so you only need to replace the correct ink in the device to fix the wrong color printer error.
Using poor quality ink
Using poor quality ink will not only give you wrong color, loss of color, but also lead to damage to the cartridge and other parts of the printer. So you should never be greedy for cheap inks to use for your printer.
How to fix
You definitely have to replace the ink with a new one to avoid damage to the machine and with some high-end printers today will only print when you use genuine inks. So never choose cheap inks.
3. How to fix the printer not output red
Check nozzle condition
If the test print out has colored lines that are not interrupted, the nozzle is in a normal state (Figure in the Good section).
If the test print has color lines that are not seamless, broken or striped, or even some color lines may be lost, then it is necessary to perform nozzle cleaning (Figure in Cleaning needed).
At this time, you need to click Clean to clean the nozzle.

Step 1: Go to Control Panel, select Devices and printers, right-click the printer > Select Printing preferences.

Step 2: Select the Maintenance tab > Select the Head Cleaning item.

Step 3: Click on Nozzle Check.
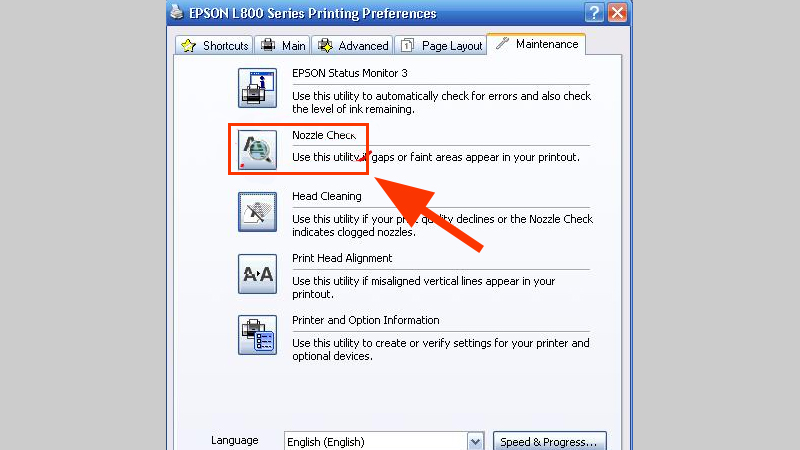
Step 4: Click Print to start cleaning the nozzle.
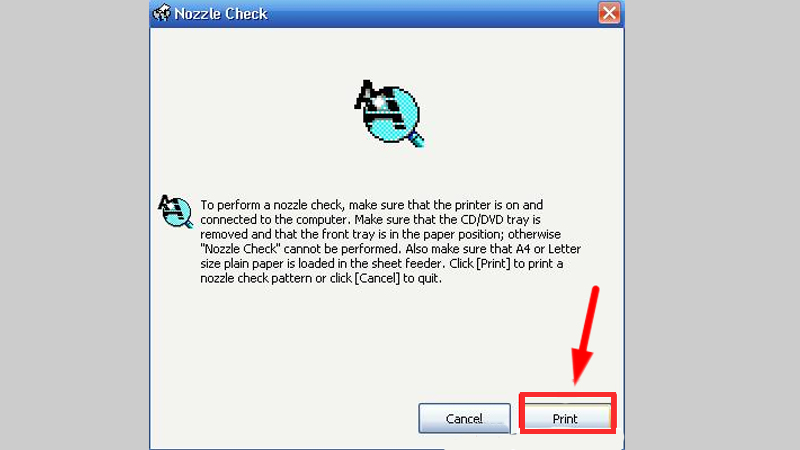
Note: Although the Nozzle Check window is displayed, do not perform any other tasks on the printer until Cleaning is completed. The cleaning process will take about 40 seconds.
Step 5: Wait for the Clean process to complete, check the grid test table to check if the ink is even or not. Are there any more dashes or stripes of colored lines?
Step 6: If the Nozzle check test print is ok, you can finish. If the Nozzle check test print is still not beautiful, you can proceed to Cleaning again by repeating the above steps.
Performing print head cleaning
If when you do the Nozzle check print test, but when you look at the test print, there are phenomena such as plaid, blurred or broken black lines similar to the part. on the right side of the image below, or even missing a few colored lines, Click Cleaning to perform cleaning of the nozzle.
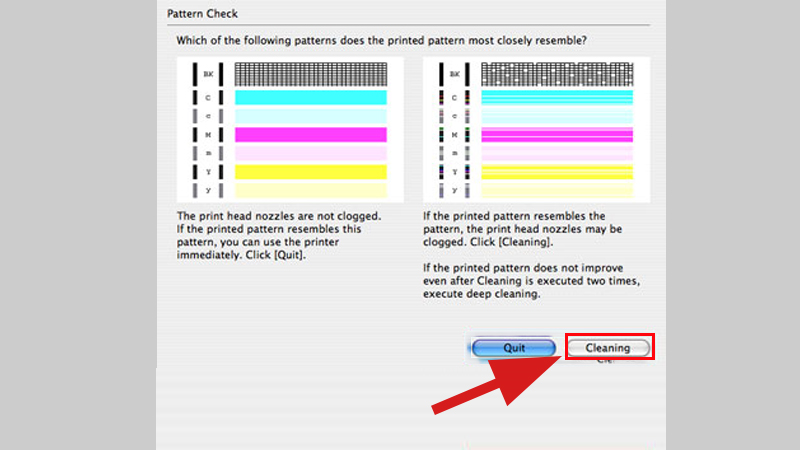
Step 1: To perform printhead cleaning from the Maintenance window > Click Cleaning.
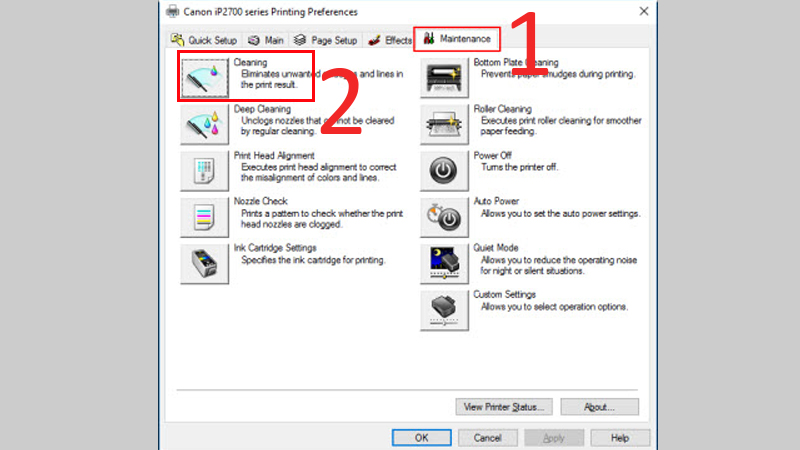
Step 2: When the Print Head Cleaning window appears, you can have options such as cleaning all colors or cleaning only black.
+ All colors: When you want to perform cleaning for all colors.
+ Black: When you want to clean only black.
+ Color: When you want to clean only colors except black.
After selecting the target item group, click Execute to perform the cleaning of the printheads.
Step 3: When the confirmation message is displayed, check the content, click OK.
Step 4: After the cleaning nozzle Cleaning process is finished, a window will appear informing that the cleaning of the nozzle has been completed and asking to print a Nozzle check print to check.
Please conduct a test print and compare with the sample to see if the nozzle has been cleaned? Are there any more dashes or stripes of colored lines?
Carry out deep cleaning (Deep Cleaning) of the nozzle
Note: Deep cleaning will consume a larger amount of ink than normal cleaning (Cleaning). Only perform deep cleaning when it is absolutely necessary.
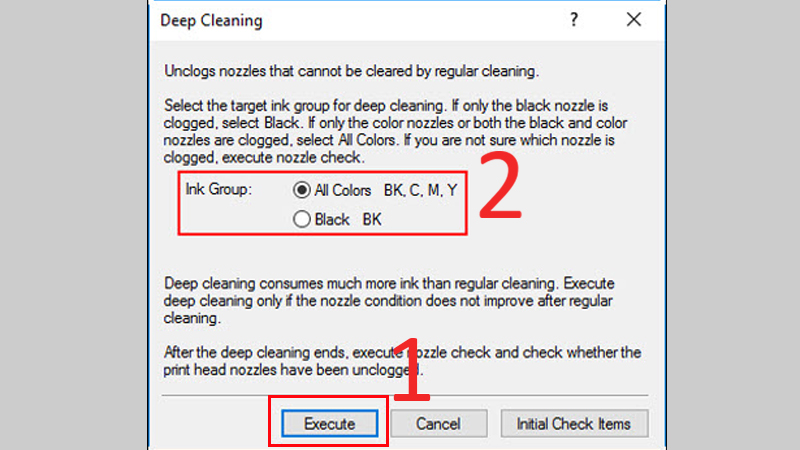
Step 1: In the Maintenance window > Click Deep Cleaning.

Step 2: When the Deep Cleaning window is displayed, You can choose the target group for Deep Cleaning, this is similar to the Cleaning cleaning above and also has 3 options.
Step 3: When the confirmation message is displayed, click OK. (The Power light will flash green and Deep Cleaning will start. Flashing will stop when Deep Cleaning is finished.)
Note: To avoid interrupting Deep Cleaning, do not perform any other operations until Deep Cleaning is complete. When the printer operation is interrupted, Deep Cleaning is complete. Deep cleaning will take about 75 seconds.
Step 4: When Deep Cleaning is finished > Print a test print Nozzle check to check if the nozzle has been cleaned?
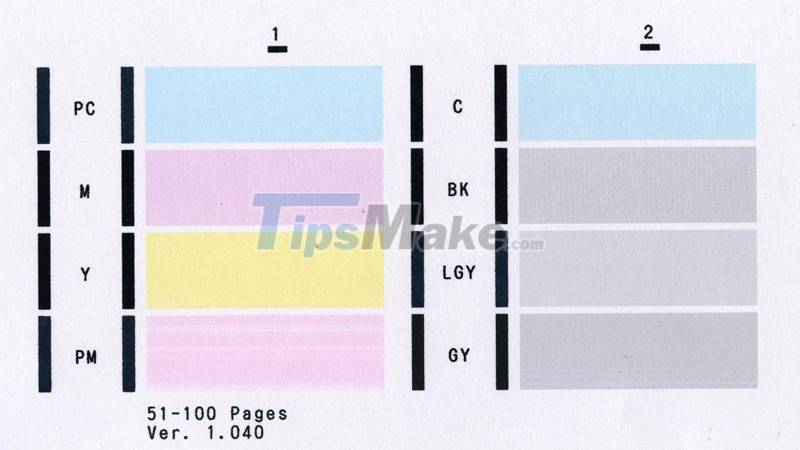
If the Nozzle check pattern is still abnormal after two Deep Cleanings, turn off the printer and let it rest for 24 hours or more before trying Deep Cleaning again. The waiting time can allow the dried ink in the clogged nozzle to soften, and solve the problem.
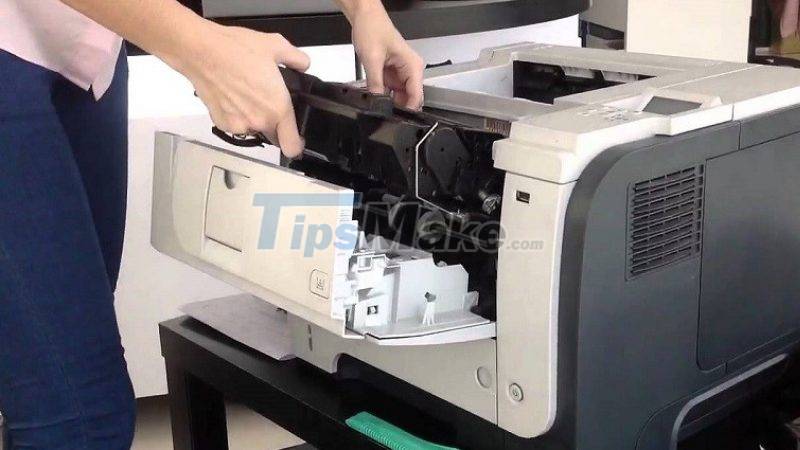
Cleaning the printer
In addition to cleaning and sanitizing the printer, you also have to clean the ink cartridges including the ink wipers, the components inside the printer to ensure the best performance as well as repair. printer error wrong color, color loss definitively.
Use quality print colors
The safest and most certain thing that you need to do is that you should replace with new and high-quality color ink to avoid machine damage.
Today, for some high-end color printers when buying a new printer, you will be advised to choose the right color ink for that printer, and from there users will only be able to print when you use it. Use only the genuine inks that came with the printer. So never choose cheap inks.
This article has shown you how to fix the error of the printer not output red. Good luck!