How to fix the printer error check the printed output
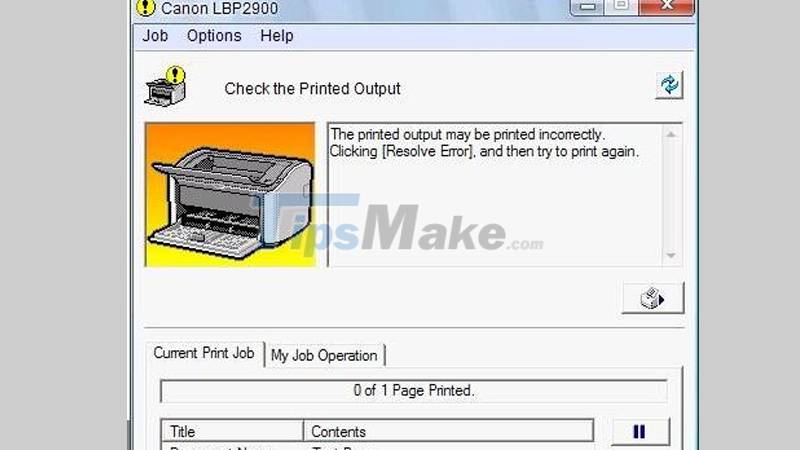
One of the common errors when you use the printer is the Check the Printed Output error. That is the phenomenon that the printer stops after printing the first sheet. At the same time, the printer reported a flashing red light with the error message 'Check printed output' appearing on the server screen. This article will show you how to fix the printer check the printed output error.
1. Signs of printer error check the printed output
When ordering to print from the computer to the printer, the printer still prints normally but prints some prints, the machine stops while the print job is still there and the error message Check the Printer Output appears.
2. Cause the printer checks the printed output
- The printer has not been cleaned and maintained for a long time, causing dirty contacts and sensors.
- Set the wrong paper size on the computer.
- Paper tray unit error.
3. How to fix the printer error check the printed output
Cleaning the printer
Clean the whole machine, make sure all machine parts are good.
Is the correct paper size on the machine?
Step 1: Go to Control Panel > Select Devices and Printers.
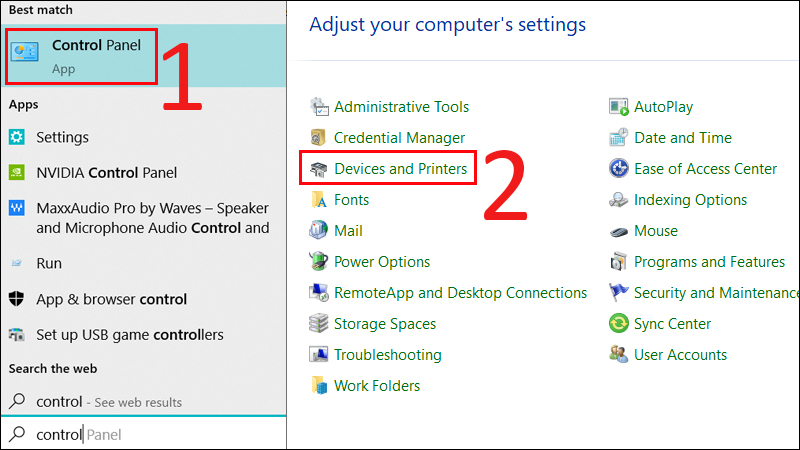
Step 2: Right-click the faulty printer > Select Printing Preferences.

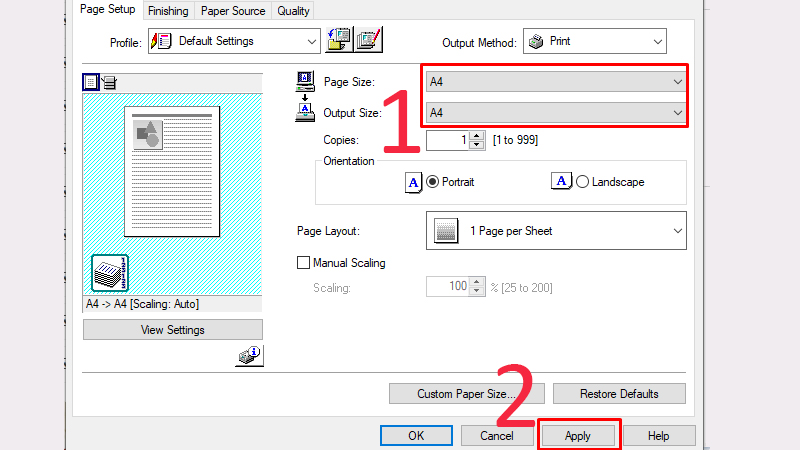
Step 3: At the interface, you switch to A4 paper size by ticking Page size to A4 paper size and Output Size to A4 paper size > Select Apply.
Step 4: At the Finishing tab, select Advanced Settings.
Step 5: Here you will see the Detect Paper Size line showing On mode, switch them to Off mode and then select Apply.
Step 6: Find the small printer icon with an exclamation mark Display Printer Status Window, click on the icon.
Step 7: Continue to select Tab Options/ Utility/ Configuration Page Print/ OK.
Step 8: Sleep mode is changed to Ready to Print which means the printer has received the change notification and restarted the printer and used it normally.
Put the paper in the correct position
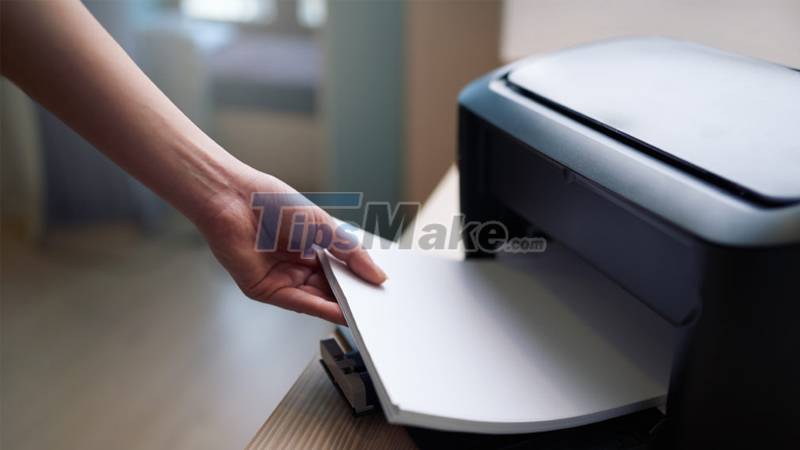
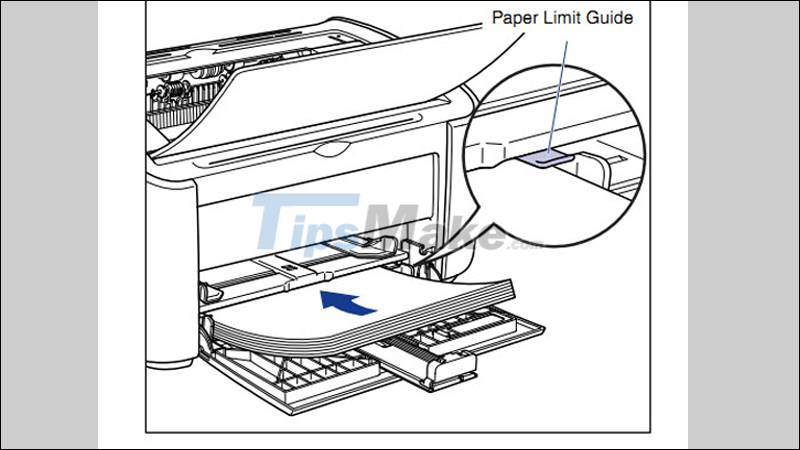
Step 1: The place where the paper is placed always has a latch that limits the number of pages that can be placed in the tray, this ensures the maximum amount of paper that can be placed in the paper tray.
Note: It is recommended that you only put in 2/3 of the number of pages that the printer allows.
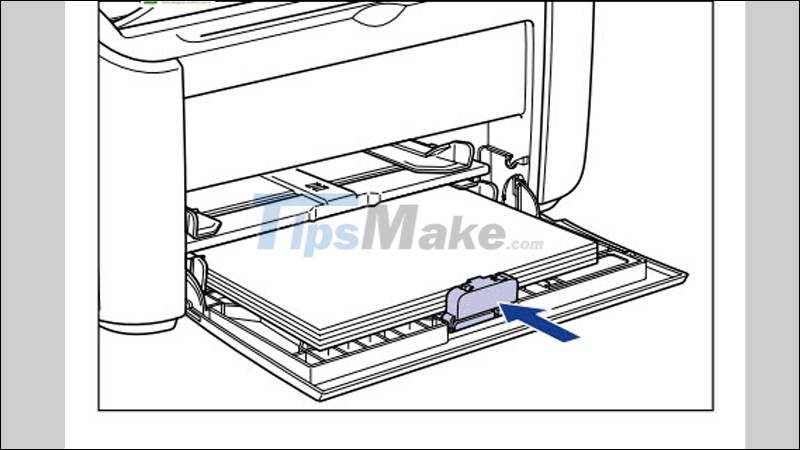
Step 2: Always push the stopper to fit snugly against the edge of the paper, this ensures the best paper loading.
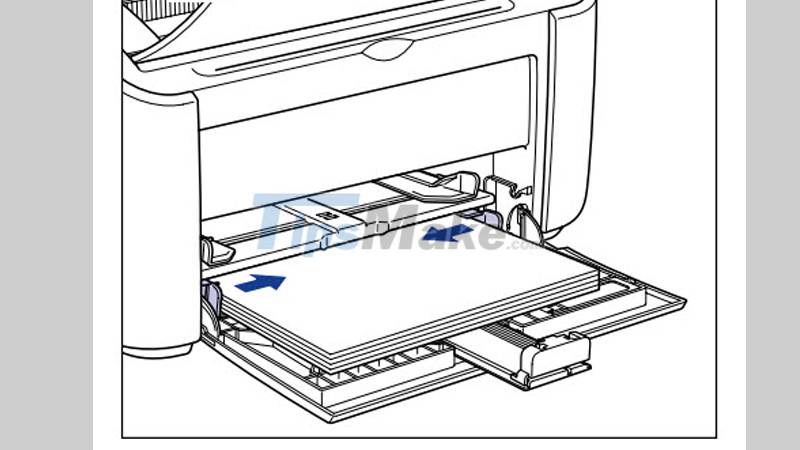
Step 3: The adjustment of the two pegs on both sides is also quite important. Otherwise, during the paper loading process, the printed page will be skewed to the left or right, the text is slanted, not straight from the top.
This article showed you how to fix the printer check the printed output error. Good luck!
You should read it
- ★ Common printer errors and how to fix them
- ★ Microsoft fixed printer errors for all affected versions of Windows 10
- ★ The printer prints slowly - Causes and effective and quick fixes
- ★ Common HP printer error codes and how to fix HP printer errors
- ★ Microsoft confirms new printer error on Windows 11, only Admin can print