Table of Contents
This updated guide examines Audio: How to Edit Music in Imovie on Mac and organizes the essential facts, background, and practical takeaways in clear American English.
Part 1of 12:
Import an Audio File
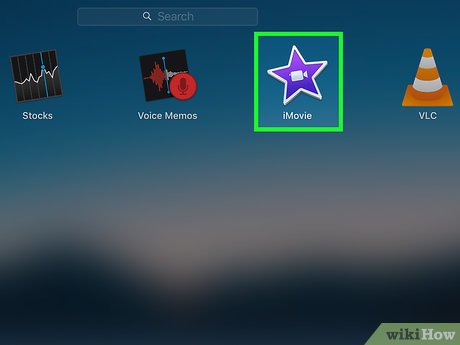 Click to open iMovie. It's the app that has an image of a purple star with a camera in the middle.
- Download iMovie from the App Store
 , if it's not already installed on your Mac.
- Download iMovie from the App Store
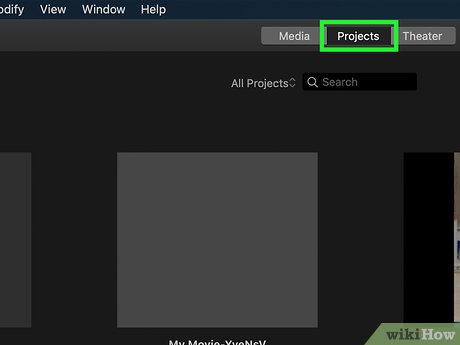 ClickProjectsat the top. It's the button with a back arrow
 on it.
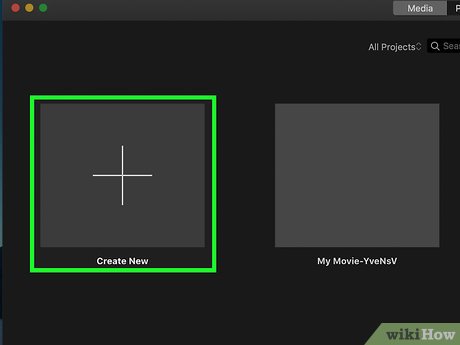 Select a project, or clickCreate New. "Create New" will start a new project from scratch.
- ClickMovie, if you are creating a new project.
 Click theAudiotab at the top. This will connect to your iTunes library.
 Drag a song to a blank space in the timeline. The timeline is the large bar at the bottom that contains all the audio and video clips in your project. You will see the audio in wave form in the timeline.
- Drag the slider bar next to "Settings" to zoom in and zoom out in the timeline.
Part 2of 12:
Adjust the Volume
 Click an audio clip in the timeline. It will be highlighted in yellow to indicate that it is selected. The timeline is the bar at the bottom that contains all audio and video clips in your project.
 Click the volume button above the previewer. It's the button that looks like a speaker with sound waves coming out of it. The previewer is the screen that displays a preview of the video clips in your timeline.
 Drag the slider bar above previewer to adjust volume. It's the slider bar next to the button with a speaker icon (the mute button).
- Alternatively, you can click the horizontal line in the middle of the wave file and drag it up and down to adjust the volume.
Part 3of 12:
Slow Down the Audio Clip
 Click an audio clip in the timeline. It will be highlighted in yellow to indicate that it is selected. The timeline is the bar at the bottom that contains all audio and video clips in your project.
 Click the "speed" icon. It's the icon that resembles a speedometer above the previewer.
 Click the pulldown
 next to "Speed: ". It's above the previewer at the top.
 ClickSlowin the pulldown menu.
 Click10%,25%, or50%. These buttons are located next to the pulldown menu above the previewer. This will determine how much you slow down the audio.
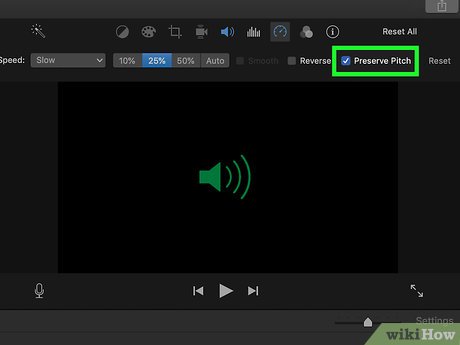 Click the checkbox
 next to "Preserve Pitch" (optional). This will prevent the pitch from lowering as the audio slows down.
Part 4of 12:
Speed Up the Audio Clip
 Click an audio clip in the timeline. It will be highlighted in yellow to indicate that it is selected.
 Click the "speed" icon. It's the icon that resembles a speedometer above the previewer.
 Click the pulldown
 next to "Speed: ". It's above the previewer at the top.
 ClickFastin the pulldown menu.
 Click2x,4x,8x, or20x. These buttons are located next to the pulldown menu above the previewer. This will determine how much you speed up the audio by.
 Click the checkbox
 next to "Preserve Pitch" (optional). This will prevent the pitch from raising as the audio speeds up.
Part 5of 12:
Customize the Speed
 Click an audio clip in the timeline. It will be highlighted in yellow to indicate that it is selected. The timeline is the bar at the bottom that contains all audio and video clips in your project.
 Click the "speed" icon. It's the icon that resembles a speedometer above the previewer.
 Click the pulldown
 next to "Speed: ". It's above the previewer at the top.
 ClickCustomin the pulldown menu.
 Type a percentage number in the box next to the pulldown menu. 100% is normal speed. If you type a number lower than 100%, it will slow the audio down. If you type a number greater than 100%, it will speed the audio up.
 Click the checkbox
 next to "Preserve Pitch" (optional). This will prevent the pitch from changing as the audio speeds up or slows down.
Part 6of 12:
Reverse the Audio Clip
 Click an audio clip in the timeline. It will be highlighted in yellow to indicate that it is selected. The timeline is the bar at the bottom that contains all audio and video clips in your project.
 Click the "speed" icon. It's the icon that resembles a speedometer above the previewer.
 Click the pulldown
 next to "Speed: ". It's above the previewer at the top.
 Click the checkbox
 next to "Reverse". This will play the audio clip backwards.
Part 7of 12:
Reduce Background Noise
 Click an audio clip in the timeline. It will be highlighted in yellow to indicate that it is selected. The timeline is the bar at the bottom that contains all audio and video clips in your project.
 Click the "equalizer" button. It's the button that has numerous vertical lines of varying length.
 Click the checkbox next
 next to "Reduce background noise: ".
 Click and drag the slider bar. The slider bar is located next to "Reduce background noise:". This will determine how much background noise will be reduced. The more background noise you try to reduce, the more likely it is to affect the quality of the audio.
Part 8of 12:
Apply an Equalizer
 Click an audio clip in the timeline. It will be highlighted in yellow to indicate that it is selected. The timeline is the bar at the bottom that contains all audio and video clips in your project.
 Click the "equalizer" button. It's the button that has numerous vertical lines of varying length.
 Click the pulldown
 next to "Equalizer".
 Select an equalizer settings.
- " Flat " is the default setting with no change to the audio.
- " Voice Enhance " will emphasize the singing in an audio clip.
- " Music Enhance " will emphasize the instrumental music in an audio clip.
- " Loudness " will give the audio clip a slight boost in the bass.
- " Hum Reduction " will try to reduce any audio hums caused by microphones and equipment.
- " Bass Boost " will emphasize the bass in an audio clip.
- " Bass Reduce " will subtract the amount of bass in an audio clip.
- " Treble Boost " will emphasize the treble in an audio clip.
- " Treble Reduce " will try to subtract the amount of treble in an audio clip.
Part 9of 12:
Split the Audio Clip
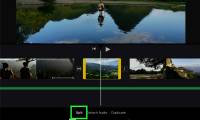
 Place cursor over a audio wave in the timeline. The timeline is the bar at the bottom that contains all audio and video clips in your project.
 Click to place the playhead. The playhead is the grey line that appears in the timeline.
 Click theModifytab. It's in the menu bar at the top of the screen.
 ClickSplit Clip. This will split the audio file into two separate audio files where the playhead is at.
Part 10of 12:
Move an Audio Clip
 Click and hold an audio clip in the timeline. The timeline is the bar at the bottom that contains all audio and video clips in your project.
 Drag the audio clip left or right. This will adjust when the audio clip starts in the timeline.
Part 11of 12:
Delete an Audio Clip
 Click an audio clip in the timeline. The timeline is the bar at the bottom that contains all audio and video clips in your project.
 PressDeleteon the keyboard. This will remove the audio clip from the timeline.
- Alternatively, you can right-click on an audio clip and clickDelete.
Part 12of 12:
Export the Song
 Click theFiletab. It's at the top of the screen.
 Place mouse cursor overShare.
 ClickFile….
 Type a title for the file. The title goes in the bar with the large text at the top of the popup.
 Type a brief description below the title (optional).
 Type any tags you want to include (optional). This could be a music genre, the name of an artist, or anything else that can be used to classify the file.
 Select a format. Click the arrows to select a format.
- Select " Video and Audio " if you have video clips included in your project
- Select " Audio Only " if you have no video clips.
 Select a file format.
- For "Audio Only", you can choose, AAC, MP3, AIFF, or WAV formats. MP3 is the most commonly used audio format. AAC is standard across iTunes products.
- For " Video and Audio " you will need to select the video resolution, quality, and how to compress. Higher resolution, quality, and "Better Quality" compression will result in a better quality file, but it will be larger and take longer to render.
 ClickNext
 Type a title in the bar next to "Save As: "
 Select a location to save the file.
 ClickSave.
FAQ
What is Audio: How to Edit Music in Imovie on Mac about?
It provides a structured overview of audio, explains the main context, and highlights practical takeaways for readers.
Why does this topic matter?
Understanding the main concepts helps readers evaluate the issue, avoid common mistakes, and make better-informed decisions.
How should readers use this information?
Use the guidance as a practical starting point, confirm details that may have changed, and follow current product, safety, or security recommendations.
Related Articles
 Audio: How to Edit Music in Imovie on Iphone or Ipad6 minutes read
 Top 3 iMovie Alternatives for Windows PCs: What to Know7 minutes read
 Click: How to Use Imovie11 minutes read
 Audio: How to Cut Music in Imovie on PC or Mac4 minutes read
 How to Trim a Video on iMovie: Clear Instructions6 minutes read
 How to Add Images to Imovie4 minutes read
Reader Comments 0
Sign in with email or Google to join the discussion.