How to Add Images to iMovie
Method 1 of 2:
On Mac
-
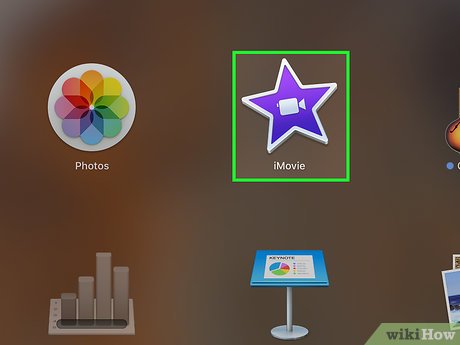
 Open iMovie. It's a purple star-shaped app with a white movie camera icon.
 -
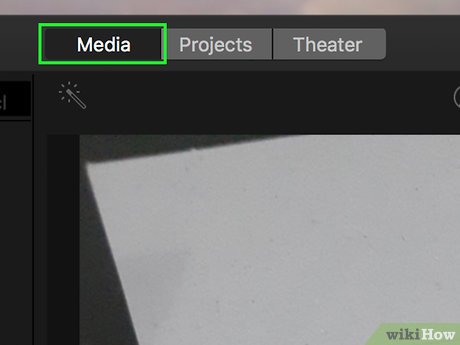
 Click the Media tab. It's at the top of the window.
 -
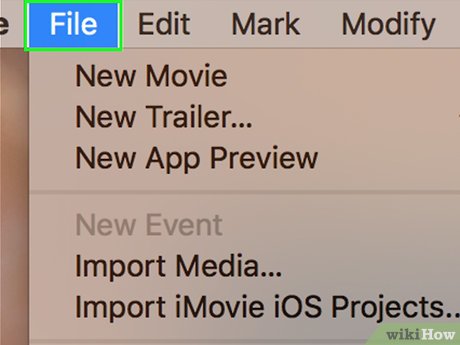
 Click File in the menu bar at the top of the screen.
 -
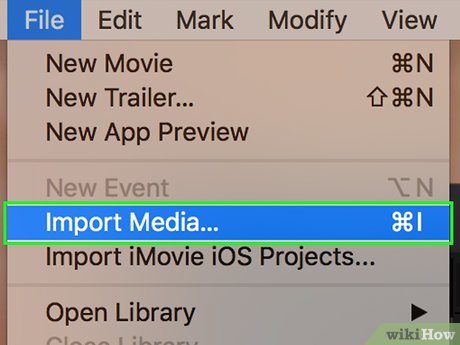
 Click Import Media….
 -
 Click the Import to: drop-down at the top of the window.
 -
 Click a destination for the new image. You can save it directly to a project or add it to your iMovie Media Library to use later.
 -
 Select the image's location. Use the menu on the left side of the window to select the folder or location where your image(s) are saved.
- Click a camera in the "CAMERAS" section to capture a new image.
-
 Click the image(s) you want to add. They'll be listed on the right side of the window after you've selected the folder or location where the videos are saved.
- Hold the ⌘ key while you click to select multiple images.
- Alternatively, click Import All in the lower-right to import all the media from the folder or location you selected.
-
 Click Import Selected in the lower-right. The selected image(s) will be imported to the destination you selected in iMovie.
- To add the image to another project, double-click a project under the Projects tab, then click My Media in the upper-left, and drag the new image down to your project's timeline.
Method 2 of 2:
On iPhone/iPad
-
 Open the iMovie app. It's a purple app with a white star and a movie camera icon.
 -
 Tap the Projects tab. It's at the top of the screen.
- If iMovie opened into a video or different tab, tap the "back" link in the upper-left corner of the screen until you see three tabs at the top of the screen: Video, Projects, and Theater.
-
 Tap a project to open it.
- Alternatively, tap ➕ to start a new project. You'll be prompted to select an image or video from your photo library.
-
 Tap the round Edit button. It's near the bottom of the screen.
 -
 Select the location to insert the image. To do so, scroll through your project's timeline along the bottom of the screen.
 -
 Tap +. It's on the left side of the side of the screen, under or next to the preview of your iMovie project.
 -
 Tap Photos near the top of the screen.
 -
 Tap the location of the image. Use the menu to select the album, app, or location where your image(s) are saved.
 -
 Tap an image. The image you selected will be added to your iMovie project in the location you specified.
Share by
Isabella Humphrey
Update 04 March 2020


