Table of Contents
Quick answer
For some reason, you accidentally lost the Ruler in Google Docs and are struggling to figure out how to make it reappear. It's very easy! With just a few simple steps shared below by Taimienphi, you can quickly restore and display the Ruler in Google Docs.
How to display the Ruler in Google Docs
By default, the Ruler in Google Docs is displayed because its function is quite essential during document creation, such as using tabs, adjusting margins, and adjusting row and column lengths. However, if for some reason you lose or don't see the Ruler in Google Docs , it can be a significant obstacle and even directly affect your work. So how do you display the Ruler in Google Docs? It's very simple; just follow these easy steps.
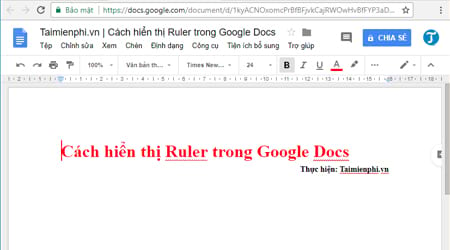
How to display the Ruler in Google Docs
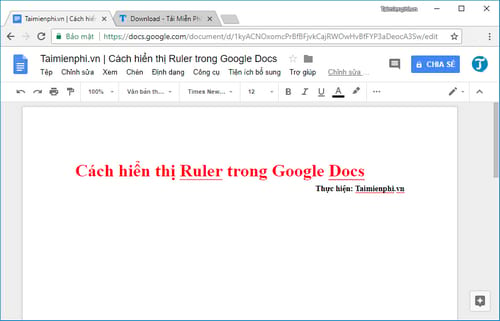
Step 1: Open any Google Docs file where you don't see the Ruler bar.
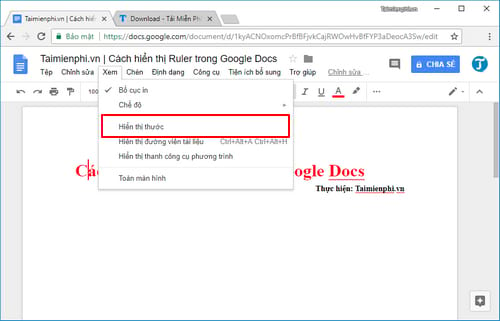
Step 2: On the Google Docs editing interface, click the View menu and select Show ruler .
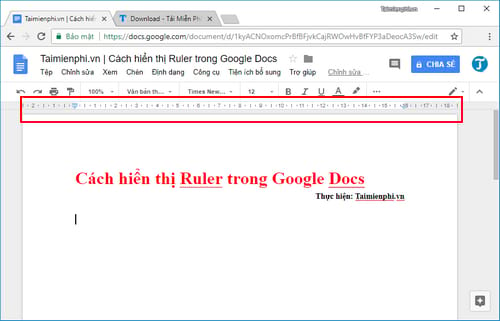
Immediately, the Ruler bar will appear in Google Docs, and you can comfortably adjust the margins to the correct level on this online Google Docs tool.
Thus, with just a few simple steps, you can quickly restore the Ruler display in Google Docs without wasting much time and affecting your work. Undeniably, Google Docs gives us more options to create documents anytime, anywhere, even without Word. And with many significant improvements, many users may be unfamiliar with features such as adding rows and columns to tables, numbering pages, inserting links, etc. However, with previous tutorials, such as how to number pages in Google Docs , hopefully you can use Google Docs more effectively in your current work.
Related Articles
 Virtual Ruler: How to Display the Ruler on the Computer Screen7 minutes read
 How to Display Ruler Ruler Bar in Micorosoft Word 2010, Word 20033 minutes read
 How to Display the Ruler Bar in Excel: Show Bar Ruler Excel3 minutes read
 How to Use the Ruler Ruler Bar in Word: How to Use Word Ruler8 minutes read
 The Way Google Docs Helps You Become Professional7 minutes read
 How to Display the Ruler Bar in Word Versions4 minutes read
Reader Comments 0
Sign in with email or Google to join the discussion.