How to display File Explorer's Preview Pane on Windows 10/11
Enable File Explorer's Preview Pane on Windows 11
This part of the guide will show you how to show or hide the Preview Pane in File Explorer in Windows 11. There are 2 ways you can choose: Activate from File Explorer's command bar or use the file.reg provided inside. below.
Note:
- Showing or hiding Preview Pane in File Explorer is a global setting that applies to all folders, not just the current folder.
- You can drag the Preview Pane's left border left and right to increase or decrease its width in File Explorer.
- If you leave the Preview Pane visible, it will replace the currently displayed Details Pane.
- If you turn off thumbnail previews in File Explorer, image files will also not show previews in the Preview Pane.
Display Preview Pane in File Explorer from the File Explorer command bar
1. Open File Explorer on Windows 11 ( Win + E ).
2. Click View on the command bar.
3. Click Show.
4. Select (display) the Preview Pane so that it is visible in File Explorer.

Display Preview Pane in File Explorer using REG file
To display the Preview Pane in File Explorer,
- Please download this file.
Contents of REG file for reference:
Code: Windows Registry Editor Version 5.00 [HKEY_CURRENT_USERSoftwareMicrosoftWindowsCurrentVersionExplorerModulesGlobalSettingsDetailsContainer] "DetailsContainer"=hex:02,00,00,00,01,00,00,00 [HKEY_CURRENT_USERSoftwareMicrosoftWindowsCurrentVersionExplorerModulesGlobalSettingsSizer] "DetailsContainerSizer"=hex:15,01,00,00,01,00,00,00,00,00,00,00,c0,03,00,00- Save the .reg file to the desktop.
- Double click the downloaded .reg file to merge.
- When prompted, click Run > Yes (UAC) > Yes > OK to approve the merge.
- If File Explorer is currently open, close and reopen File Explorer to apply the changes.
- Now, you can delete the downloaded .reg file if you want.
Enable File Explorer's Preview Pane on Windows 10
Note : You may have heard about a security vulnerability related to the Preview Pane, but it was fixed on Windows 10 with the update released on April 14, 2020. If you have the new updates Most importantly, using this feature will be very safe.
First, open File Explorer. To do it quickly, press Win+ Eor click the folder icon in the taskbar, if File Explorer is pinned there. You will also find File Explorer in the Start menu.
In the menu bar at the top of the File Explorer window, click View.
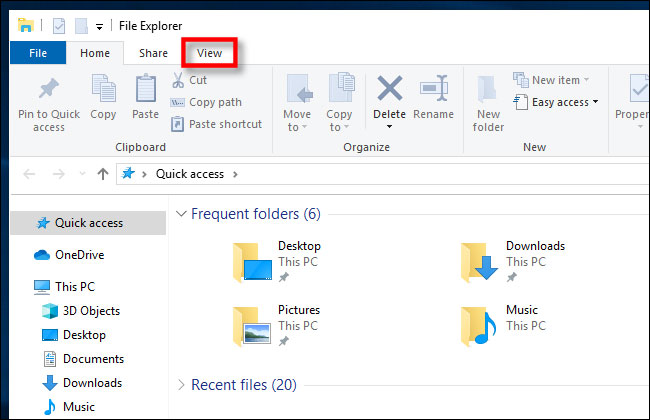
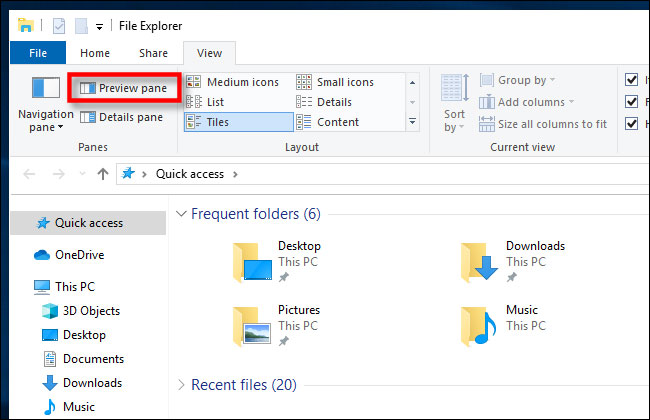
Find the Preview Pane in the upper left area of the toolbar and click on it.
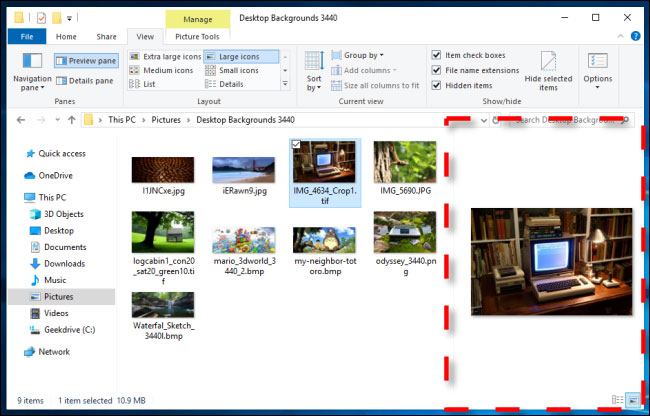
Preview Pane is now enabled. Navigate File Explorer to a folder with the documents you want to preview. After selecting a file, you will see its preview thumbnail on the right side of the window.
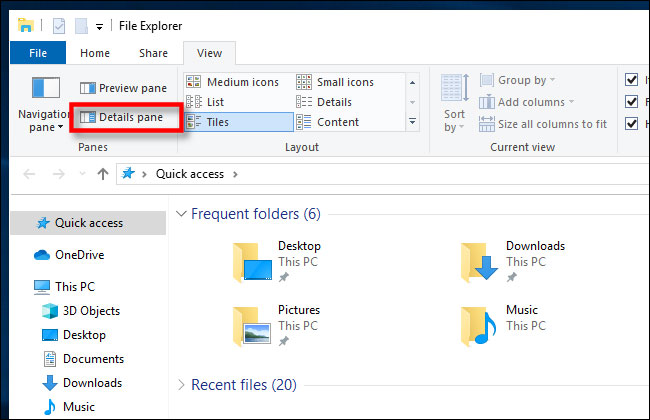
File Explorer also has a related feature called Details Pane . To enable this feature, click View in the Explorer menu bar, then click Details Pane in the toolbar (it's right next to the Preview Pane option ).
When you highlight a file with the Details Pane enabled, you'll see a small thumbnail and some details about the file, such as its size or the date it was created, in the right part of the window.
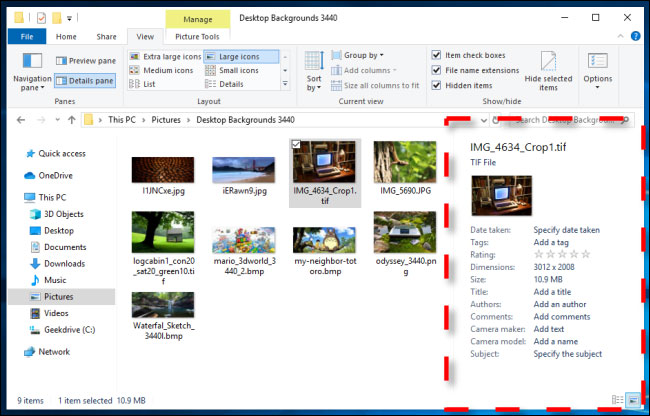
Shortcut to activate Preview and Details Pane
You can also quickly turn Preview and Details Pane on or off with the following keyboard shortcuts:
- To open or close the Preview Pane, press
Alt+P. - To open or close the Details Pane, press
Alt+Shift+P.