Table of Contents
This practical guide walks through how to delete all photos stored on iPhone, explains the main requirements, and highlights common issues that may appear along the way.
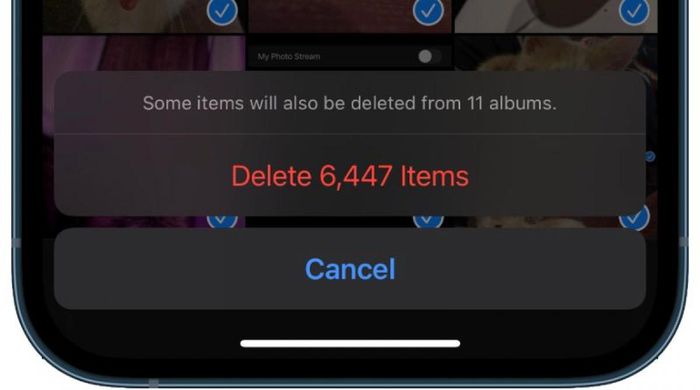
First, users have to consider whether or not they want to remove all their photos from everything, anywhere, and forever. If you're using iCloud Photo Library, deleting photos on iPhone deletes them from the cloud and any device connected to the user's iCloud.
Before doing anything, users should do a backup of their Photos library by saving a duplicate version of it or exporting all photos on Mac or PC. Deleting a photo is a permanent and cannot be undone, so be careful. Here are the steps.
Switch settings for Photos app
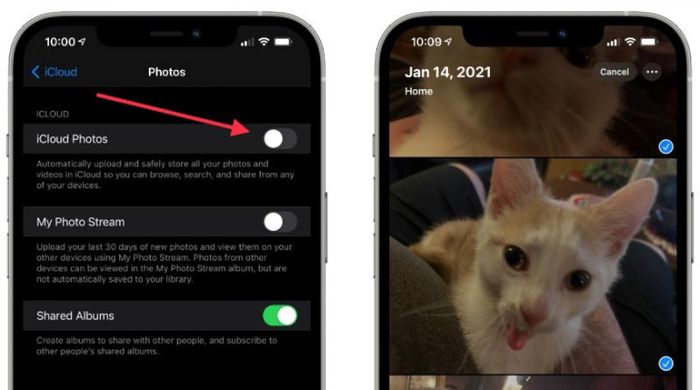
- Open the Settings app.
- Choose Photos.
- Turn off iCloud Photos if the user only wants to affect photos on his iPhone.
- Turn off Shared Albums and My Photo Stream if you want the Photos app to be completely blank.
Select photos to delete
Open the Photos app.
- Tap Gallery then All Photos.
- Click Select in the upper right corner.
- Click on the photo to select the photos you want to delete.
- There is no Select All option in this step.
How to quickly select photos
- Click at least one photo to make a blue check mark appear.
- Tap and swipe your finger up following a scroll gesture to start selecting multiple photos.
- Leave your finger on the screen to continue scrolling and selecting photos.
- Speed up photo selection by using your other hand to perform another swipe up gesture repeatedly.
- This is a two-finger operation, one finger will remain on the screen to start scrolling while the other finger speeds up scrolling.
Delete photos from main gallery
- After selecting all the photos you want to delete, click the trash can icon in the bottom right corner.
- A dialog box will appear telling the user how many photos will be deleted and how many albums will be affected.
Click Delete.
This step is not permanent. It will move the deleted photos to the 'Recently Deleted' folder in the Album tab. Continue selecting and deleting photos until the user is satisfied with what has been deleted.
Delete photos permanently
Users can permanently delete photos by emptying the Recently Deleted folder. This is your last chance to find any photos that the user mistakenly deleted. If you're deleting all of your photos, make sure that none of them remain in the Gallery 'tab.
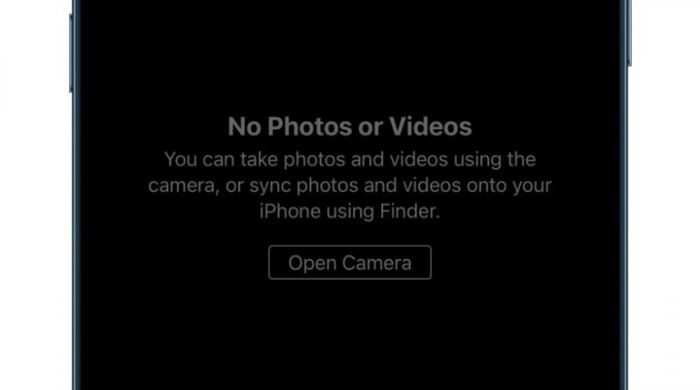
Navigate to the Album tab.
- Select the Recently Deleted folder.
- Click Select in the upper right corner.
- Erase all or Restore all options will appear at the bottom of the screen.
- Select Delete All to permanently delete the photos you want to delete.
When this step is reached, the user will not be able to undo it, so do it only when you are sure your library has been backed up or imported into a new service like Google Photos.
Good luck.
Key Takeaways
Use the information above as a practical reference for how to delete all photos stored on iPhone. Review each step carefully, confirm any requirements, and choose the option that best fits your situation.
FAQ
What does this guide explain about Delete All Photos Stored on iPhone?
It explains the main concepts, practical considerations, and useful steps related to delete all photos stored on iPhone without requiring advanced knowledge.
Who can benefit from learning about Delete All Photos Stored on iPhone?
This information is useful for readers who want a clear overview, practical guidance, and reliable steps related to delete all photos stored on iPhone.
What should I check before applying this information?
Review the requirements, confirm that your device, software, or situation matches the instructions, and back up important data before making major changes.
Related Articles
 How to Delete Multiple Photos Saved on iPhone for a While7 minutes read
 How to Delete, Restore Photos and Videos on iPhone and iPad5 minutes read
 How to Delete All Photos on iPhone: Clear Instructions7 minutes read
 How to Delete Photos Sent in Imessage iPhone3 minutes read
 How to Delete Photos on the Fastest iPhone3 minutes read
 How to Take Photos to Remove Fonts on Old Phones8 minutes read
Reader Comments 0
Sign in with email or Google to join the discussion.