Table of Contents
Create Hotspot
This practical guide explains how to create wi-fi hotspot with command prompt with clear steps and useful context. It also covers common requirements, potential problems, and the details that can help you get better results.
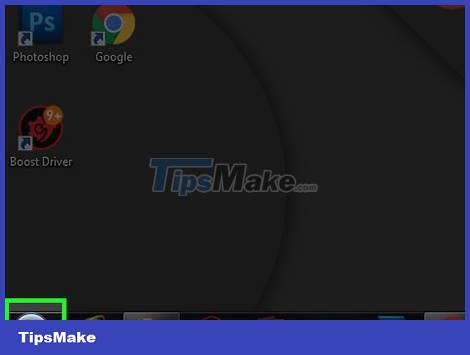
On Windows 8, you would place the mouse pointer in the upper-right corner of the screen, and then click the magnifying glass icon.
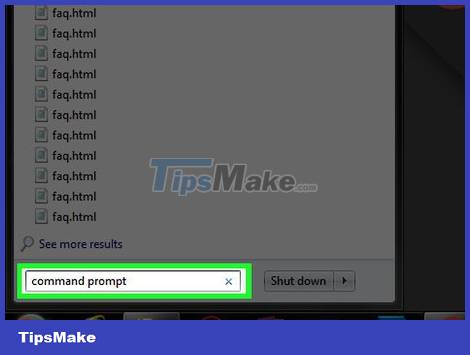
Type command prompt into Start. This will show you the Command Prompt icon.
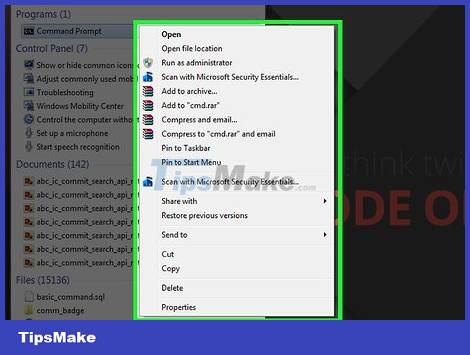
Right click on Command Prompt. This is the option at the top of the page.
If you use a laptop with a trackpad but no mouse button, tap two fingers on the trackpad to perform a right-click.

Click Run as administrator. This option is available in the right-click menu that is currently displayed.
If you don't see the Run as administrator option, you cannot create a Wi-Fi hotspot.

Click Yes when asked. The Command Prompt window will appear on the screen.
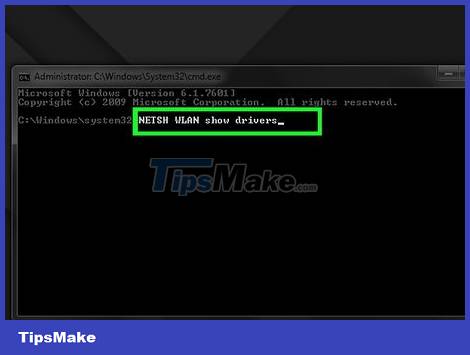
Type NETSH WLAN show drivers and press ↵ Enter. This is a command that provides confirmation that the computer can create a hotspot using the Command Prompt.

Find "Yes" next to "Hosted network supported". If you see "Yes" here, your computer supports the Hosted Network feature - which allows you to create a Wi-Fi hotspot.
If you don't see "Yes" here, your computer cannot create a Wi-Fi hotspot using Command Prompt.
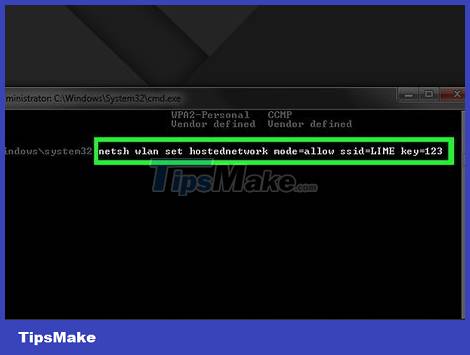
Enter the following code into the Command Prompt:
netsh wlan ''set hostednetwork mode=allow ssid=NETWORKNAME key=PASSWORD
Press ↵ Enter after entering the code. Remember to replace "NETWORKNAME" (Network Name) and "PASSWORD" (Password) with the name and password you want to create for the hotspot.
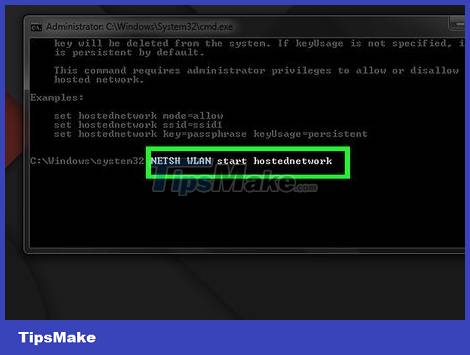
Type NETSH WLAN start hostednetwork and press ↵ Enter. Here's how to turn on your Wi-Fi hotspot.
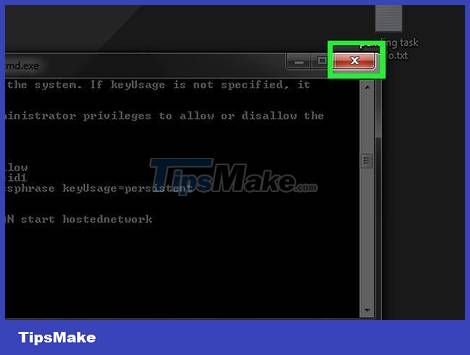
Exit Command Prompt. Now that your hotspot is up and running, you need to share it to be able to connect.
Network Sharing
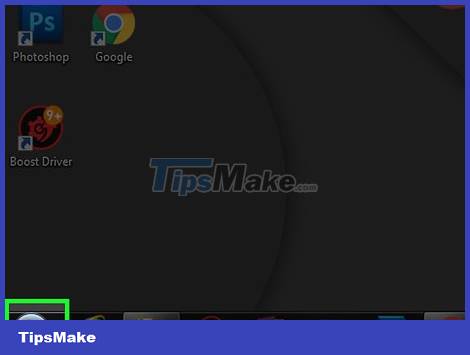
Open Start and type control panel. This is to search for the Control Panel application on your computer.
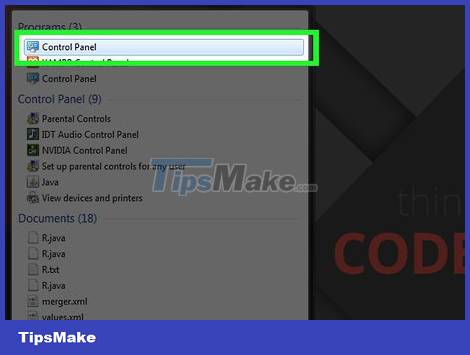
Click Control Panel. This option displays at the top of the Start window.

Click Network and Internet. This is the option in the middle of the page.
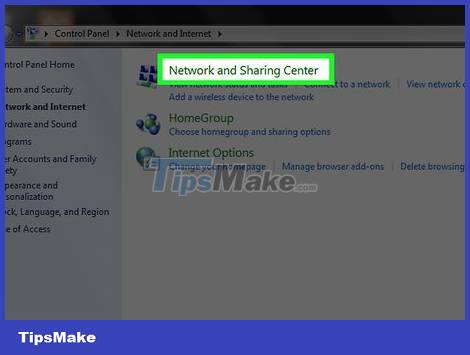
Click Network & Sharing Center. You'll see this option near the top of the page.
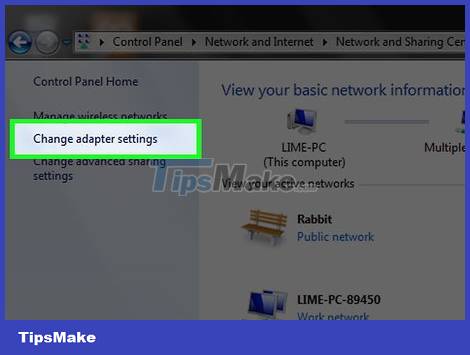
Click Change adapter settings. It's the link in the upper left corner of the window.
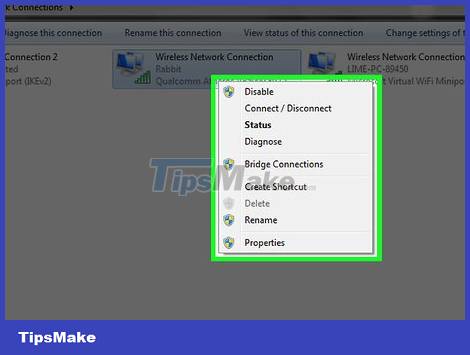
Right click on the current name of the network connection. You'll find this option at the top of the "Change adapter settings" window.
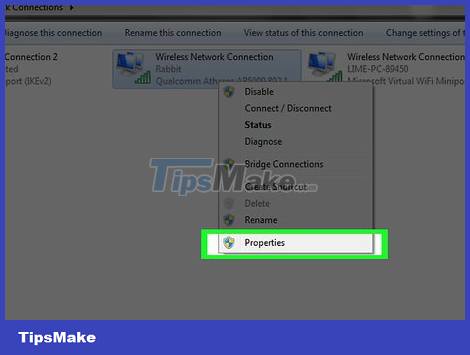
Click Properties. This is the option at the bottom of the currently displayed menu.
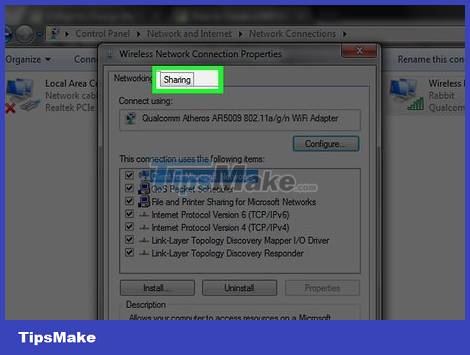
Click the Sharing tab. This option is at the top of the window.

Check the box "Allow other network users to connect." (Allow other users to connect.). This is the option at the top of the window.
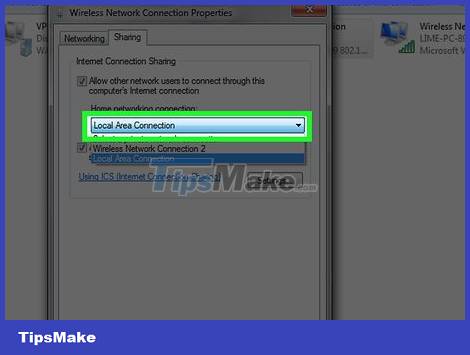
Click the box below the "Home networking connection" heading. You'll see this option in the middle of the page.
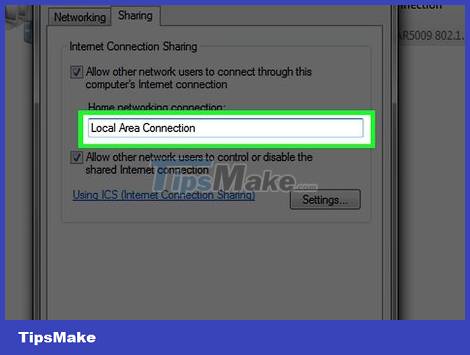
Click the name of the hotspot. Maybe the name you see will be "Local Area Connection * #".

Click OK. Nearby devices can now connect to your Wi-Fi hotspot.
Conclusion
Understanding Wi-Fi Hotspot makes it easier to compare options, avoid common mistakes, and apply the information in this guide more effectively. Review the relevant requirements before making changes or choosing a solution.
FAQ
How do you create wi-fi hotspot with command prompt?
Follow the steps in this guide in order, confirm the required settings or tools, and verify the result before making additional changes.
Is it safe to create wi-fi hotspot with command prompt?
It is generally safe when you follow the recommended instructions, use trusted tools, and avoid changing settings you do not understand.
What should you do if the process does not work?
Recheck the requirements, restart the device or application when appropriate, and review each step for missed settings or compatibility issues.
Related Articles
 What Is Wi-Fi Hotspot: What Is Hostspot Wi-Fi and Are They Safe?8 minutes read
 How to Broadcast Wifi on Macbook, Create Wi-fi Hotspot6 minutes read
 How to Change Wi-Fi Password (Wi-Fi Hotspot) on Iphone3 minutes read
 Access Point Wi-Fi: How to Using Your Phone as a Wi-Fi Hotspot3 minutes read
 How to Use the Command History Function in Command Prompt9 minutes read
 How to Create WiFi Hotspot in Ubuntu: Complete Guide8 minutes read
Reader Comments 0
Sign in with email or Google to join the discussion.