How to create attractive thumbnails in DaVinci Resolve 18.5
If you need a thumbnail for a YouTube video or another type of video project, DaVinci Resolve has the perfect tools to make it happen..
If you need a thumbnail for a YouTube video or another type of video project, DaVinci Resolve has the perfect tools to make it happen. Not only can this editing software save still images from videos, but any effects you add to the thumbnail will also be attached to the video. The following article will show you how to create thumbnails with DaVinci Resolve and what kinds of interesting effects you can add to them.
1. Adjust timeline settings
Start with a blank timeline. Before adding still photos or videos to the timeline, you need to adjust the settings.
Many thumbnails, like Youtube, need to be 1280 x 720 pixels, so it's a good idea to start the project with the correct dimensions. In your Media Pool , right-click the timeline clip, then go to Timelines > Timeline Settings .
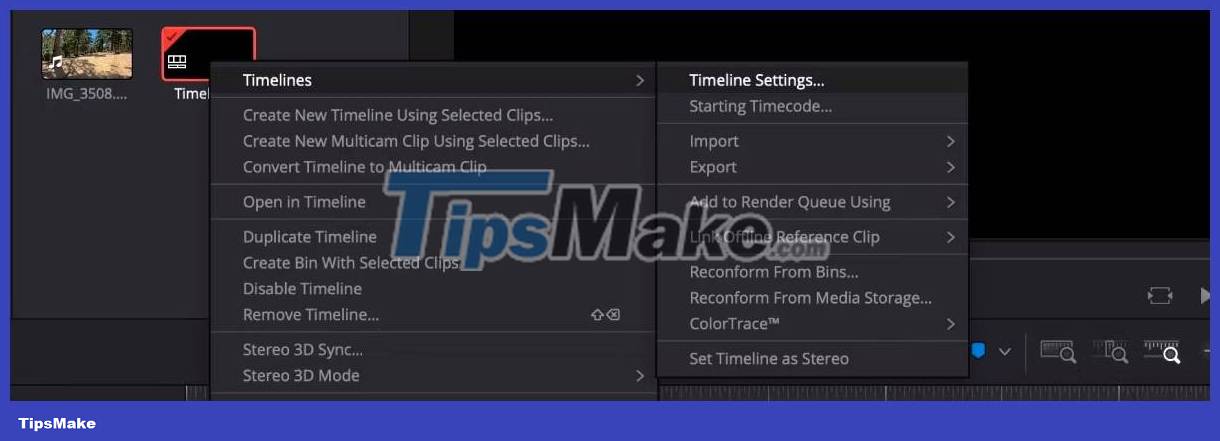
Uncheck Use Project Settings , change Timeline Resolution to 1280 x 720 HD 720P and click OK.

Next, place your still photo or video on the timeline and start adding any effects to make it more appealing. If you're working with video, remember to drag the starting point to the frame you want to use for your thumbnail.
Don't worry about creating images from video at this point. Since DaVinci Resolve 18.5 is out of beta, effects are currently still attached when still images are exported.
2. Add interesting effects to thumbnails
There are a few ways you can make your thumbnails stand out with different effects.
Use Pitch and Yaw
Adding a little pitch and offset (tilting the image left to right or up and down) will give your image more dimension, especially if you're adding other elements to it.
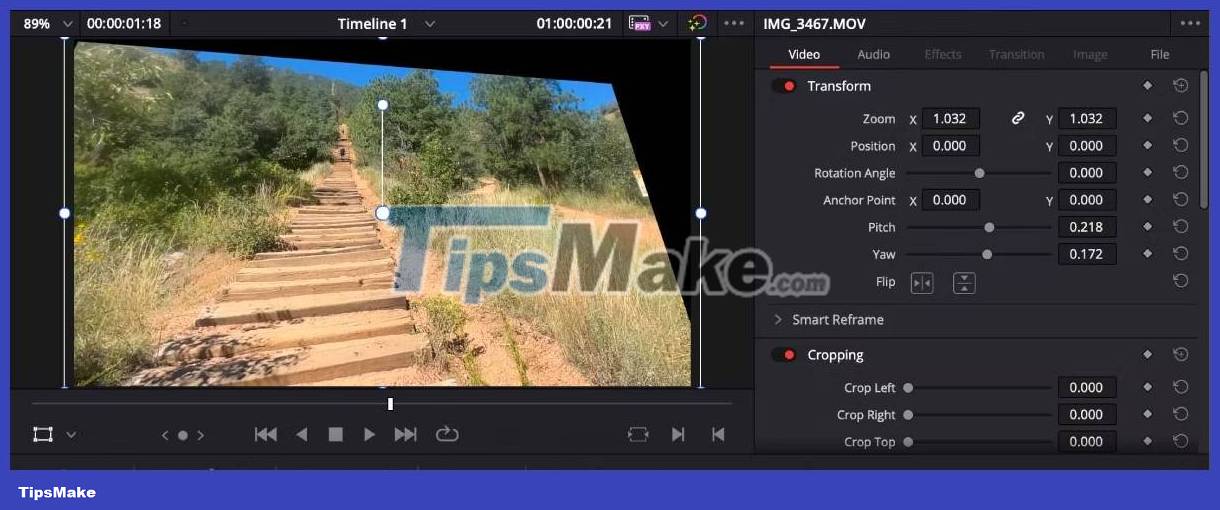
Click on the clip and open the Inspector tab . In Video , you'll see Pitch and Yaw near the top. Adjust the angles until you are satisfied with the image.
Blur an object
To add a little mystery to your thumbnail, you can blur an object. Doing this for thumbnails is less complicated than blurring and tracking moving objects in DaVinci Resolve.

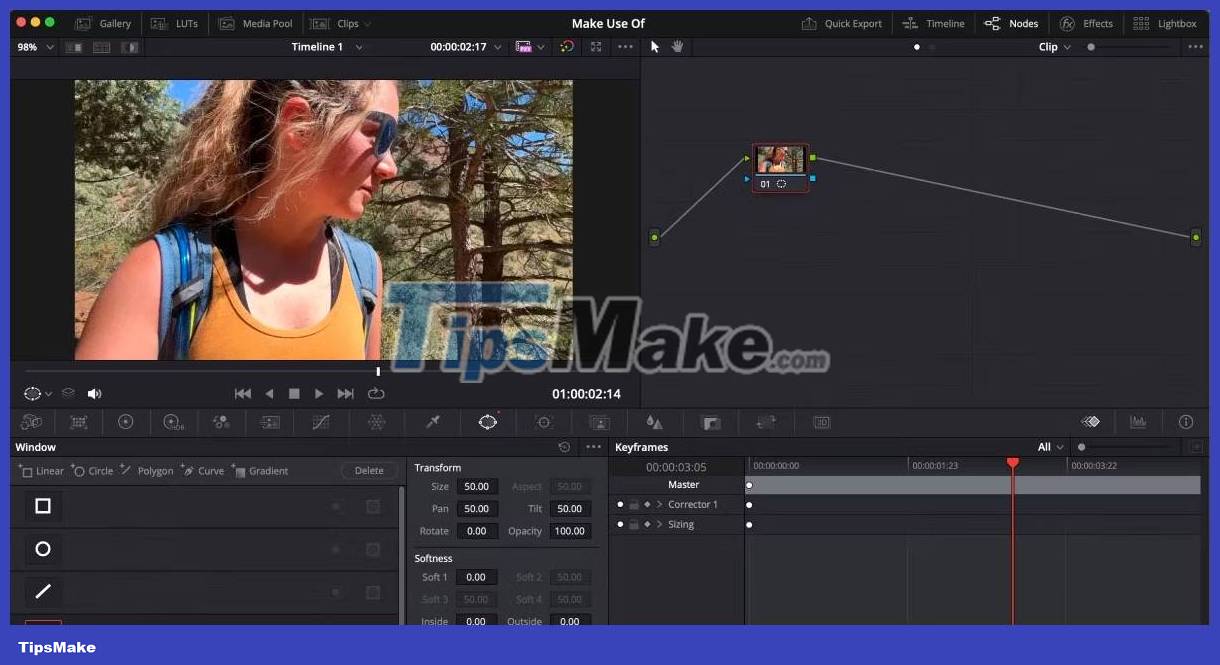
All you need to do is select the clip and open the Color page . Click the Window icon on the toolbar below the preview window. Select the Curve tool and draw the object you want to blur - making sure the start and end points connect.
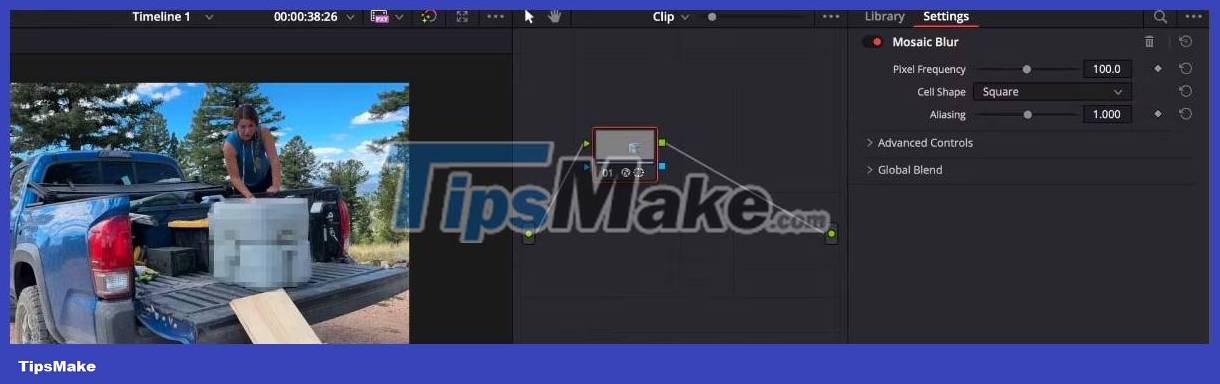
From there, open the Blur feature on the toolbar and drag the Radius option as high as you want. If you want to blur, open the Effects tab, drag and drop the Mosaic Blur feature on the clip's node.
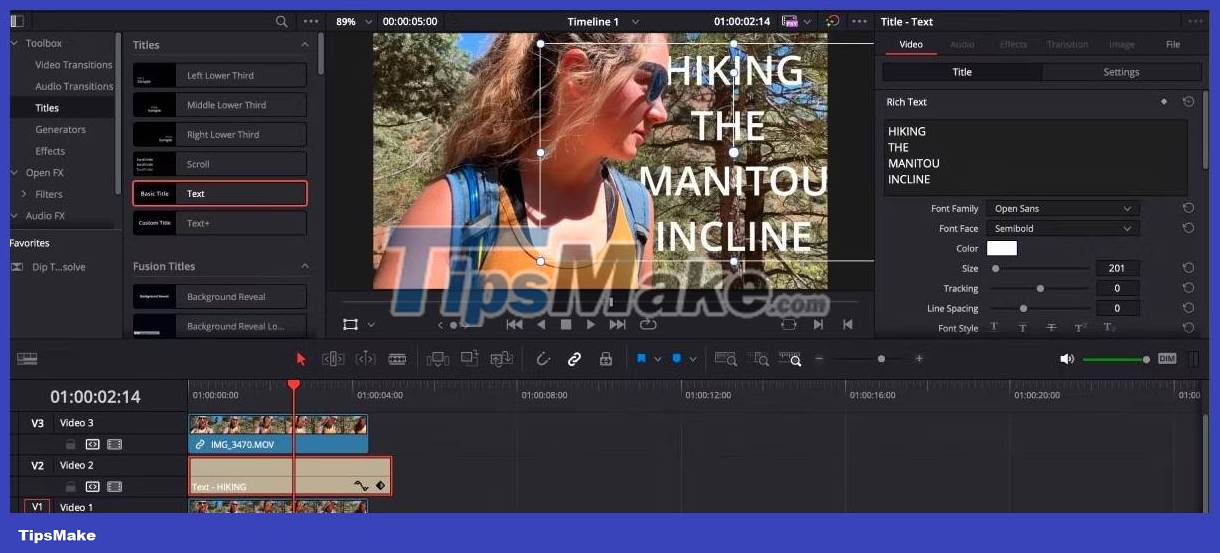
Place title behind an object
With your intended thumbnail ready in the timeline, go ahead and copy and paste the clip so you have two copies side by side. From there, click on the first clip and open the Color tab .
Make sure the Nodes tab is open on the Color page . Click the button, select the Window icon on the toolbar, and select the Curve tool .
Zoom in on the clip and use the Curve tool to trace the object you want your text to go behind. You will have to do this manually if you are working with the free version of DaVinci Resolve.
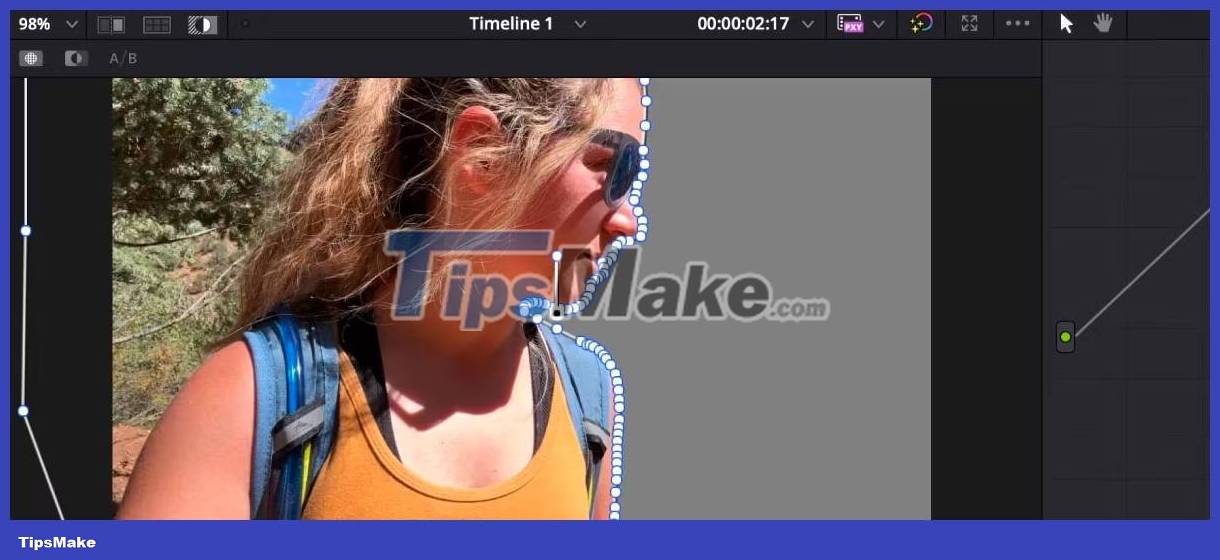
When you're done, click the Highlight icon - it looks like a black and white circle in a rectangular box - to make sure the mask takes effect. Click the Highlight icon again to turn it off.
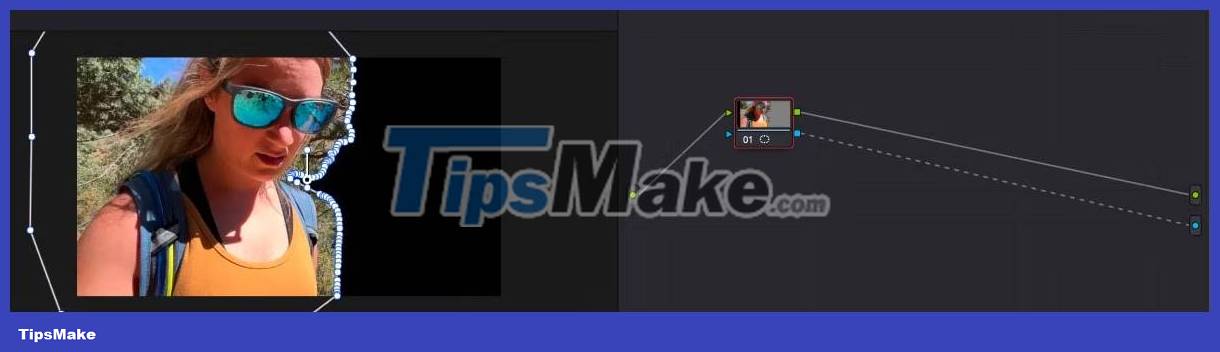
In the Node tab , right-click on the empty node box and select Add Alpha Output . Drag the blue box from the clip's node to the blue Alpha Output node. You will see the background disappear.
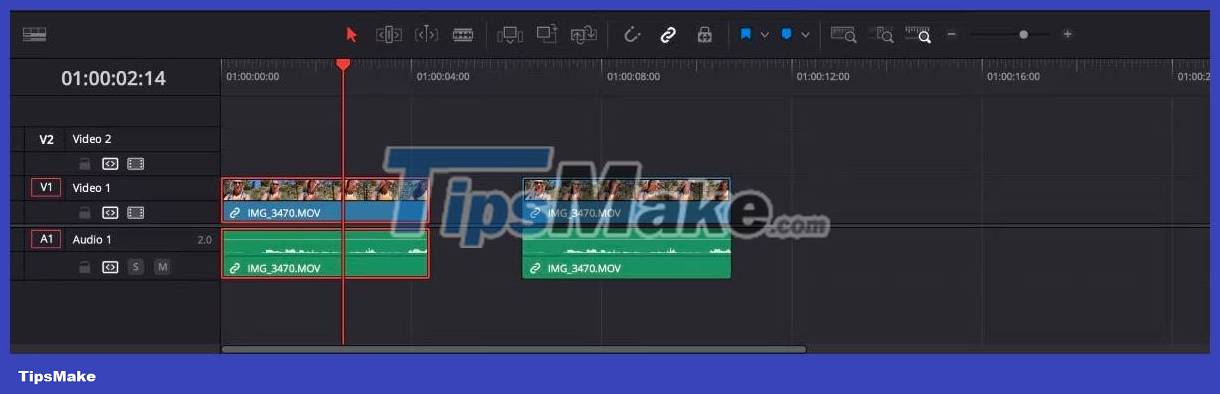
Go back to the Edit tab and make sure your newly edited clip is on track. Place a copy of the original clip on track one directly below. Your title effect will continue in the second direction.
3. Export thumbnails from DaVinci Resolve
Once you're done adding effects to your thumbnail, it's time to export it.
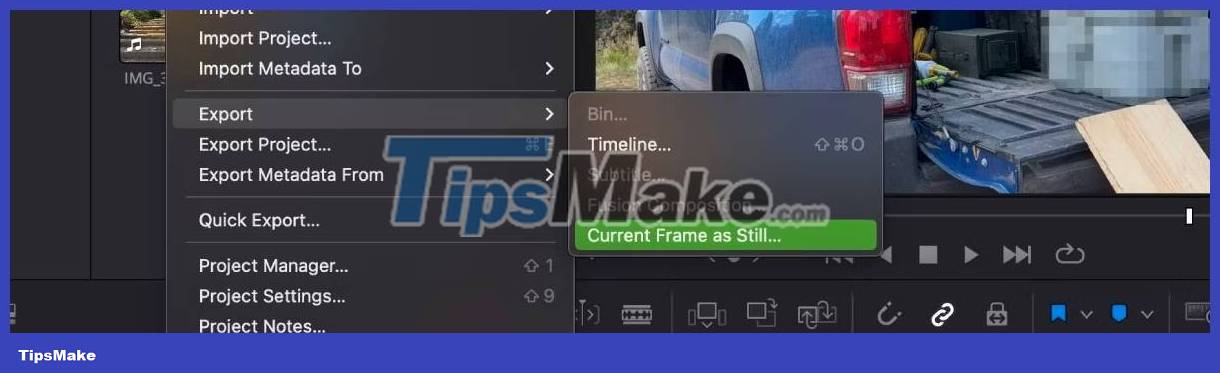
Make sure your starting point is on the exact frame you want to save, go to the top toolbar and select File > Export > Current Frame as Still .
Still images will automatically be set to save as JPEG, but double-check to be sure. You can also save it as PNG if you want. Click Export once you have the specifications to your liking.