How to Copy Documents from Computer to USB
On Windows

Go to the folder containing the file you need to copy. Open Explorer (or File Explorer) by pressing ⊞ Win+ E. Scroll through the list of drives and folders on the left until you find the folder containing the files you want to copy to the USB.
Personal documents are usually saved in the 'Documents' folder (or 'My Documents', sometimes called 'Nam's Documents' if your name is Nam).
If you want to find pictures/music that you have saved on your computer, go to the 'Pictures' or 'Music' folder.

Plug the flash drive into the USB port on the computer. USB ports are often located in different locations depending on the computer. With desktop computers, this port is located on the front of the case, but you can sometimes find a USB port on the back of the monitor. Laptops usually have USB ports located on both sides of the chassis.

Find a folder on the USB to copy files to. You can copy files to any folder on the flash drive.
Once the device is connected, the system may pop up a dialog box. One of the options will be 'Open folder to view files'. Click this link to go to the main directory on the USB. The file can be copied to this same folder or any other folder you see here.
If no windows pop up, press ⊞ Win+ Eto open a new Explorer window, then double-click the USB's name on the left side of the screen. The flash drive may appear as 'USB Drive', 'Removable Storage' or the manufacturer's name (e.g. 'Sandisk').
You should create a new folder with an easy-to-remember name for easy management. To create a new folder on the USB drive, press Ctrl+ ⇧ Shift+ N, then enter the folder name (e.g. 'Personal', 'Pictures', etc.). Press ↵ Enter. Double-click the new folder to open it.
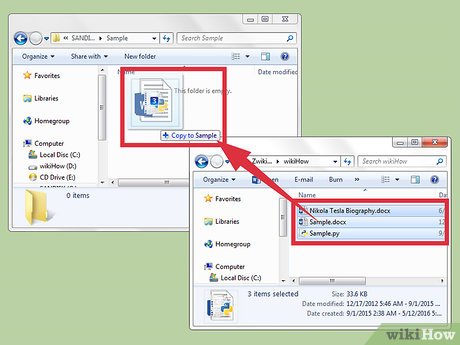
Drag files from your computer to the flash drive. With two Explorer windows open (the folder window on your computer and the USB window), drag the file from your computer and drop it onto the flash drive. Dropping a file onto a flash drive creates a copy of the file on the USB without erasing the original.
To copy multiple files at once, hold down the key Ctrland click each file. Once all the necessary files have been highlighted, click anywhere in the highlighted area and drag the group of files onto the USB drive.
You can also copy entire folders to your computer using the same drag and drop operation.
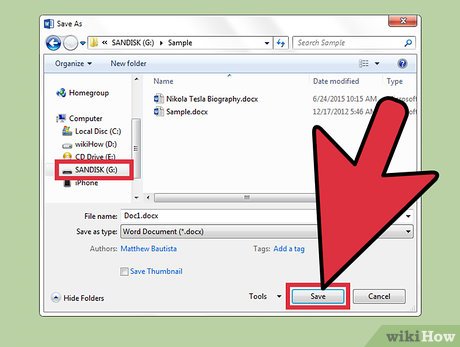
Save the open file to a USB drive. If the file is open in a program like Microsoft Word or Photoshop, you can save it directly to the USB drive without having to drag and drop the file between Explorer windows. Click 'File', select 'Save As' and choose a save location on the USB drive.
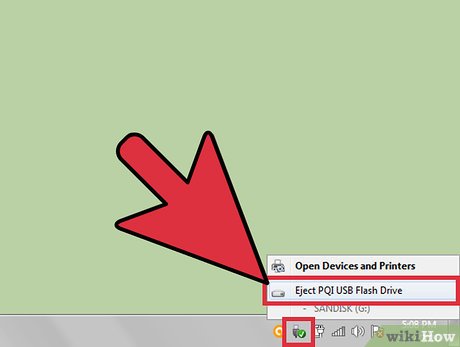
Take out the USB properly. To ensure that the data on the flash drive is not affected, you need to safely eject the USB.
Next to the clock in the lower right corner of the screen is a USB-shaped button (depending on your version of Windows, this icon has a green check mark or not). Right-click on the icon and select 'Safely eject'.
When the message 'It's safe to unplug your device' appears, you can remove the USB from the computer.
On Mac computers
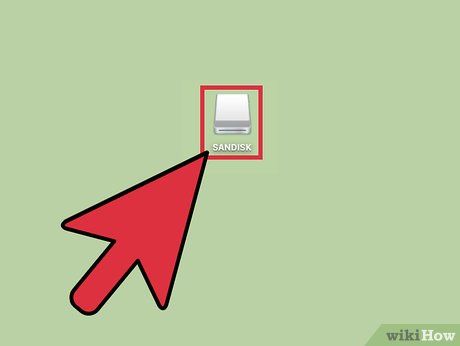
Plug the flash drive into the USB port. If you use a laptop, the USB port is usually located on the side of the chassis. On Mac desktop computers, connection ports are usually located behind the screen. The drive will automatically be recognized on your computer, then you will see a new small white hard drive icon appear on your desktop.
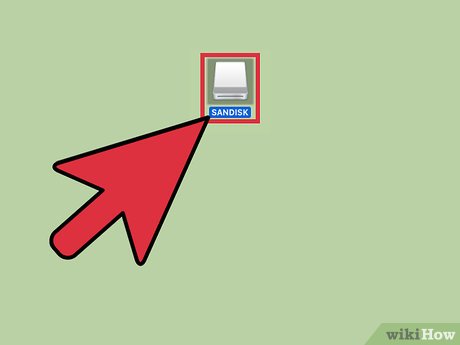
View data on USB drive. Double-click the new USB drive on the desktop. The contents of the drive will appear in a new window. You can copy files directly to the main folder or any folder shown in the right pane.
The available storage capacity on the USB will also appear at the bottom of this window.
You can also access your USB drive by launching Finder and selecting the USB drive from the 'Devices' area on the left of the screen.
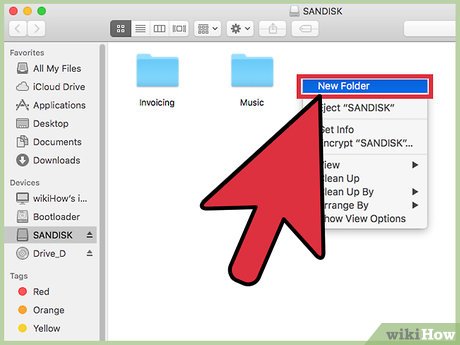
Create a new folder to copy files into. It's helpful to create a new folder on the USB drive to copy files to (optional). Folders with names that match the content inside will help you manage them easily.
On the flash drive's window, press ⇧ Shift+ ⌘ Command+ Nto create a new folder.
Enter a name for the folder then press ⏎ Return.
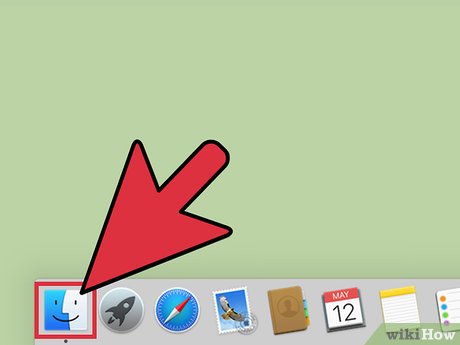
Find the file you want to copy on your computer. Open Finder, then go to the folder containing the data you want to copy to USB.
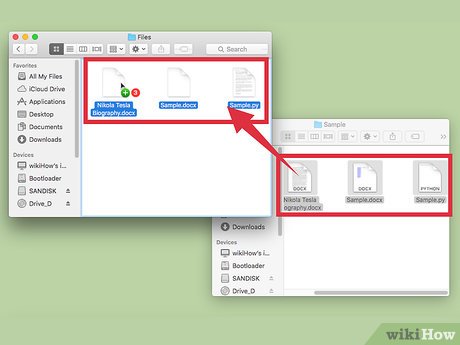
Drag and drop files onto the flash drive. To copy data to USB while keeping the original on your computer, drag the file and drop it into a folder on the flash drive.
If you created a new folder to copy the file into, drag and drop the file into the correct folder.
To select multiple files at once, hold down the key Controlwhile clicking the name of each file you need to copy, then drag the highlighted area and drop it into the new folder.
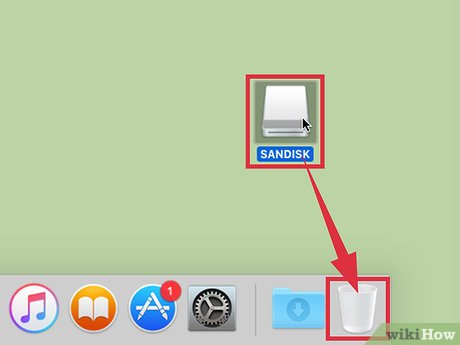
Take out the USB. Remember to 'eject' the USB drive before removing the device from the computer's connection port. This will help limit data errors. Open the desktop, drag the USB drive and drop it into the Trash (the trash will turn into an 'eject' icon when you drop the USB in). You can then safely remove the USB.
You should read it
- 5 foods that should be combined with moon cakes will be good for health
- Quick fix ErrorLibrary failed with Error 1114 on Windows 10
- The best direct access control tools for young children
- Acer: Laptop battery technology is still 'sluggish like a turtle'
- Text Search in MongoDB
- Bring the best of Windows 7 to XP & Vista
 How to Use Text Color Tags in HTML
 How to Copy Secure PDF Files on Windows or Mac Computers
 How to Password Protect PDF Files
 How to Delete Undelete Files
 How to Open Password-Protected Excel Files
 How to Save Files to USB