How to Connect Two Laptops via LAN
Using a cable (Windows)

Get a crossover network cable. This is a type of Ethernet cable used to connect two computers together. If either machine is older, you must use a crossover cable. Regular ethernet cables will not work with older machines. There is no physical difference between these two cables. To be safe, ask a store employee to find the crossover cable for you.
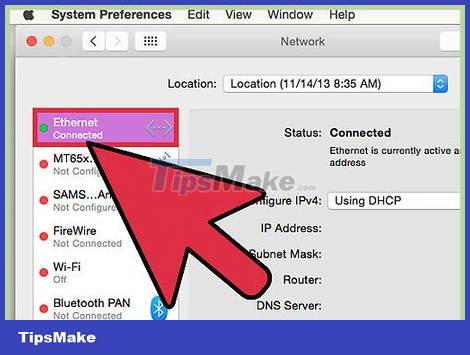
Connect the two ends of the cable to the network ports of the two laptops. The network port is where you connect the Ethernet cable to your computer. The cable will make a clicking sound when it is successfully connected to the network port.
Note that some newer laptops do not have network ports. Some laptop manufacturers have decided to remove them to make laptops lighter or thinner. In that case, move on to the next method for working with wireless connections.

On both computers, navigate to the control panel. Depending on the version of Windows being used, this control panel will be located in different locations.
Windows 8: Press the Windows button (Start button) located to the left of the Alt key. Next, type "Control Panel". Tap the icon when it appears below the text field.
Windows 7, Vista, and XP: Press the Windows button (Start button) located to the left of the Alt key. Next, type "Control Panel". Tap the icon when it appears above the text field. You can also open the Start menu by pressing the icon in the lower left corner of the screen.

Make sure that both computers are connected to the same network and workgroup. In the Control Panel of both machines, search for "System" in the search box in the upper right corner of the window. Click on the System heading. Information about the computer including Manufacturer, Model, etc. will appear.
Scroll to the "Computer name, domain, and workgroup settings" section. Click on the "change settings" link in that section. A new "System Properties" window will appear. In this window, click the Change button at the bottom of the window.
Enter the same workgroup name on both computers. It doesn't matter what the names are, as long as they are the same on both machines.
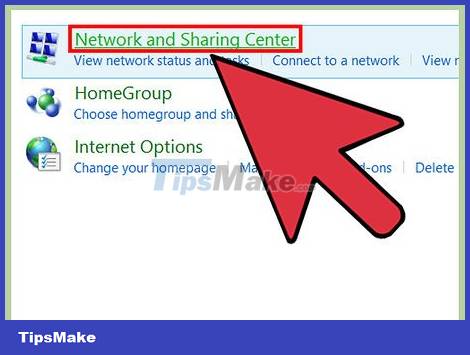
Windows 8 users: Again, in the control panel, find and click "Network and Sharing Center". This section contains all the options related to adjusting your network connection.
Typing into the search box in the upper right corner of the Control Panel window is probably the easiest way to find it.
In "Network and Sharing Center", click "Change Adapter Settings" on the left side of the window.

Windows 7, Vista, and XP users: Directly open "Network Settings" from Control Panel. Find it on the search box located in the upper right corner of the window.
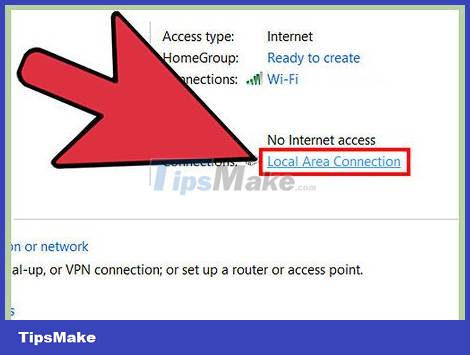
Right-click the Local Area Connection option in the "Network Connections" window and select "Properties".
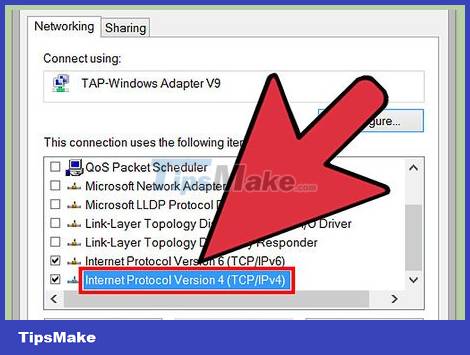
Under "This connection uses the following items", find and click "Internet Protocol (TCP/I4)". Next, click "Properties".
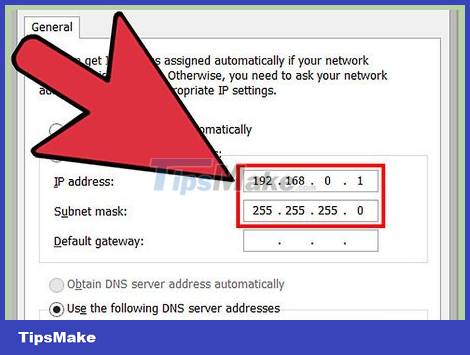
In the new window, click the "Use the following IP address" option. This option allows you to enter the address yourself. Enter the following values into each computer:
Machine 1
IP Address: 192.168.0.1
Subnet Mask: 255.255.255.0
Default Gateway (Default signal conversion port): Leave blank
Machine 2
IP Address: 192.168.0.2
Subnet Mask: 255.255.255.0
Default Gateway: Leave blank
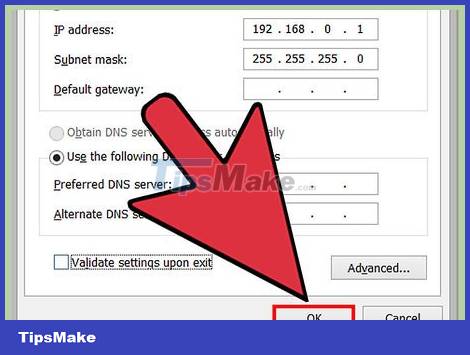
Click "OK" for the setting to take effect. Now you can share files between two computers via the connected LAN cable. You may have to restart your computer for the changes to take effect.
Wireless connection (Windows)
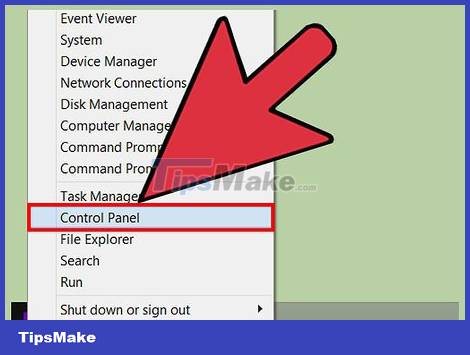
On both computers, navigate to the control panel. Depending on the version of Windows being used, the control panel will be placed in different locations.
Windows 8: Click the Windows button (Start button) located to the left of the Alt key. Next, type "Control Panel". Tap the icon when it appears below the text field.
Windows 7, Vista, and XP: Press the Windows button (Start button) located to the left of the Alt key. Next, type "Control Panel". Tap the icon when it appears above the text field. You can also open the Start menu by tapping the icon located in the lower left corner of the screen.
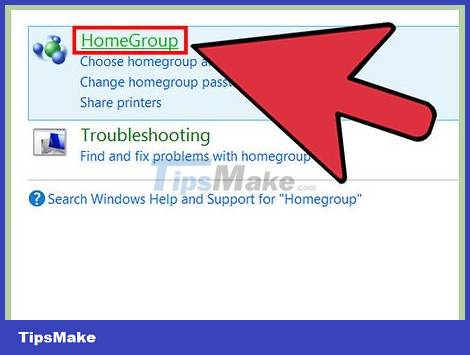
In the search box in the upper right corner of the window, search for "HomeGroup". Click on the HomeGroup that appears after the search ends.
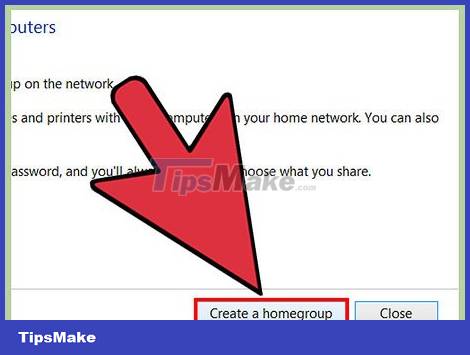
In the HomeGroup window, click the "Create a homegroup" button located in the lower right corner of the window.
Note that this button is only enabled if you are not currently in a HomeGroup. If you're already logged in, leave your current HomeGroup.

Click next on the first screen of the new window that appears. The first screen tells you what a HomeGroup does.
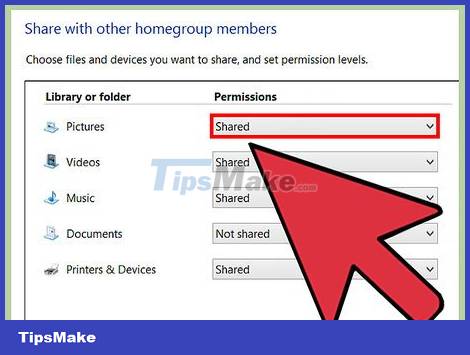
Select the type of file you want to share with another computer. You will be able to choose from folders/libraries: Pictures, Documents, Music, Printer and Video. Depending on your needs, select or deselect the appropriate file types. Next, click next.
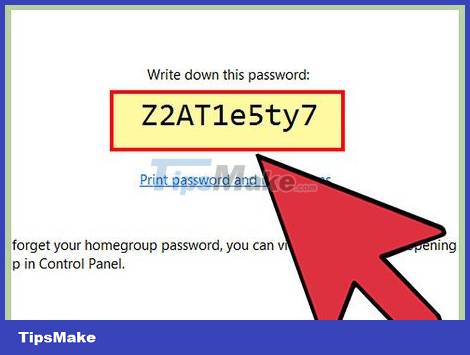
Rewrite the password from the next screen. This will be the password the other device needs to enter to connect to HomeGroup. Next, click finish (complete).
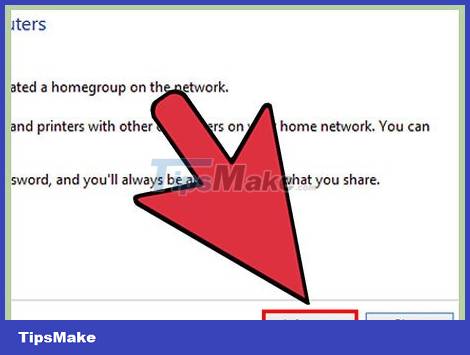
On the second computer, you will now see the new HomeGroup displayed in the HomeGroup window. Instead of creating a new group, join the group and enter the password when asked. Now you can share files online.
Using a cable (Mac)
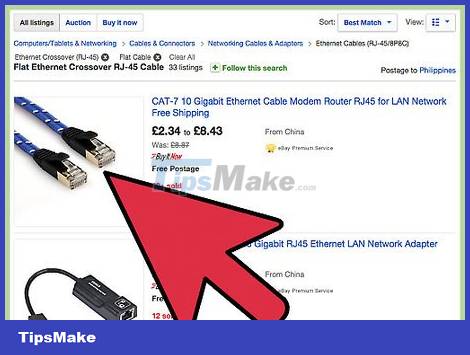
Get a crossover network cable. This is a type of ethernet cable used to connect two devices of the same type. If you have an older Mac, you will have to use a crossover cable. Order it online or get yourself a crossover cable at a computer store. There is no physical difference between a regular Ethernet cable and a crossover cable. So make sure you buy the right one.

Connect the cable to the network port of both laptops. Some newer Macs no longer have this port, so you may need an adapter to connect to the USB port.
The cable will make a clicking sound when plugged in correctly.
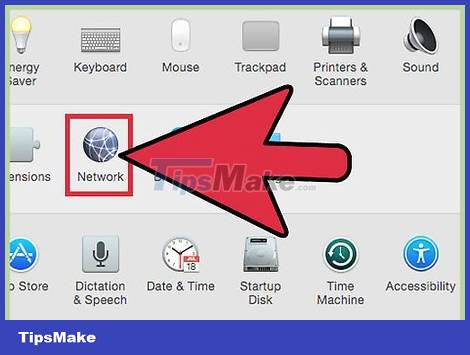
On both computers, navigate to the Network preferences panel. You'll see two drop-down menus at the top of the window, labeled "Location" and "Show."
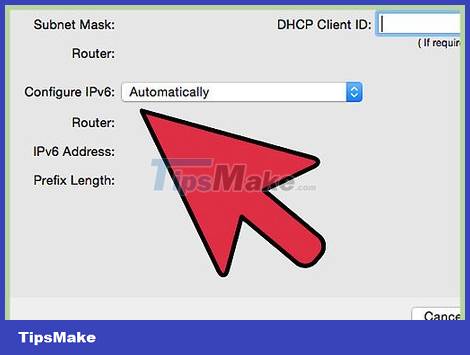
In the "Show" drop-down menu, select "Network Port Configurations". A list of port configurations, such as "Internal Modem" and "Built-in Ethernet," appears. Make sure "Built-in Ethernet" is selected. Click the apply button for the changes to take effect.
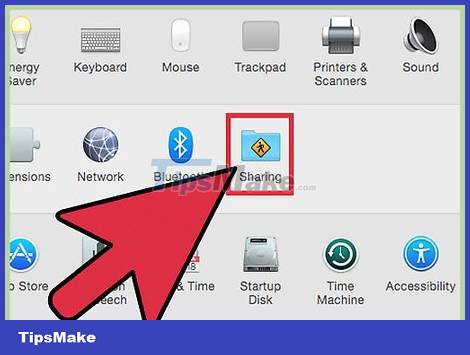
On one computer, open the Sharing preferences panel. At the top of the window is the computer name and a list of services listed below.
Select the option box next to the "Personal File Sharing" service.
Below the service list are addresses starting with "afp". Write down this address because it will be the address the other computer needs to know to be able to connect via LAN.
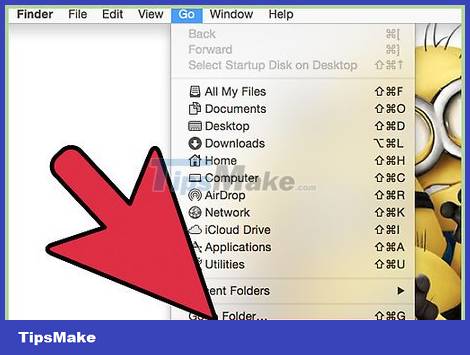
On the other computer, open a Finder window. In the menu above, you'll see Go. Click Go and select the option from the corresponding drop-down menu. You'll see the "Connect to Server" option. You can also just press ⌘K to enter the "Connect to Server" window.
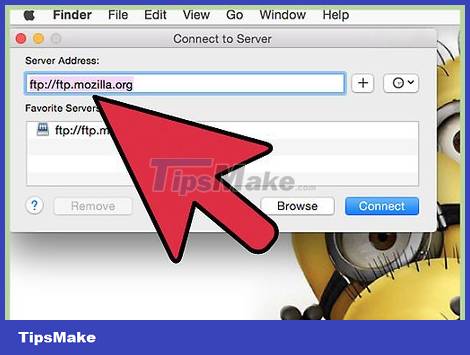
Enter the afp address that marked the other computer that you just recorded. A list of IP addresses will appear in the list under "Favorite Servers". Find the other machine's IP address, click on it, and then click Connect.
If you don't know the other machine's IP address, refer to the article on how to find the IP address on your Mac to find the correct address.
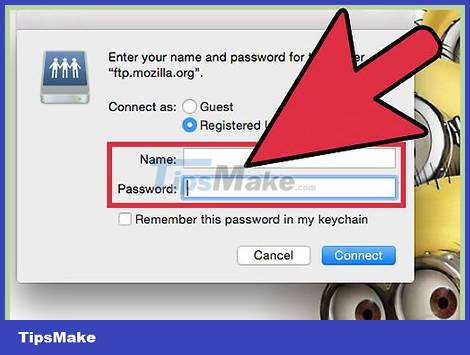
After pressing connect, you will be asked to enter your username and password. These credentials are the same credentials you use when you normally log in to your computer.
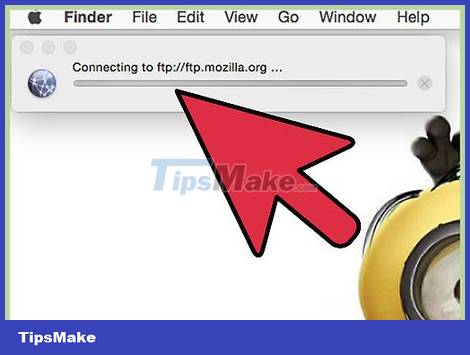
You will now be asked to select the drive to mount the file. The files on the other computer are on different drives. If you want, you can choose to mount the file to all drives on that computer. Or, if you know which drive contains the file you want, select that drive.
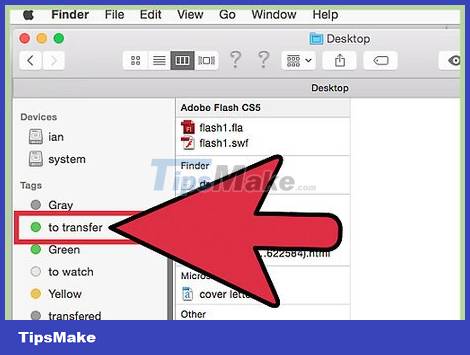
You can now access the files on the other computer. Data can be transferred between two computers without the need for an external device.