How to Configure Computers on a Local Network
LAN settings

Determine the number of computers you want to connect to. The number of computers connected will determine the hardware network equipment you need to prepare.
If you're connecting fewer than 4 computers, you'll only need a single router or switch if you don't need an internet connection.
If you're connecting more than 4 machines, you'll need both a router and a switch, or just the switch if you don't need an internet connection.
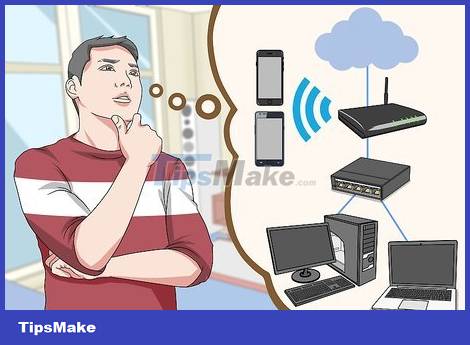
Determine the network layout. If installing a fixed LAN, you should pay attention to the cable length. CAT5 Ethernet cables should not be longer than 80m. If you need to cover a wider distance, you should use a periodic switch or use CAT6 cable.
Each computer needs an Ethernet cable to connect to the LAN, an Ethernet cable to connect the router to the switch (if applicable).

Prepare hardware devices. To set up a LAN, you need a router and/or mesh network. This hardware device is the "center" of the LAN, all computers are connected here.
The simplest way to install a LAN when all computers can access the internet is to use a router, then install a switch if the router does not have enough connection ports. The router automatically assigns an IP address to each computer connected to it.
Switches are similar to routers, but do not automatically assign IP addresses. Switches usually have more connection ports than routers.
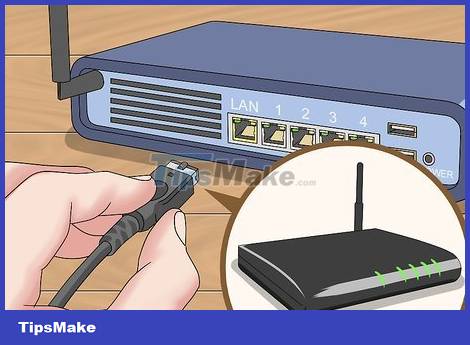
Connect the modem to the router's WAN port. This port may be named "INTERNET". This is the port that provides internet connection to computers on the LAN.
You can skip this step if you are installing a LAN without internet.
You don't need a router if you're just installing a regular LAN, but having a router will make the operation simpler. If you only use a network switch, you must manually assign an IP address to each computer after connecting.
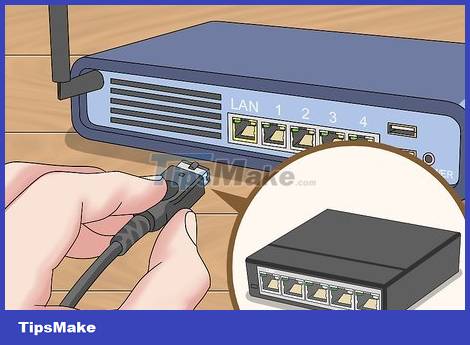
Connect the switch to the LAN port on the router. If you use a switch to connect multiple computers, connect it to the LAN port on the router. You can use any port on the switch to make the connection. When connected, the router provides an IP address for each computer connected to the device.
Connect your computer
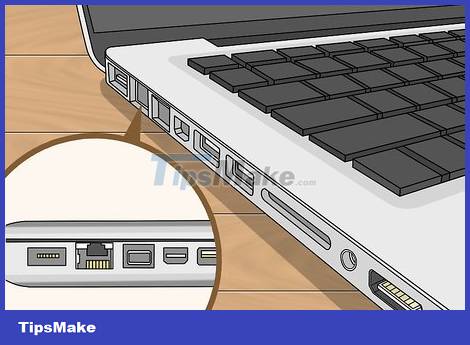
Find the Ethernet port on your computer. Usually, this port is located behind the desktop key, located behind or next to the laptop.
Ultra-thin laptops often do not have Ethernet ports. In that case, you'll need to use a USB Ethernet adapter or connect wirelessly to the router if possible.
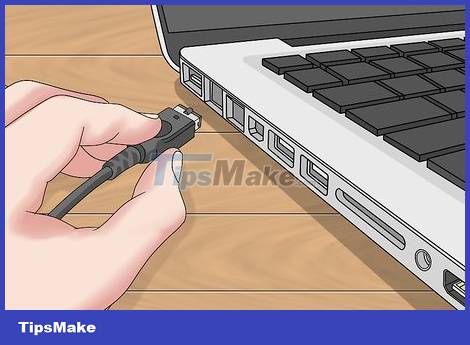
Plug one end of the Ethernet cable into the computer. Remember to use an Ethernet cable (RJ45) and not a telephone cable (RJ11).
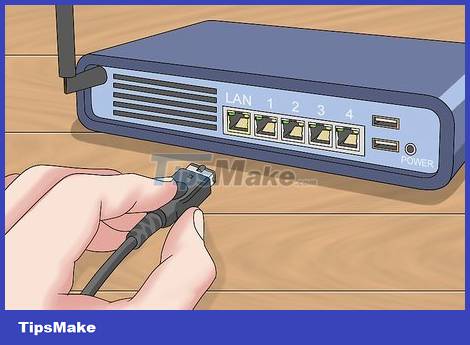
Plug the other end into the empty LAN port. You can plug into any LAN port on your router or switch, depending on your LAN settings.
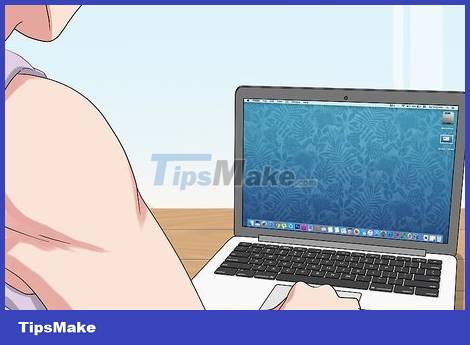
Check the network (applies to routers only). If using a router, your job is done. Once computers connect to the LAN port, they are automatically assigned IP addresses and appear on the network. If you set up LAN to play games, you can start playing games right away!
If you use a switch and don't have a router, you must manually assign IP addresses to each computer.
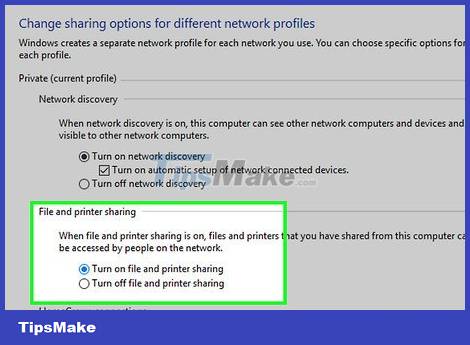
Enable file and printer sharing. You cannot access resources on a computer on the network until file and printer sharing is enabled. You can select specific files, folders and hard drives to share with computers, or share access with printers.
Assign IP Address (No Router)
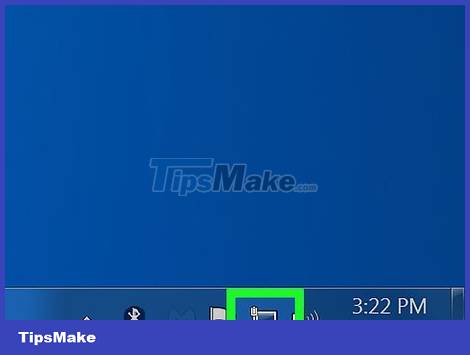
Right click on the network connection. You will see this icon in the System Tray. If you connect computers through a switch without using a router, you must manually assign IP addresses to each computer. This process will be done automatically if using a router.
The IP address is the mailing address. Each computer on the network needs a unique IP address so that information sent over the network reaches the correct destination.
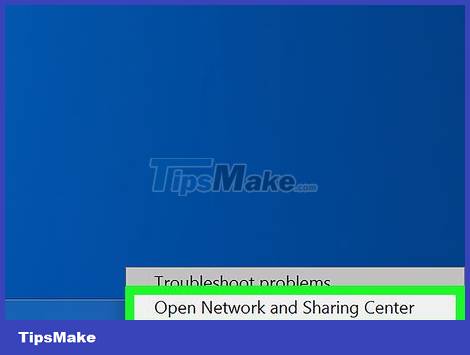
Click Open Network and Sharing Center .
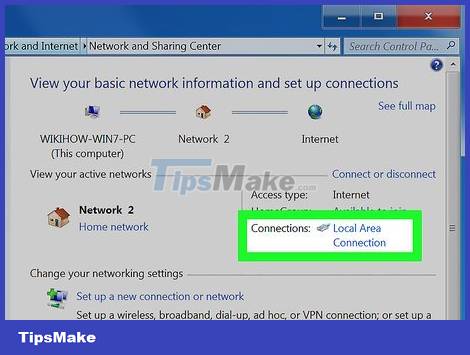
Click on the Ethernet link at the top of the window. You'll see a link next to "Connections."
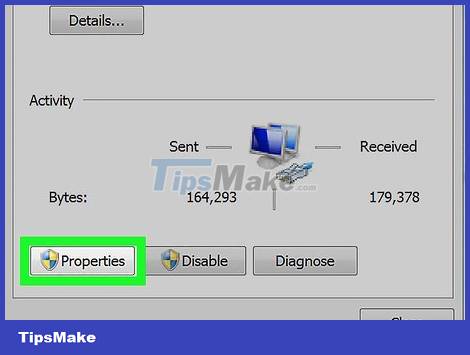
Click Properties .
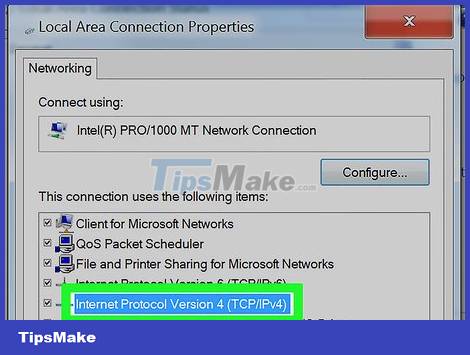
Click Internet Protocol Version 4 (TCP/IPv4) . Make sure you only highlight, do not uncheck, this item.
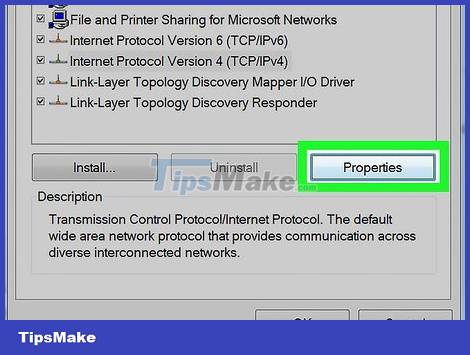
Click on Properties .
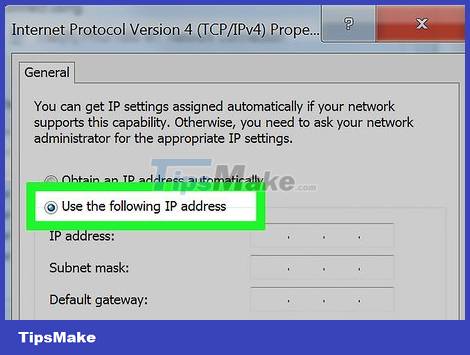
Click the Use the following IP address button .
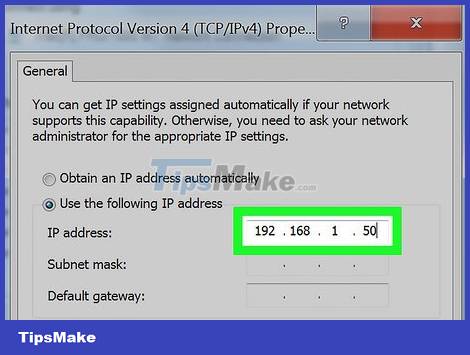
Enter 192.168.1.50the IP address field.

Enter 255.255.0.0in the Subnet mask field.
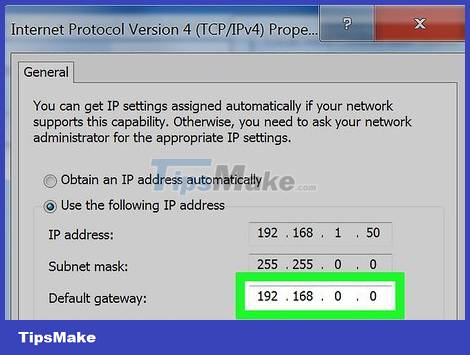
Enter 192.168.0.0the Default gateway field.
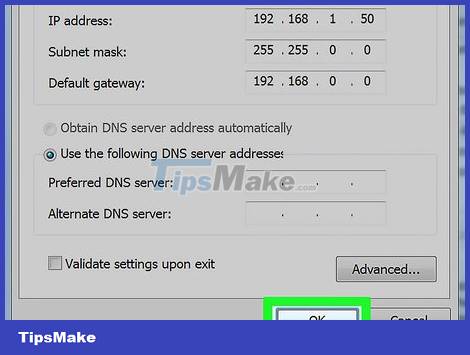
Click the OK button . This is the operation to save settings on the computer. This computer is now configured on the network with a separate IP address.
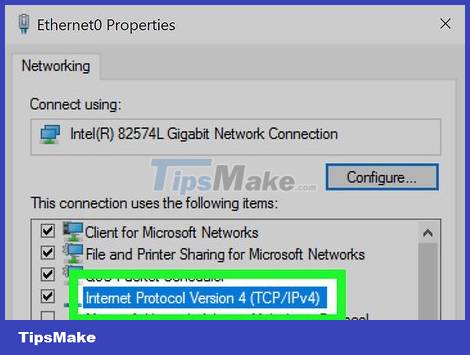
Open the Internet Protocol Version 4 feature on the next computer. Follow the steps above to open the Internet Protocol Version 4 (TCP/IPv4) Properties window on the second computer.
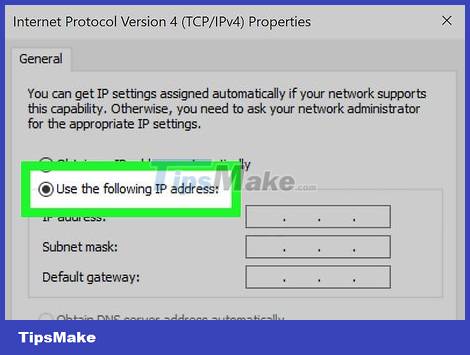
Click the Use the following IP address button .
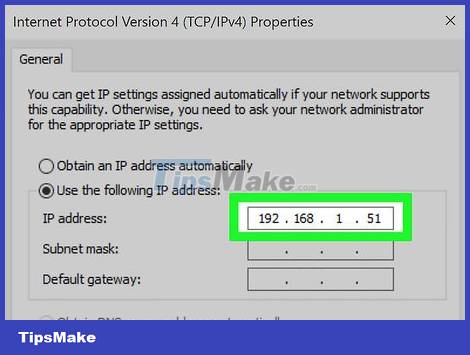
Enter 192.168.1.51the IP address field. Note that the last group of the number sequence increases by 1 unit.
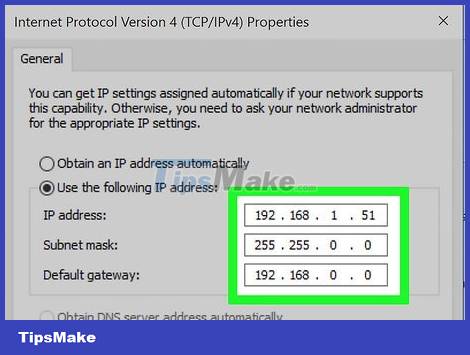
Enter the same values as above in the Subnet mask and Default gateway fields . These values must be the same as the first computer (255.255.0.0 and 192.168.0.0).
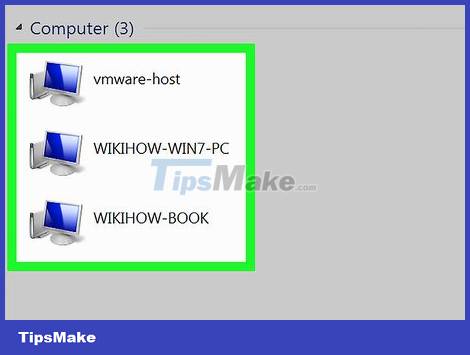
Give each computer a separate IP address. Repeat the above steps for each additional computer, increasing the IP address by 1 unit (to 255). The "Subnet mask" and "Default gateway" fields on the machines must be the same on each computer.
 How to Configure a Router
 How to Install a Modem
 How to Reinstall WiFi Driver
 How to Block Strangers from Accessing the Internet
 How to Block Facebook
 How to Diagnose Landline Phone Problems