How to connect a Raspberry Pi to a laptop
The Raspberry Pi is a pocket-sized PC and smaller than any peripheral. The only problem with it is the display.
If you do any serious Raspberry Pi fixing, you probably have an HD screen at home to connect to this small computer. The problem arises when you're on the move, because it's not convenient to have to carry a 32 ″ HD display wherever you are and work on a Raspberry Pi without having an image output.
Then the question about Internet connection. The Pi cannot share WiFi directly: It does not have an appropriate network adapter and driver to connect to the router. Everything would be a lot easier if somehow Raspberry Pi could be connected to a laptop.
Raspberry Pi can do this. With a little effort and setup, you can easily connect your Raspberry Pi to a laptop screen and share WiFi.
Setting
You don't need a lot to connect your Raspberry Pi to a laptop screen: Ethernet cable, SD card pre-loaded with Raspbian OS, HDMI cable, HD display (only for setup), of course, Raspberry Pi and laptop to connect it.

The first step is to connect all the wires: the micro USB cable to power the Raspberry Pi, HDMI connected to the monitor to operate it, and Ethernet connected to the laptop to share information. Then power on everything.
WiFi sharing
Before you can share your screen, you must share your Internet connection with Pi. To do this, follow these simple steps on a Windows laptop:
1. Navigate to 'Network and Sharing Center' on laptop.
2. Select WiFi network.
3. Click Properties.
4. In the 'Sharing' tab , click 'Allow other network users to connect through this computer's Internet connection' .
5. Make sure the network type is set to 'Local Area Connection' .
Determine the IP address of the Ethernet port
Now comes the tricky part: You need to find out the IP address of the Ethernet port. The problem is that this IP is usually dynamic, so you can't just use the laptop's own IP (if you know it). However, it is not difficult to find this IP address. There are quite a few ways to do that, but by far the easiest way outlined below:
1. Click on the 'Local Area Connection' link you just created.
2. Go to 'Properties'.
3. In the 'Networking' tab , right-click on 'Internet Protocol Version 4' and select Properties.
4. Finally, you can see both the generated IP address and subnet mask.
You need both an IP and a subnet mask to get to the final address. Just replace the last segment of the IP address with the first paragraph of the subnet mask. For example, if the IP Address is 192.168.125.1 and the subnet mask is 255.255.255.0, then the IP you need is 192.168.125.255.
Now all you need to do is activate the Command Prompt and 'ping' the obtained IP. Type ping followed by the IP address and the Raspberry Pi will automatically answer by establishing a connection via the Ethernet port.
All operations are completed! You can start using the Internet on your Pi now.
VNC server configuration

To really use a laptop screen with a Raspberry Pi, you need to do a lot more. The basic idea is to use a VNC server to control Raspberry from a laptop, allowing you to access the GUI into this pocket-sized PC and all connected hardware - mouse, keyboard, etc. - as if used directly. Just follow the steps below:
1. This is when you need to boot the HD screen. This is only necessary for the first time, so it is better to go through this step at home.

2. Open the LX terminal and type the following commands:
sudo apt-get update sudo apt-get install tightvncserver 3. Once the VNC server has been installed, run it by typing:
vncserver :1 4. You will now be prompted to create a password. This is, again, a one-off process, so set a good password and the VNC server will work.
Connect to the server
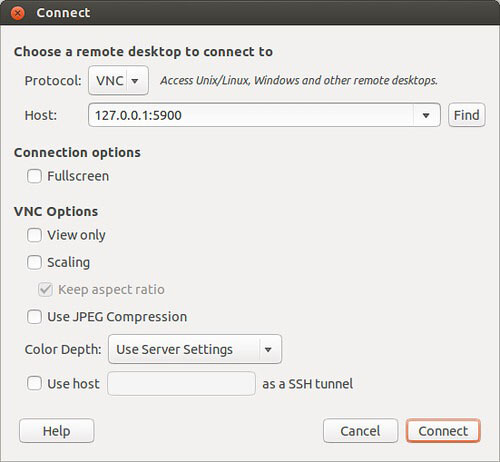
With the Raspberry Pi running a VNC server, you can use the VNC client to connect your laptop to it quite easily.
1. First, download the VNC client and install it.
2. Use the previously obtained IP address and server password to establish the connection.

All operations are completed! The Raspberry Pi can now be used with a laptop screen!
Hope you are succesful.