How to clean the most clean computer keyboard
Computer keyboards are often home to many bacteria and dust, not to mention the cellar that you eat every day at work. The keyboard is too dirty that will cause the keys to be stuck, keys are pressed, not sensitive . not to mention it also causes acne to the skin, when you just press on the dirty keyboard, enthusiastically, you will wipe the face again. Therefore, regular keyboard cleaning is essential because of both your health and performance.
Using blowing bubbles, small air compressors, and brushes can also clean the computer keyboard, but to clean the most, consider removing all keys.
Cleaning the keyboard this way is not too difficult, but you need to know some notes that we will show you soon.

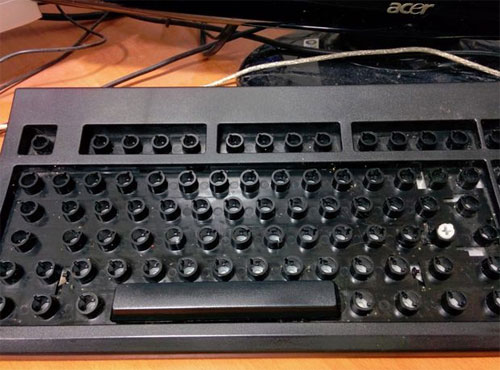
Does your keyboard look like this?
Note : Please capture the keyboard before proceeding, as you may need this photo when inserting the key. And this is only a cleaning guide for the universal keyboard, for some high-end keyboards, you should consult the manufacturer's instructions beforehand.
Another reminder is to keep children away from the area where you are doing this work. The harmless keystrokes will become extremely dangerous if taken out as their toys.
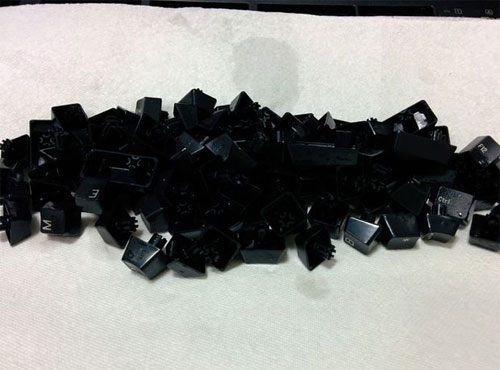
Step 1 : Remove the key. Typically, universal keyboards have a mechanism for locking buttons. You only need to use a small knife (blunt type), or a flat-head screw and a light-weighted key that will easily leave. Please gently let the keys do not fly too far, everywhere. With the keys that you don't feel trapped on (like the spacebar), don't try too hard.


Step 2 : Take a pot or small box to contain the keys that have just been put in, mix some of the dishwashing liquid into it, the approximate amount of water flooded the keys, and then put the key in it. You should not use harsh detergents such as laundry soap, cleaning water, Vim because they may damage the protective coating of the key.
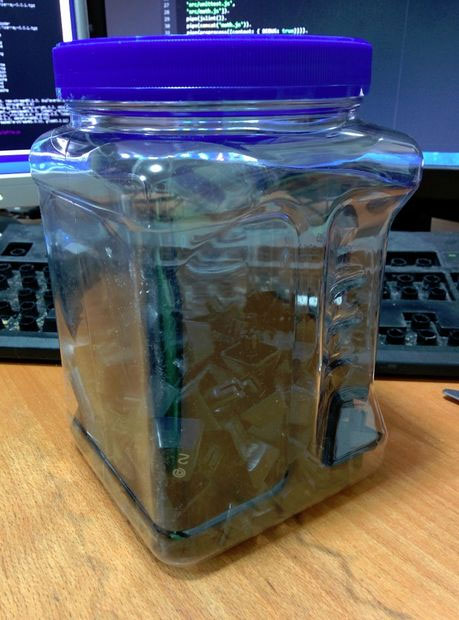
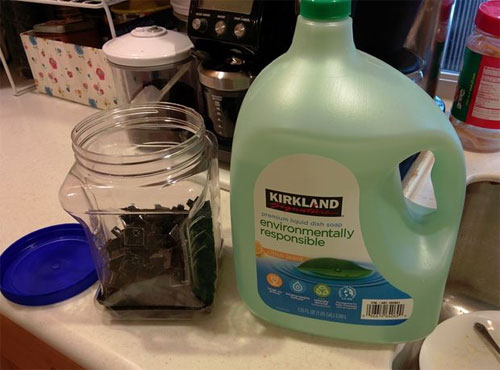
Step 3 : Stir the keys up if you use pots. Tighten the cap and shake evenly if using a small box.
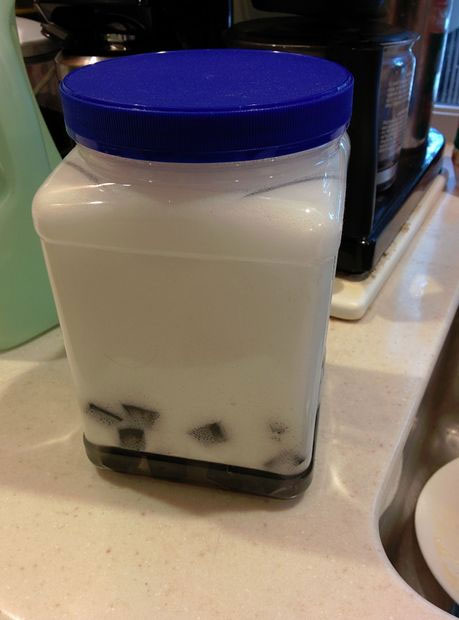
Step 4 : Drain the keys with water. You can use a thin towel to wipe around the keys when rinsing, like washing dishes, to clean the stains that still stick on the keys. Rinse a few times so that there are no bubbles on the key.

Step 5 : Put the key out of a basket or drain to drain. If you know the scales of raw vegetables, you can also try the scales of these keys to quickly dry. If you are not confident in your vegetable scales, you should hold a few keys on your hands and scales one by one. After you've felt the relative dry keys, put them on tissue paper to absorb water, make a good type, clean the type, but the paper dust clinging to your hands won't work. You put the tilt key to dry the water.


Step 6 : Do you remember the keyboard " body "? Now is the time to clean it. You should look for a newspaper spread out on the foreground, then turn the keyboard upside down and shake your hand gently so that "strange objects" will fall off. Then use a clean towel and thoroughly wipe it. You can use extra cotton to scrub the absorbent ear to clean the cheap but not clean.
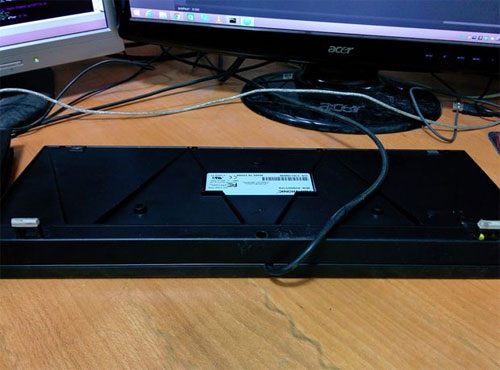
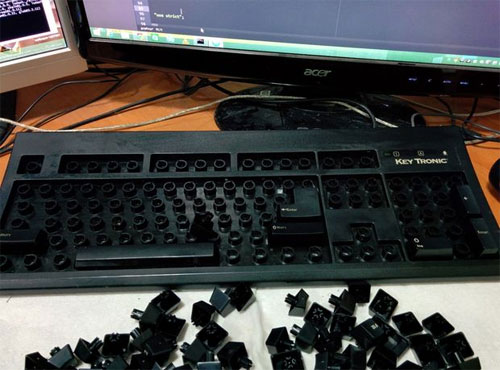
Step 7 : Now is the time to return everything to the original step. Get the cleaned keys before and re-insert them into your keyboard. Remember I told you to take a picture of the keyboard already? Use it to reference your keystrokes. And let's start from the big size keys, they will require more space for assembly.
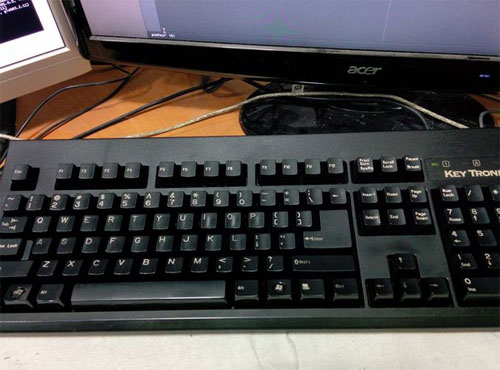
That's it, your keyboard is clean. Don't forget to do this every few months to ensure its hygiene (and yourself).
If you are afraid to remove the key each time you clean, you can consider washable keyboards like the Logitech K310 or I-Rocks. They are both washable directly under the tap and use a small brush to scrub.

Good luck!