Table of Contents
Use Run, Command Prompt or Powershell
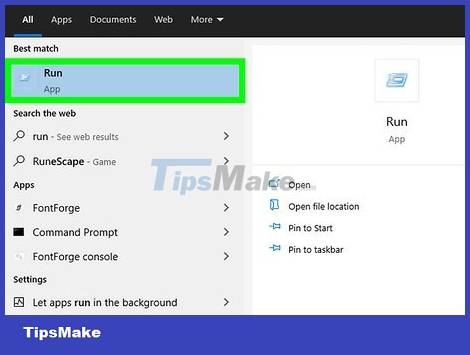
This practical guide explains how to cancel automatic shutdown on windows 10 with clear steps and useful context. It also covers common requirements, potential problems, and the details that can help you get better results.
You can find Command Prompt or PowerShell in the Start menu. Because PowerShell is an alternative to Command Prompt on many modern Windows 10 computers, you can also select PowerShell in the pop-up menu after pressing Win + X.
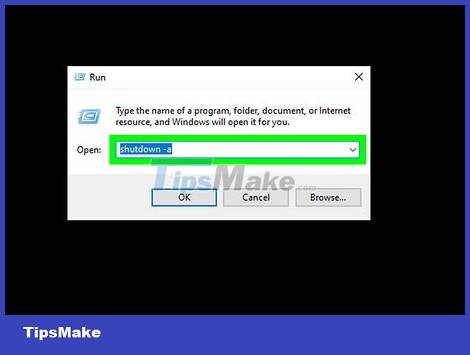
Enter the following command: shutdown -a. This command will cancel the shutdown schedule for a while. You'll need to repeat this if you want to cancel other scheduled shutdowns.

Click OK (in the Run window) or ↵ Enter (in the Command Prompt or PowerShell). This option is located below the data field on the Run window where you just entered the code. After you click that, the Run window will close.
Using Power Options
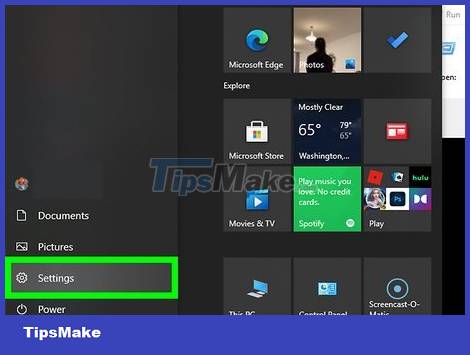
Open the Settings section. You can press Win + I to open Settings or find the option with this gear icon in the Start menu.

Click System. This is the first option in the menu.
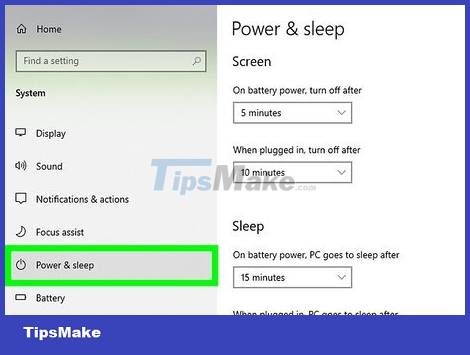
Click Power and sleep. This option is in the menu on the left side of the window.
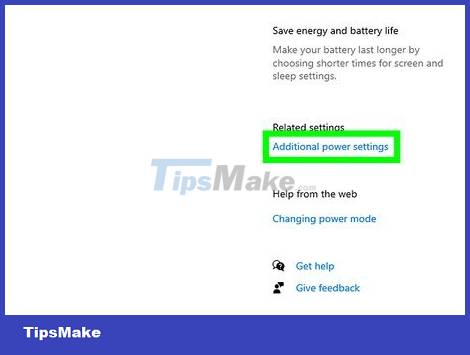
Click Additional power settings. This option is on the right side of the window.
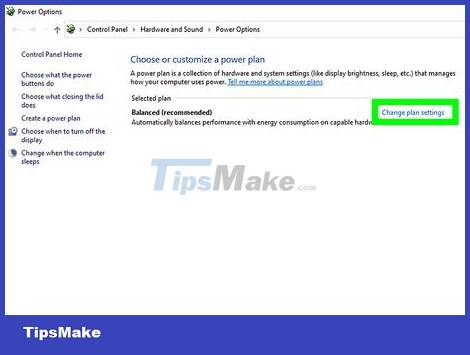
Click Change plan settings. This option is to the right of the current plan.
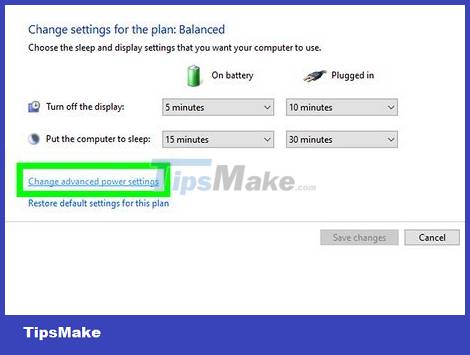
Click Change advanced power settings. This option is located under general settings.

Double-click Sleep and Sleep After. When you double click these items will expand the menu.
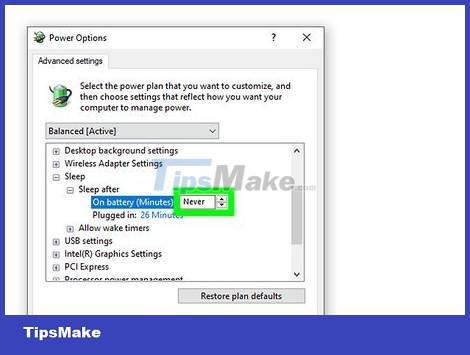
Click On Battery or Plugged in, select the arrow, and then click "Never" (laptop only). If you want to change the settings of both of these options, repeat the previous steps with the other option.
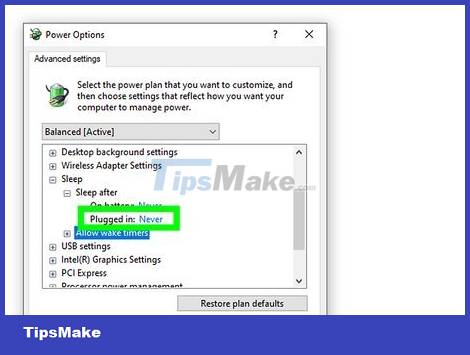
Click Setting, select the arrow and click "Never" (desktop only). This option is not available on laptops.
When you change the "Sleep" setting to "Never", the computer never sleeps.
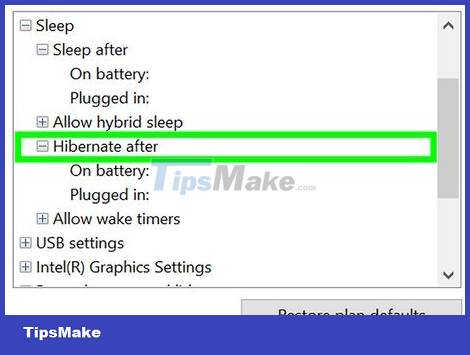
Double-click Hibernate after. The menu will expand below the title.
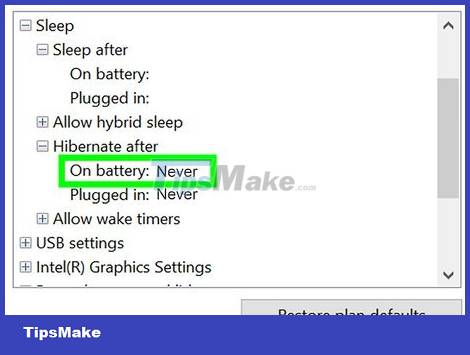
Click On Battery or Plugged in, click the arrow and select "Never" (laptop only). If you want to change the settings of both of these options, repeat the previous steps with the other option.
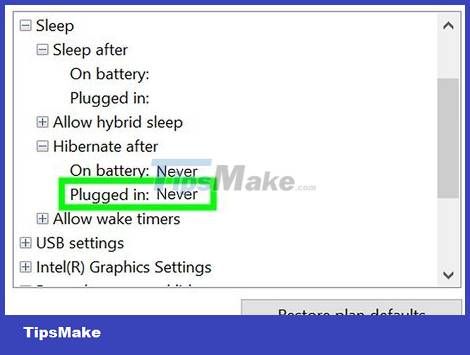
Click Settings, then click the arrow and select "Never" (desktop only). This option is not available on laptops.
These settings ensure that the computer will never hibernate, but be aware that such settings can drain the battery if the laptop is not plugged in.
Conclusion
Understanding Canceling Automatic Shutdown makes it easier to compare options, avoid common mistakes, and apply the information in this guide more effectively. Review the relevant requirements before making changes or choosing a solution.
FAQ
How do you cancel automatic shutdown on windows 10?
Follow the steps in this guide in order, confirm the required settings or tools, and verify the result before making additional changes.
Is it safe to cancel automatic shutdown on windows 10?
It is generally safe when you follow the recommended instructions, use trusted tools, and avoid changing settings you do not understand.
What should you do if the process does not work?
Recheck the requirements, restart the device or application when appropriate, and review each step for missed settings or compatibility issues.
Related Articles
 How to Cancel a Scheduled Shutdown in Windows 103 minutes read
 How to Cancel the Shutdown Command Quickly3 minutes read
 How to Turn Off the Computer Automatically10 minutes read
 4 Easiest, Quickest, and Simplest Ways to Schedule Your Computer to Shut Down29 minutes read
 Instructions to Cancel Automatic ZaloPay Payment to Avoid Losing Money3 minutes read
 How to Disable Automatic Screen Shutdown on Windows 11/10/8/75 minutes read
Reader Comments 0
Sign in with email or Google to join the discussion.