How to Back Up Computer Data
Personal computers (Windows 7, 8 and earlier)
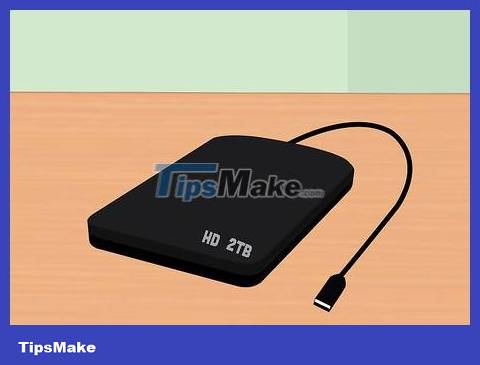
Find a suitable storage device. You need a device capable of storing all the data you need to back up. It must have twice the capacity of the hard drive to be backed up. An external hard drive is the best option and is easy to find.
You can create a partition if you want to use your current computer for backup. Although this is a safe option, you should be careful because the system is still susceptible to viruses and hard drive errors.
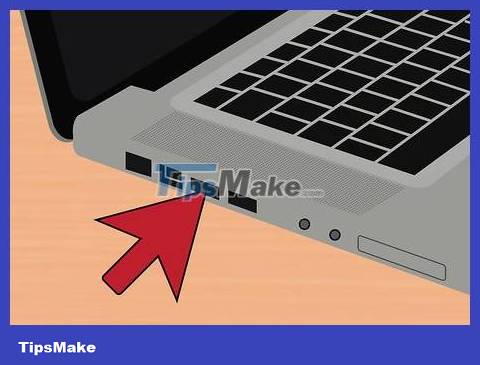
Plug the device into the computer. Using a USB cable or other connection method, plug the storage device into the computer to be backed up. After plugging the device in, a dialog box will appear asking what you need to do with the device. One of the options is to use your device to back up and open File History. Select this item.
Now the dialog box will not open automatically, you need to set up a manual backup by searching for History Files. You can find it in Control Panel.

Set up Advanced Settings. After opening the program, you may want to change a few settings in the Advanced Settings section, accessed on the left. This allows you to change how often your computer backs up, how long files are kept, and how much space is used.

Select backup hard drive. After setting up the settings, make sure to select the appropriate backup hard drive (external hard drive will be selected by default).
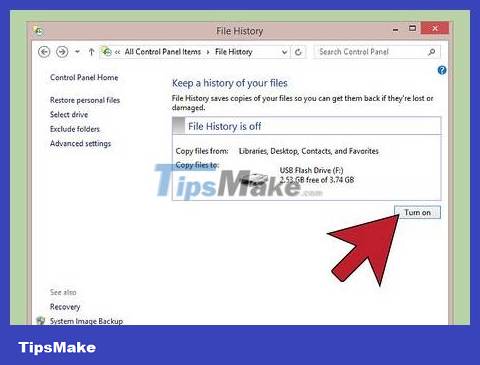
Press the 'Turn on' button. After entering the correct settings, click on 'Turn on'. This will start the process. Note that the initial backup process will take some time and you will want to do it at night or when you leave home for work, so you are not using your computer while the backup is being performed. Just like that, it's all done!
Mac (OS X Leopard and earlier)
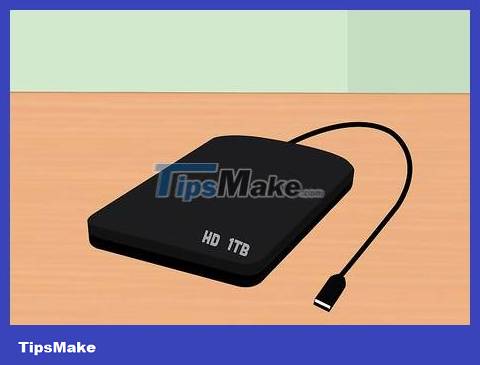
Find a suitable storage device. You need a device capable of storing all the data you need to back up. It must have twice the capacity of the hard drive to be backed up. An external hard drive is the best option and is easy to find.
You can create a partition if you want to use your current computer for backup. Although this is a safe choice, you should be careful because the system is still sensitive to hard drive errors and other problems.
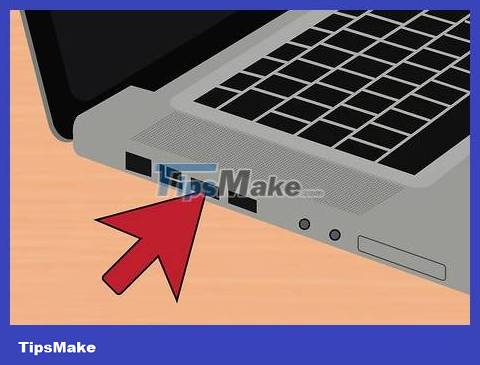
Plug the device into the computer. Using a USB cable or other connection method, plug the storage device into the computer to be backed up. After plugging the device in, a dialog box will appear asking if you need to use the device to back up Time Machine. Click OK to continue and click on 'Use as Backup Disk'.
If your device doesn't automatically recognize your device, you can start the process manually by accessing Time Machine from System Preferences.

Allows the backup process to proceed. The process is started automatically. If it's the first time, it may take a lot of time, so you can backup at night or before going to work so you don't have to wait.
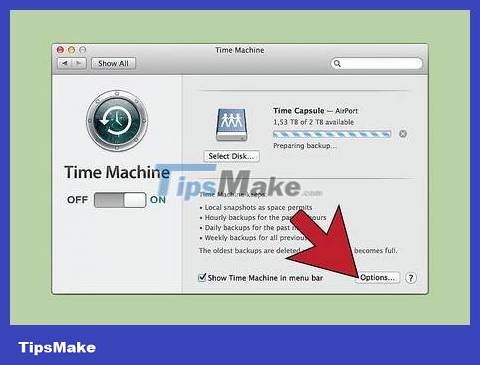
Setup Settings. You can go to the Time Machine panel in the System Preferences section to change the settings. Select 'Options' in the bottom right corner of the screen to change attachment categories, notification settings and battery power options.
iPad
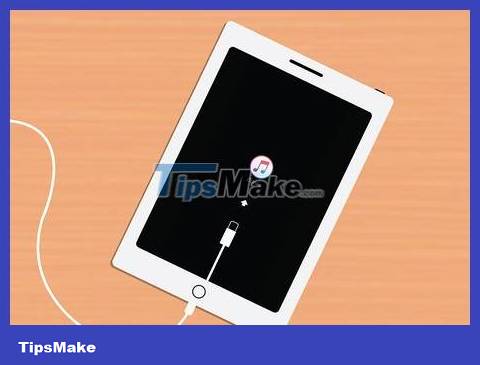
Connect the device to a computer with the latest version of iTunes installed. This is where your data is backed up so make sure you can use your computer for this purpose.

Go to File Menu.
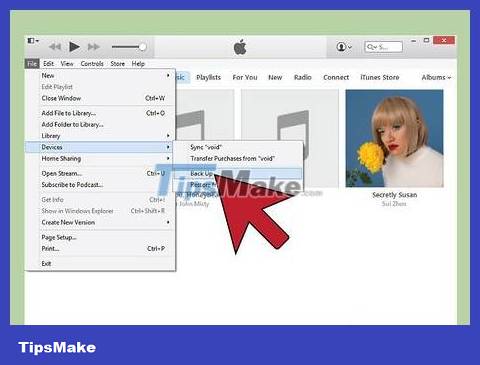
Select Devices submenu and select 'Backup'.
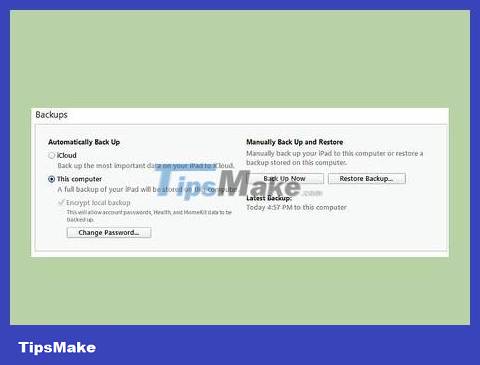
Choose a backup location. On the left, you can choose to save to a cloud service or save to your computer.
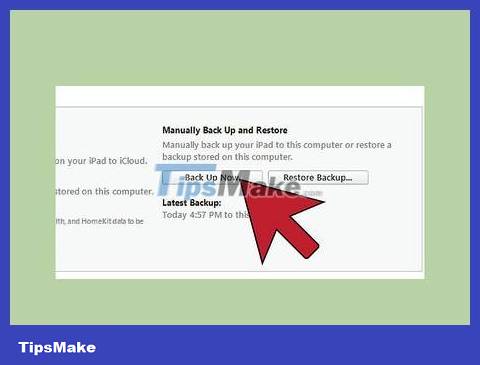
Select 'Back Up Now'. So you're done!
Galaxy Tab
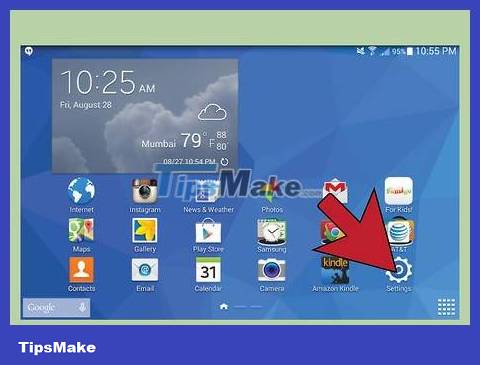
Navigate to Settings.
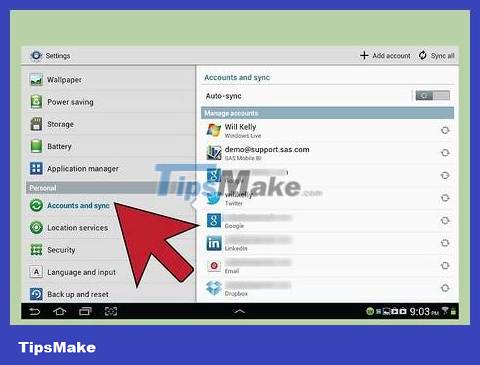
Select Accounts and Sync.
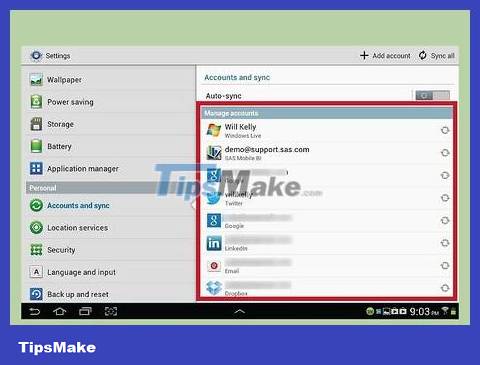
Make sure all items to be backed up are selected. Remember that you can only back up certain categories this way. Single files need to be backed up in the following way.
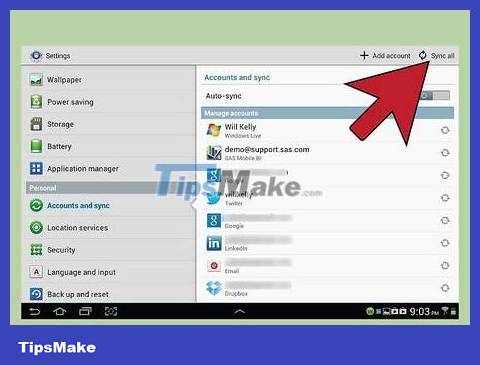
Select the green sync button, located near your Google account name. This allows items to be synchronized. Once completed you can select 'back' to continue using the device.
Single File
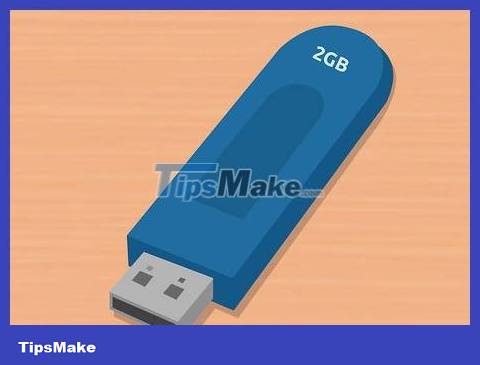
Find a storage device. You can back up single files to USB, external hard drive, cloud storage, CD, or floppy disk (if the system is old or you want to try the retro feeling), or any other device. You can choose based on your capacity needs and security level.
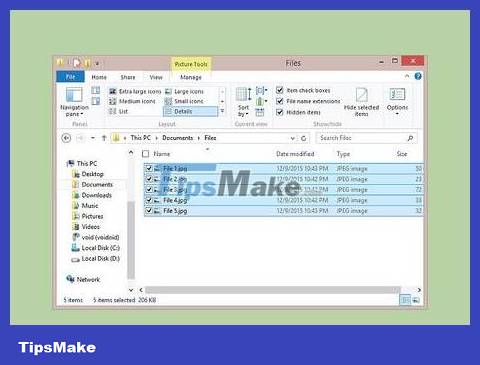
Copy files to folder. Copy all the files you want to back up to a folder on your computer. You can then divide the file into multiple subfolders if desired.
Putting all files in a separate folder makes transferring easier and helps you avoid missing files. It also helps distinguish backup files from other files on the storage device.
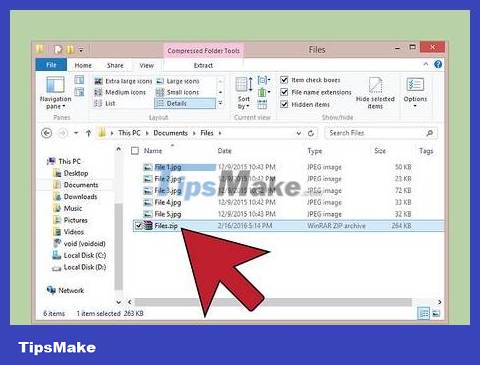
Create compressed file. You can compress the backup folder if you want. This is especially useful if the file size is very large.
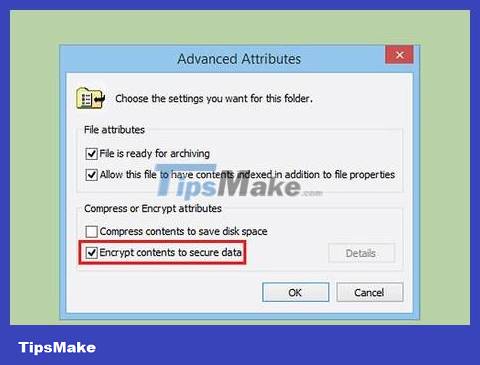
Enhanced security. You can encrypt or password protect folders or archives, depending on the method you choose. This is a way to improve security if the file contains sensitive content. Just make sure you don't forget your password.
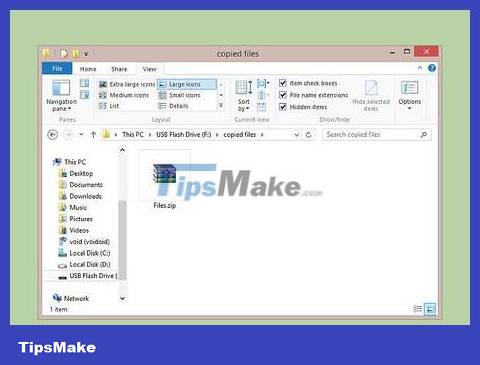
Copy folders or compressed files to the device. Once the folder or archive is ready, copy it to a storage device using the copy-paste command and redirect between devices, or save the item to cloud storage (if you choose this option).
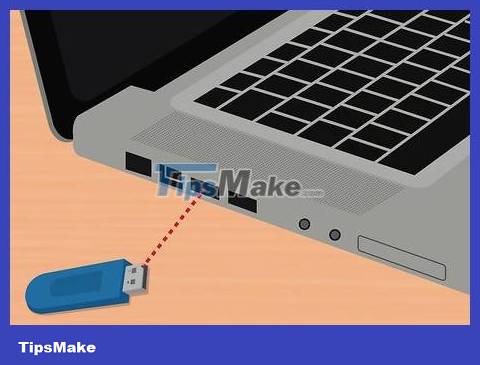
Transfer your device to your new computer. If you back up files to a device such as a USB, you should copy the files to another computer to ensure safety because there will be times when you need to use the USB or lose the USB.
Use the Cloud
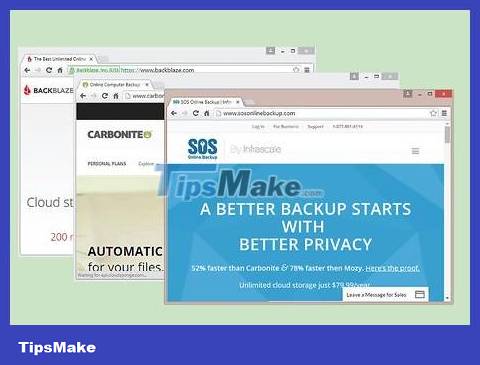
Find an online archive. Online storage is a growing field, allowing users to back up data to servers. You can access backup files anywhere as long as you have a network connection. There are many services that provide a variety of functions, both free and paid:
BackBlaze - Offers unlimited storage for a small fee per month.
Carbonite - One of many online backup services that offer unlimited storage for a monthly maintenance fee. Carbonite is known for its automatic backup solution.
SOS Online Backup - Another service in game backup, SOS offers unlimited storage for the entire account.

Learn the difference between online hosting and service hosting. Services like Google Drive, SkyDrive (OneDrive), and DropBox offer online storage, but they often require manual updates. Files are synced between devices using that account, meaning if a file is deleted on the backup server, it is deleted on all connected devices! These services do not provide raw files, meaning that getting back an old copy of a file is difficult or impossible.
You can absolutely use these services as a free storage, but they are not powerful enough to be called "backup services". You can maintain manual backups.
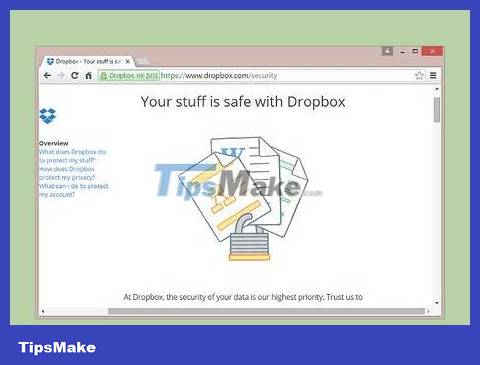
Check the security of the service. Any professional online backup service encrypts all files on their servers. They can access metadata like folder names and file sizes, but the exact content of the data is only visible to you.
Many services use personal passwords to encrypt data. This is a highly secure method, but you will lose access if you forget your password. In that case, the password is permanent and the data will be lost.
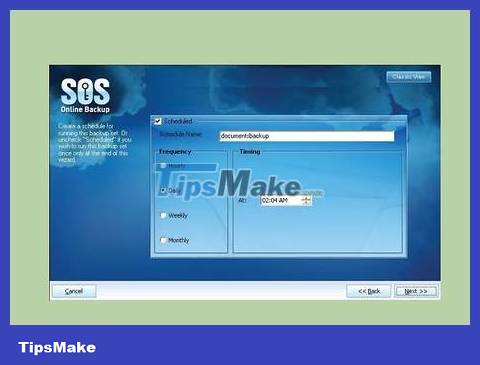
Set up a schedule. Almost all online backup solutions come with software or a browser interface that allows you to set how often and what to back up. Set a schedule that suits you. If you frequently change files, you should set backups every night. If you don't use your computer often, you can set up weekly or monthly backups.
Try scheduling your backups for times when you're not using your computer, as this process can consume bandwidth and your computer's resources.
 How to Format a Hard Drive on Ubuntu
 What is USB Dongle and how does it function?
 8 ways to fix USB error that does not display capacity without formatting
 7 best portable SSDs
 5 disadvantages of the USB-C connector you should know
 Compare USB4 and Thunderbolt 4