How to Back Up a Mac
This wikiHow teaches you how to back up the data and files on your Mac to an external hard drive and/or Apple's cloud-based storage service, iCloud. Connect your Mac to a formatted external hard drive. Connect the drive to your computer....
Method 1 of 2:
Using Time Machine
-
 Connect your Mac to a formatted external hard drive. Connect the drive to your computer using the cable provided (usually USB, Lightning or eSATA).
 -
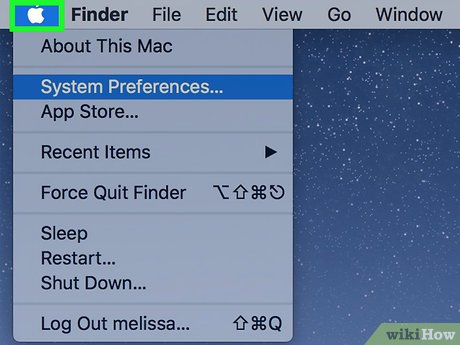 Click on the Apple menu. It's theicon in the upper-left corner of your screen.
-
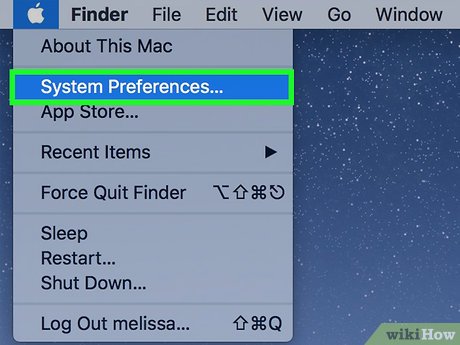 Click on System Preferences. It's in the second section of the drop-down menu.
 -
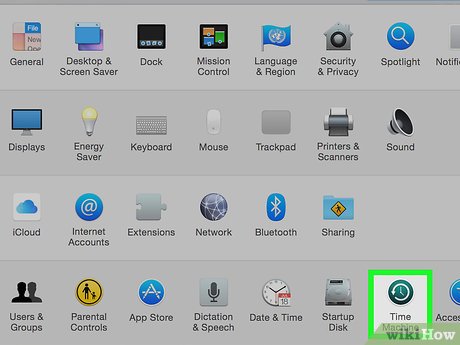 Click on Time Machine. It's near the bottom-center of the window.
- For older versions of macOS and Time Machine, make sure the Time Machine switch is set to the "On" position.
-
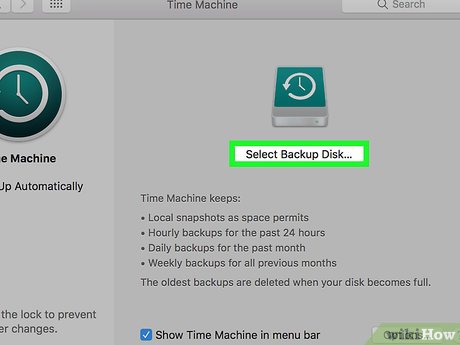 Click on Select Backup Disk…. It's in the right pane of the dialog box.
 -
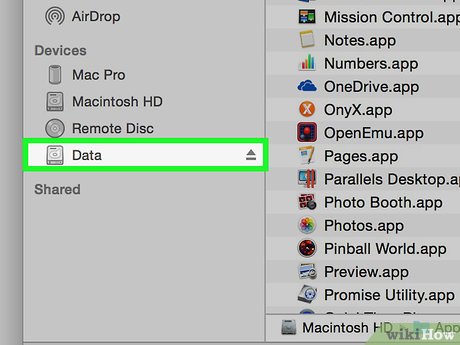
 Click on a disk. Select the external hard drive you connected to your Mac.
 -
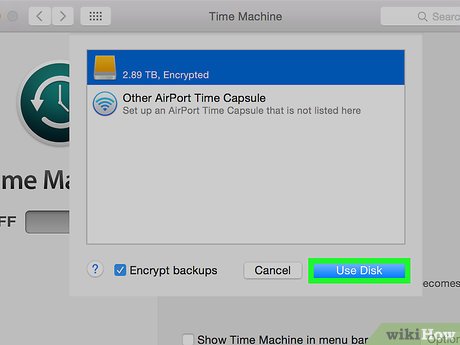 Click on Use Disk. It's in the lower-right corner of the dialog box.
- Check Back Up Automatically in the left pane of the dialog box if you want your Mac to back up at regular intervals.
- Check Show Time Machine in menu bar to create a shortcut in the menu bar to Time Machine preferences and backup status.
-
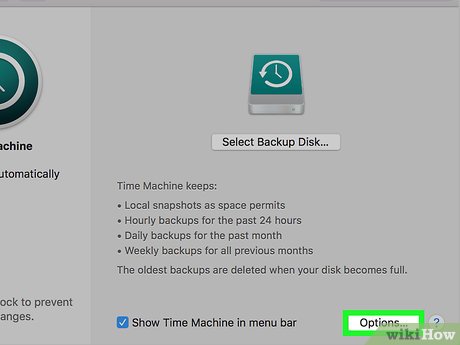 Click on Options…. It's in the lower-right corner of the window.
- Check Back up while on battery power to allow Time Machine backups when your Mac is not plugged in.
- Check Notify after old backups are deleted if you'd like Time Machine to let you know when it's deleted older backups to make space for newer ones.
Method 2 of 2:
Backing up to iCloud
-
 Click on the Apple menu. It's theicon in the upper-left corner of your screen.
-
 Click on System Preferences. It's in the second section of the drop-down menu.
 -
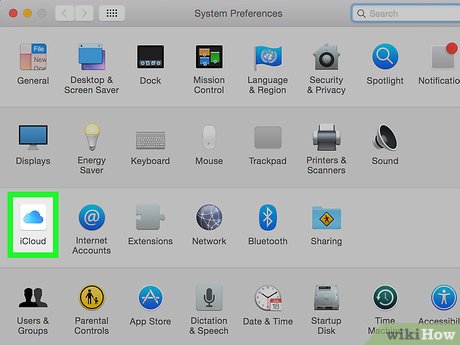 Click on iCloud. It's on the left side of the window.
- If you're not automatically logged in, enter your Apple ID and password.[1]
- To see how much storage you have in your plan, or to upgrade, click on Manage... in the lower-right corner of the dialog box, then click on Change Storage Plan... in the upper-right corner of the dialog box.
-
 Check the box next to iCloud Drive. It's at the top of the right pane. Now you can store files and documents in iCloud.
- Do so by choosing iCloud Drive in any "Save" dialog box or dragging files to iCloud Drive in the left pane of a Finder window.
- Select which apps have permission to access iCloud Drive by clicking on the Options button next to iCloud Drive in the dialog box.
-
 Select the types of data to store on iCloud. Do so by checking the boxes below "iCloud Drive".
- Check "Photos" if you want to back up and access your Photos on iCloud.
- Check "Mail" to sync and store email messages on iCloud.
- Check "Contacts" to keep a copy of your contacts on iCloud.
- Check "Calendars" to keep a copy of your calendars on iCloud.
- Check "Reminders" to keep a copy of your reminders on iCloud.
- Check "Safari" to keep a backup of your Safari data, such as browsing history and favorites, on iCloud.
- Check "Notes" to keep a copy of your notes on iCloud.
- Check "Keychain" to share an encrypted copy of passwords and payment data across the devices signed in with your Apple ID.
- You may need to scroll down to see all the selections.