Table of Contents
This practical guide explains how to assemble the cpu into the mainboard of the computer with clear steps and useful context. It also covers common requirements, potential problems, and the details that can help you get better results.
Insert the Pin-Type CPU into the Mainboard
If the motherboard has not been assembled into the case, it is best to install the CPU first. Place the motherboard on a smooth, flat surface. Remove the CPU lock bar by pulling outward with your thumb from the stopper and then upward.
 Remove the CPU lock bar
Depending on the type of CPU, but all are marked with a flap at an angle indicating where to install the CPU on the Mainboard. Place the CPU gently into the slot so that the A and B positions coincide and make sure the CPU is close to the slot.

 Attach the CPU to the dock
Slide down the CPU lock bar and insert it into the latch located on the side of the slot.
 Slide down the CPU lock bar and insert it into the latch located on the side of the slot
Insert the Contact-Type CPU into the Mainboard
- Newer CPUs are made of pins that are contact points, so the sockets for these CPUs will also not have sockets, but use a contact type, above the socket there is always a cover to protect guard. When attaching the CPU, remove this cover and place the CPU in the correct position.
 Remove the dock cover
  Unlock the dock
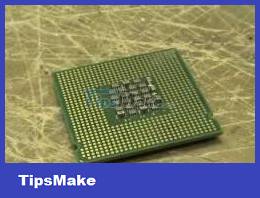 Contact-type CPU
 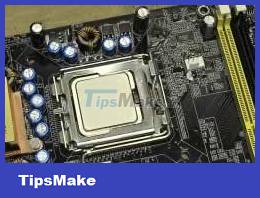 Insert the CPU into the base and lock it
Install the CPU Fan on the Mainboard
Clean the surface of the CPU and apply a thin layer of thermal conductor to the surface of the CPU if attached.
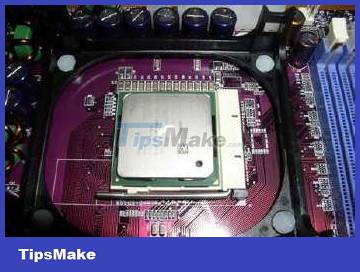 Clean the surface of the CPU and apply a thin layer of thermal conductor to the surface of the CPU
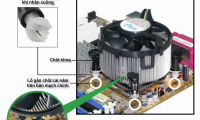
Install the fan by placing the fan neatly on the surface of the CPU, then hold the fan and press the 4 corner snaps into the hole of the fan base.
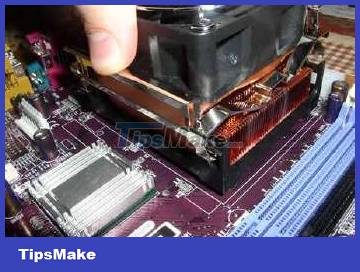 Mount the fan in place on the Motherboard
Plug the fan's power cord into the socket marked with the CPU Fan symbol on the Mainboard.
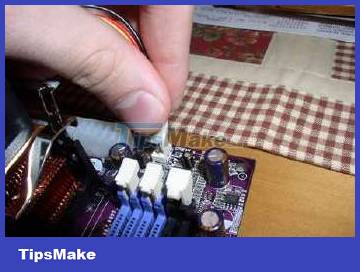 Plug the fan's power cord into the socket marked with the CPU Fan symbol on the Mainboard
Depending on the type of CPU, the fan will have a different lock structure, some use two locking bars on both sides, some use 4 screws to catch the Mainboard or use pads placed under the Mainboard and screw up. Please refer to the manual that came with the CPU or Mainboard for more details.
- Do not press hard to avoid bending or breaking the CPU pin.
- For CPUs with contact pins, do not touch these pins.
- Note that it is necessary to keep the cover of the contact-type socket for later use when needed. Some suppliers refuse to provide warranty if the motherboard does not have this cover.
Conclusion
Understanding Motherboard makes it easier to compare options, avoid common mistakes, and apply the information in this guide more effectively. Review the relevant requirements before making changes or choosing a solution.
FAQ
How do you assemble the cpu into the mainboard of the computer?
Follow the steps in this guide in order, confirm the required settings or tools, and verify the result before making additional changes.
Is it safe to assemble the cpu into the mainboard of the computer?
It is generally safe when you follow the recommended instructions, use trusted tools, and avoid changing settings you do not understand.
What should you do if the process does not work?
Recheck the requirements, restart the device or application when appropriate, and review each step for missed settings or compatibility issues.
Related Articles
 Top 5 Simple and Accurate Ways to Check Computer Mainboard7 minutes read
 How to Assemble the Mainboard into the Computer Case5 minutes read
 How to Assemble the CPU into the Standard LGA775. Mainboard4 minutes read
 How to Assemble Memory into the Mainboard of a Computer3 minutes read
 Mainboard, Motherboard Is What? Overview of Mainboard on Computer6 minutes read
 How to Assemble a Cooling Fan for Standard CPU LGA7755 minutes read
Reader Comments 0
Sign in with email or Google to join the discussion.