How to assemble an optical drive for a computer
How to assemble an optical drive for a computer
Table of Contents
An optical drive is a device used to read (CD/DVD) and write (CD/DVD-REWRITE) CD/DVD discs. The optical drive helps to access programs or data on CD/DVD discs to the computer. A computer can mount multiple optical drives if there is enough mounting space and slots for data cables. Here are the steps to assemble a CD for your computer:
Locate the pins and set up Master/Slave (Main/Slave)
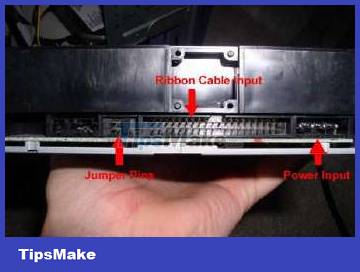
- First of all, it is necessary to determine how many optical drives the computer needs to attach and which will be the main drive (Master) and which will be the slave drive (Slaver) to set up the pins (Jumper) located on the back of the drive. plate. The way to insert these jumpers is usually indicated on the surface of the drive.
 Locate the pins and set up Master/Slave (Main/Slave)
Setting Master/Slave is only necessary when there are 2 drives sharing a data cable, even when attached to a hard drive. If each drive uses its own data cable, there is no need to set up a Master/Slave.
Assemble the optical drive to the computer
Remove the barrel grip and the plastic shield located where the optical drive is to be mounted from the front of the case by reaching inside and removing the hinges on both sides.
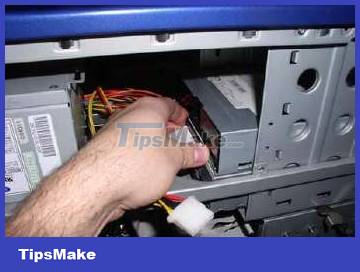
Insert the external optical drive into its place in the case, which is usually above the floppy drive. Fasten the CD locating screws to the case.
 Insert the external optical drive into its place in the case
Plug one end of the data cable (ATA has 40 leads) into the optical drive. The connector and slot both have joints to avoid mis-plugging, and the red wire corresponds to pin 1. A data cable usually has 3 ends and can attach 2 drives to the same wire.
 Plug the end of the data cable into the optical drive
Plug the other end of the data cable into the slot on the motherboard.
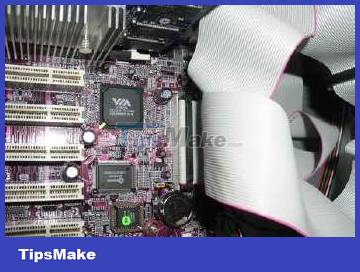 Plug the other end of the data cable into the slot on the motherboard
Plug in the power supply cord for the optical drive.
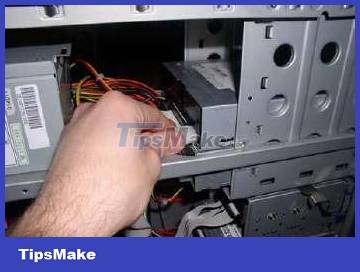 Plug in the power supply cord for the optical drive
Notes when installing a new standard SATA optical drive
- The SATA standard does not require a Master/Slaver setup, as each drive uses a separate data cable.
- Newer Optical Drives (SATA standard) will use a different standard than ATA, so if you want to attach this drive to a Mainboard that does not support this plug standard, you can install a device called a SATA Card. .
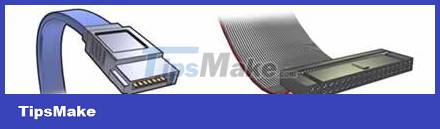 SATA data cable is smaller than ATA
-
In addition, the connector of the standard SATA power supply cord is also different from the normal standard. If the power supply does not have this terminal, an additional conversion cord can be used.
 Standard SATA power cord
- Normally the computer will automatically recognize the optical drive when booting, otherwise it is necessary to review how to attach the Jumpers to set up the Master/Slaver correctly and check the plugs. You can reset the BIOS if necessary.
- It is recommended to use a separate data cable for the CD/DVD optical drive with the hard drive to optimize access speed.
Was this article helpful?
Your feedback helps us improve.
Related Articles
 Select the optical drive yet for your computer?7 minutes read
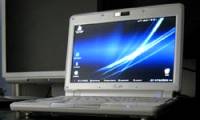 The Eee PC with the first optical drive was released in April1 minutes read
 HP, Dell, Asus produce ultrabook without optical drive2 minutes read
 How to assemble a floppy drive for a computer3 minutes read
 The best online tools to help you assemble and build your computer4 minutes read
 The most detailed steps to assemble a computer with a monitor6 minutes read
Reader Comments 0
Sign in with email or Google to join the discussion.