Table of Contents
Genspark can generate a restaurant, cafe, bar, or food-truck menu from a written brief. The fastest workflow is to prepare accurate menu data first, describe the visual style, generate a draft, and then check every item before downloading or printing.
Genspark is free to start and uses credits. The number of free credits and the cost of generation can change, so do not assume menu creation is unlimited.
1. Prepare the menu content
Before opening the designer, create a clean list containing:
- restaurant name and optional tagline;
- sections such as starters, mains, desserts, coffee, and drinks;
- exact item names, descriptions, sizes, and prices;
- currency and tax or service-charge wording;
- dietary or allergen labels that have already been verified;
- contact details, website, or QR-code destination if needed.
AI should not invent prices, ingredients, allergens, or claims such as “gluten-free.” Use only information approved by the business.
2. Open the menu-design tool
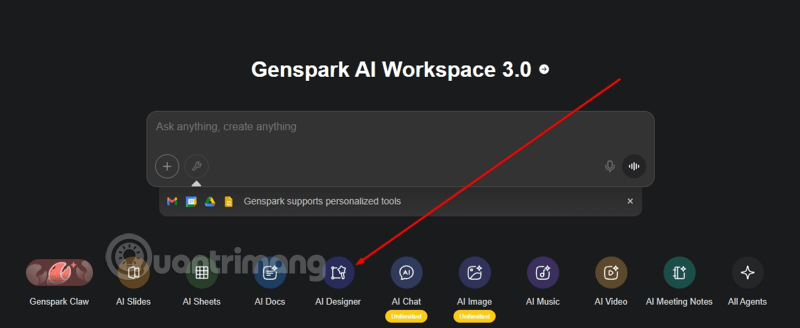
Sign in to Genspark and open its design or menu-making tool. Product names and navigation can change as the workspace is updated; the dedicated Genspark AI menu maker is the most direct starting point.
3. Choose a menu format
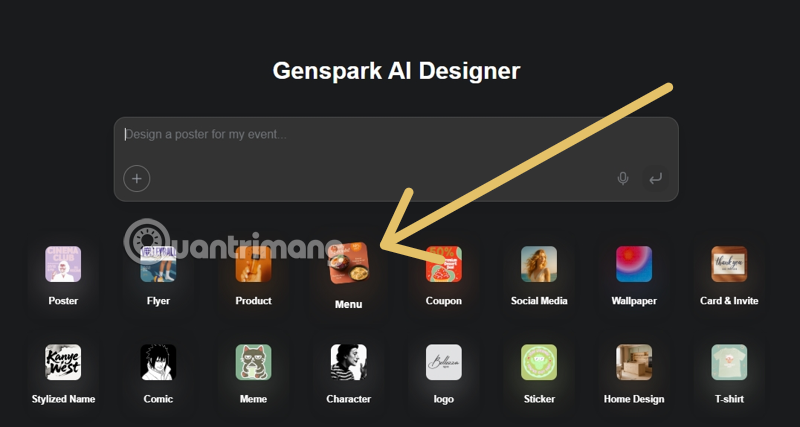
Specify whether the result is for an A4 sheet, folded table menu, wall board, social post, or digital display. Include portrait or landscape orientation and the target dimensions when printing requirements are fixed.
4. Enter a detailed prompt
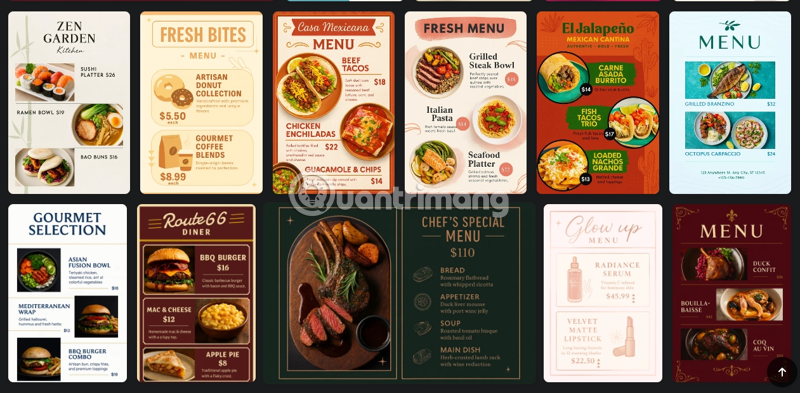
Paste the checked menu text and describe the brand rather than relying on vague terms such as “professional.” Useful details include background color, accent colors, font mood, spacing, illustration style, number of columns, and which section deserves emphasis.
Example prompt: Create a one-page A4 portrait menu for Harbor Cafe. Use a warm cream background, dark-brown headings, high-contrast body text, and simple line drawings. Divide the content into Coffee, Breakfast, Sandwiches, and Juice. Keep item names left-aligned and prices right-aligned. Do not change spelling, prices, ingredients, or currency. Use the exact menu text below: [paste checked content].
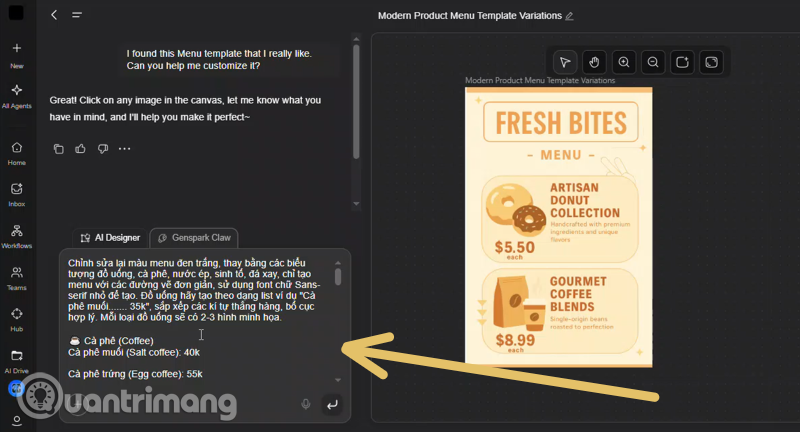
5. Review and revise the draft
Select the strongest layout, then request focused changes through conversation—for example, “increase item text size,” “add more space between sections,” or “keep all prices on one aligned column.” Small, specific revisions are easier to verify than regenerating the entire design.
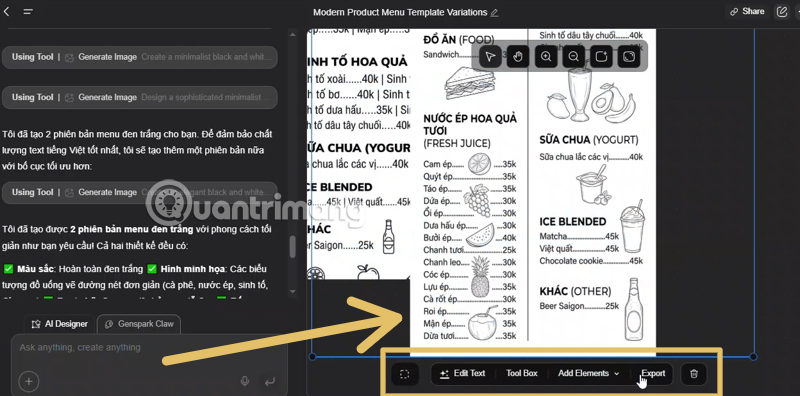
Depending on the current interface and plan, you may also be able to adjust text and visual elements directly. If a control shown in an older screenshot is missing, use a conversational edit or consult the current Genspark help center.
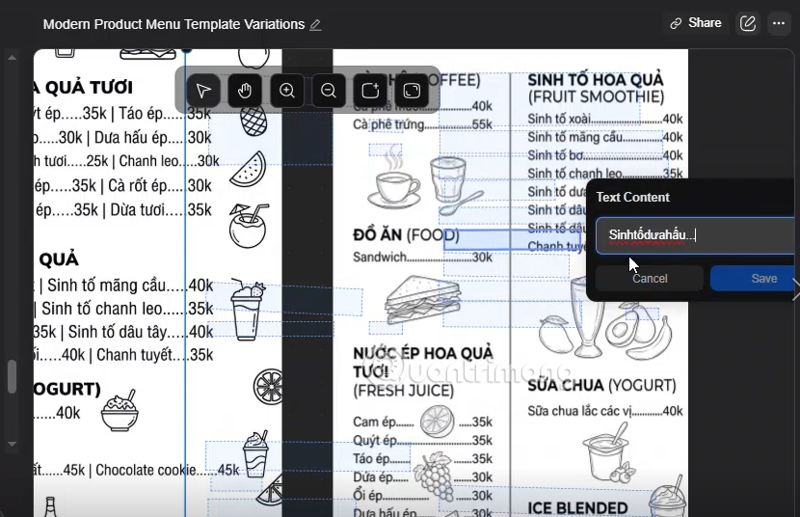
6. Perform a line-by-line content check
AI-generated design can introduce subtle text errors. Compare the finished menu with the approved source and check:
- every dish name, description, and price;
- decimal separators, currency symbols, and size labels;
- allergens and dietary markers;
- opening hours, phone numbers, addresses, and URLs;
- consistent capitalization and punctuation;
- readability at the menu’s final physical size;
- sufficient color contrast and no clipped or overlapping text.
7. Download and test the output
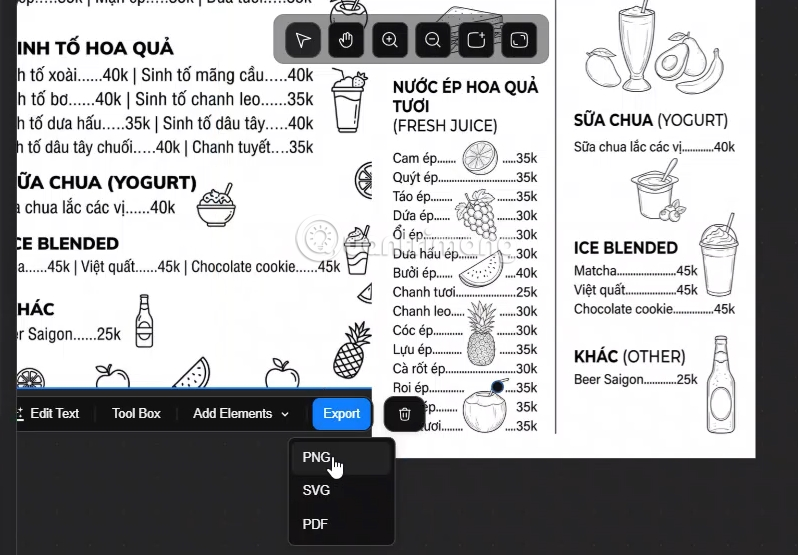
Export in a high-resolution format supported by the current tool. Use a print-ready file when sending the menu to a printer and an optimized image for websites or social media. Confirm bleed, margins, color mode, and font handling with the print shop before ordering a large run.
Print one proof or view the design on the intended screen. Check it from a normal reading distance and scan every QR code with more than one phone.
When to involve a designer
An AI draft can be enough for a temporary menu or early concept. A professional designer is still valuable when the menu must follow a strict brand system, meet accessibility requirements, support several languages, handle complex folds, or be printed in large quantities. The final responsibility for accuracy remains with the business, not the generator.
Related Articles
 Guide to Creating AI Sheets Spreadsheets in Genspark7 minutes read
 Top 10 Beautiful Cafes in Cau Giay Area, Delicious Drinks, Tired8 minutes read
 Latest My Hello Kitty Cafe Code: What to Know4 minutes read
 How to Check in Facebook?: Checkin Facebook2 minutes read
 Code Animal Restaurant - the Newest Pet Restaurant5 minutes read
 Genspark AI: What You Need to Know5 minutes read
Reader Comments 0
Sign in with email or Google to join the discussion.