Fluent Screen Recorder
Fluent Screen Recorder is a tool to record smooth, high-quality screen recordings. Save and share your screen recordings easily for tutorials, gameplay, or presentations..
Windows has never been short of ways to record your screen. With Steps Recorder , the Xbox Game Bar, and the recently updated Snipping Tool , you technically have everything you need at your fingertips. But 'technical' doesn't always mean 'fun.'
Game Bar is heavy and entirely focused on gamers. Snipping Tool, while improved, still feels like a screenshot utility hastily slapped on a record button. And third-party options for screen recording generally fall into two categories: Overly complex broadcasting software like OBS, or sketchy 'free' tools that add a watermark to your video unless you pay a monthly subscription fee.
People want something better: A screen recorder that feels like it belongs in Windows 11—lightweight, beautiful, and good enough to replace the default settings. You'll find exactly that in Fluent Screen Recorder.
What is Fluent Screen Recorder?
Fluent Screen Recorder is a tool to record smooth, high-quality screen recordings. Save and share your screen recordings easily for tutorials, gameplay, or presentations.
Fluent Screen Recorder is fully compatible with Windows 11
Feels like a native app
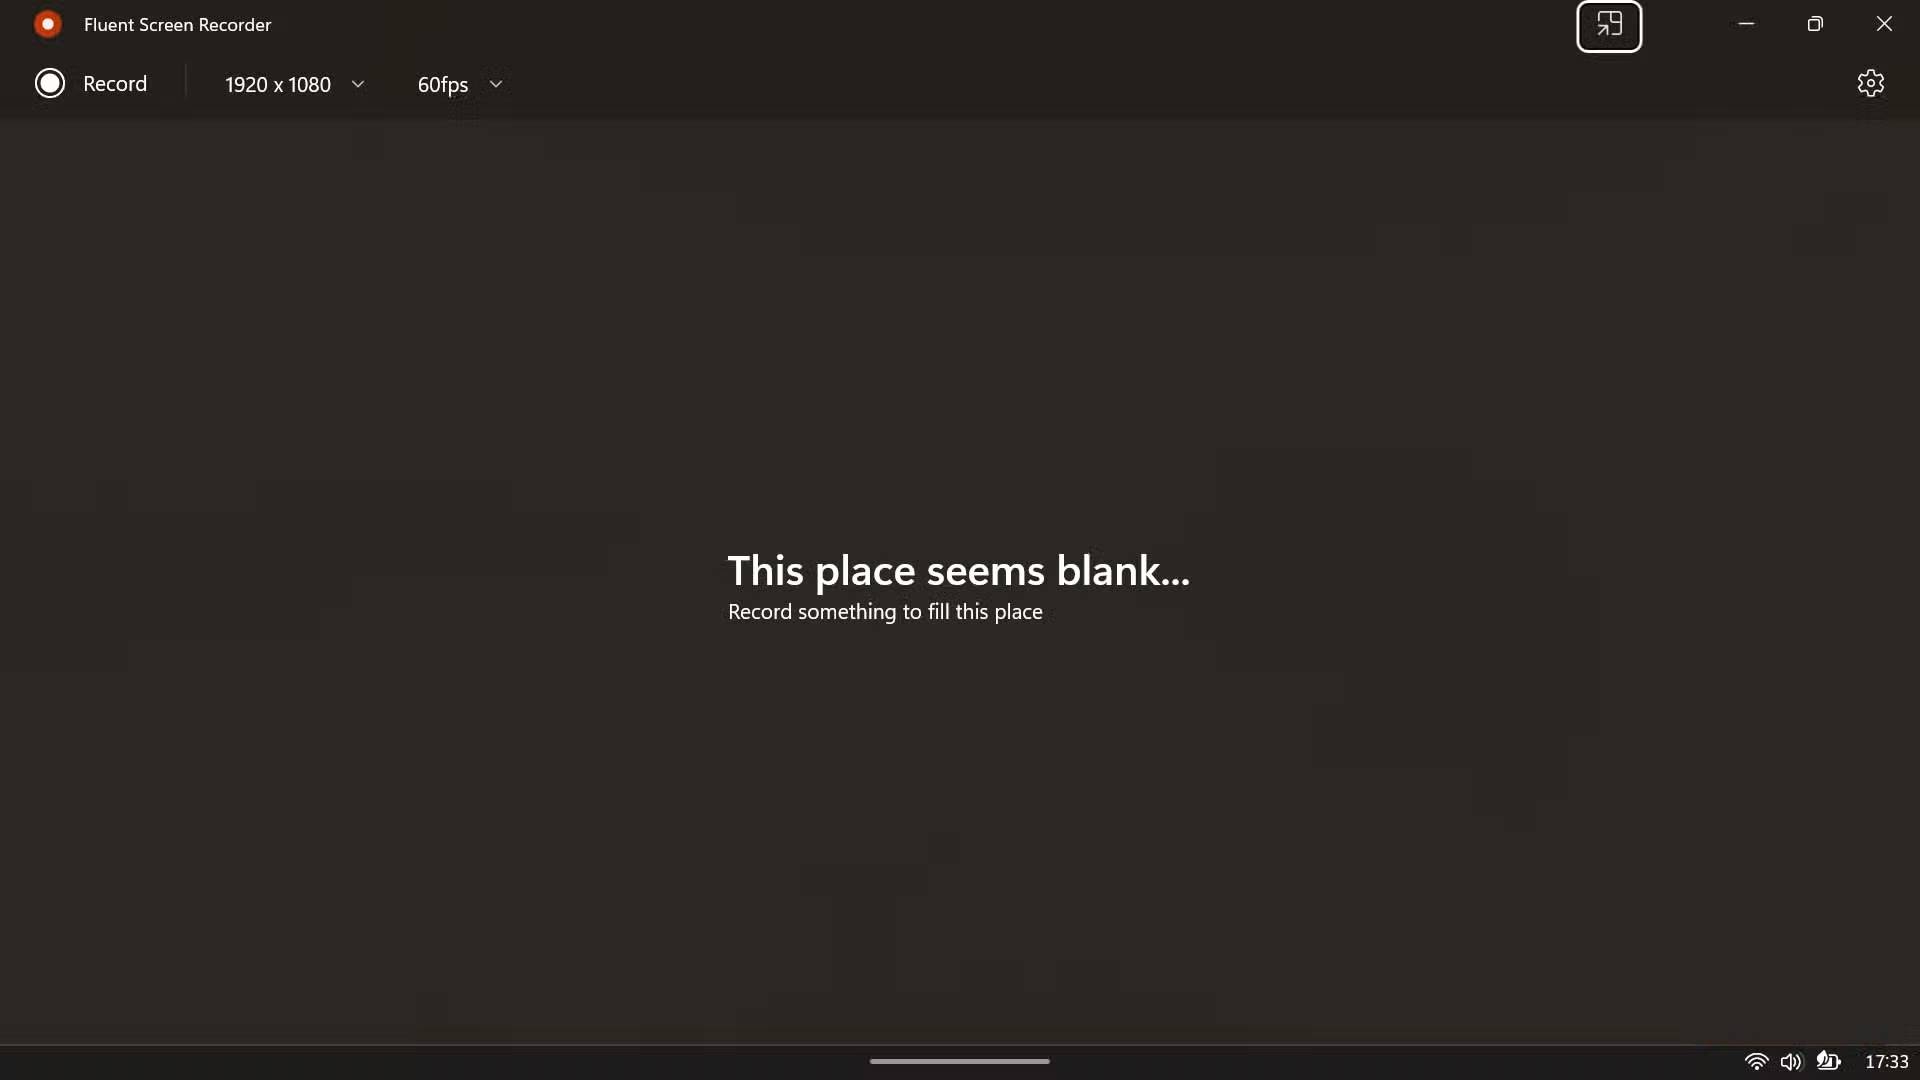

Developed by Filippo Fedeli, Fluent Screen Recorder is a simple screen recording tool that uses Windows 11 's Fluent Design language . From the moment you open the app, you'll feel like it belongs on your system. The main interface is clean, with a prominent Record button in the top left corner, flanked by drop-down menus for resolution and frame rate.
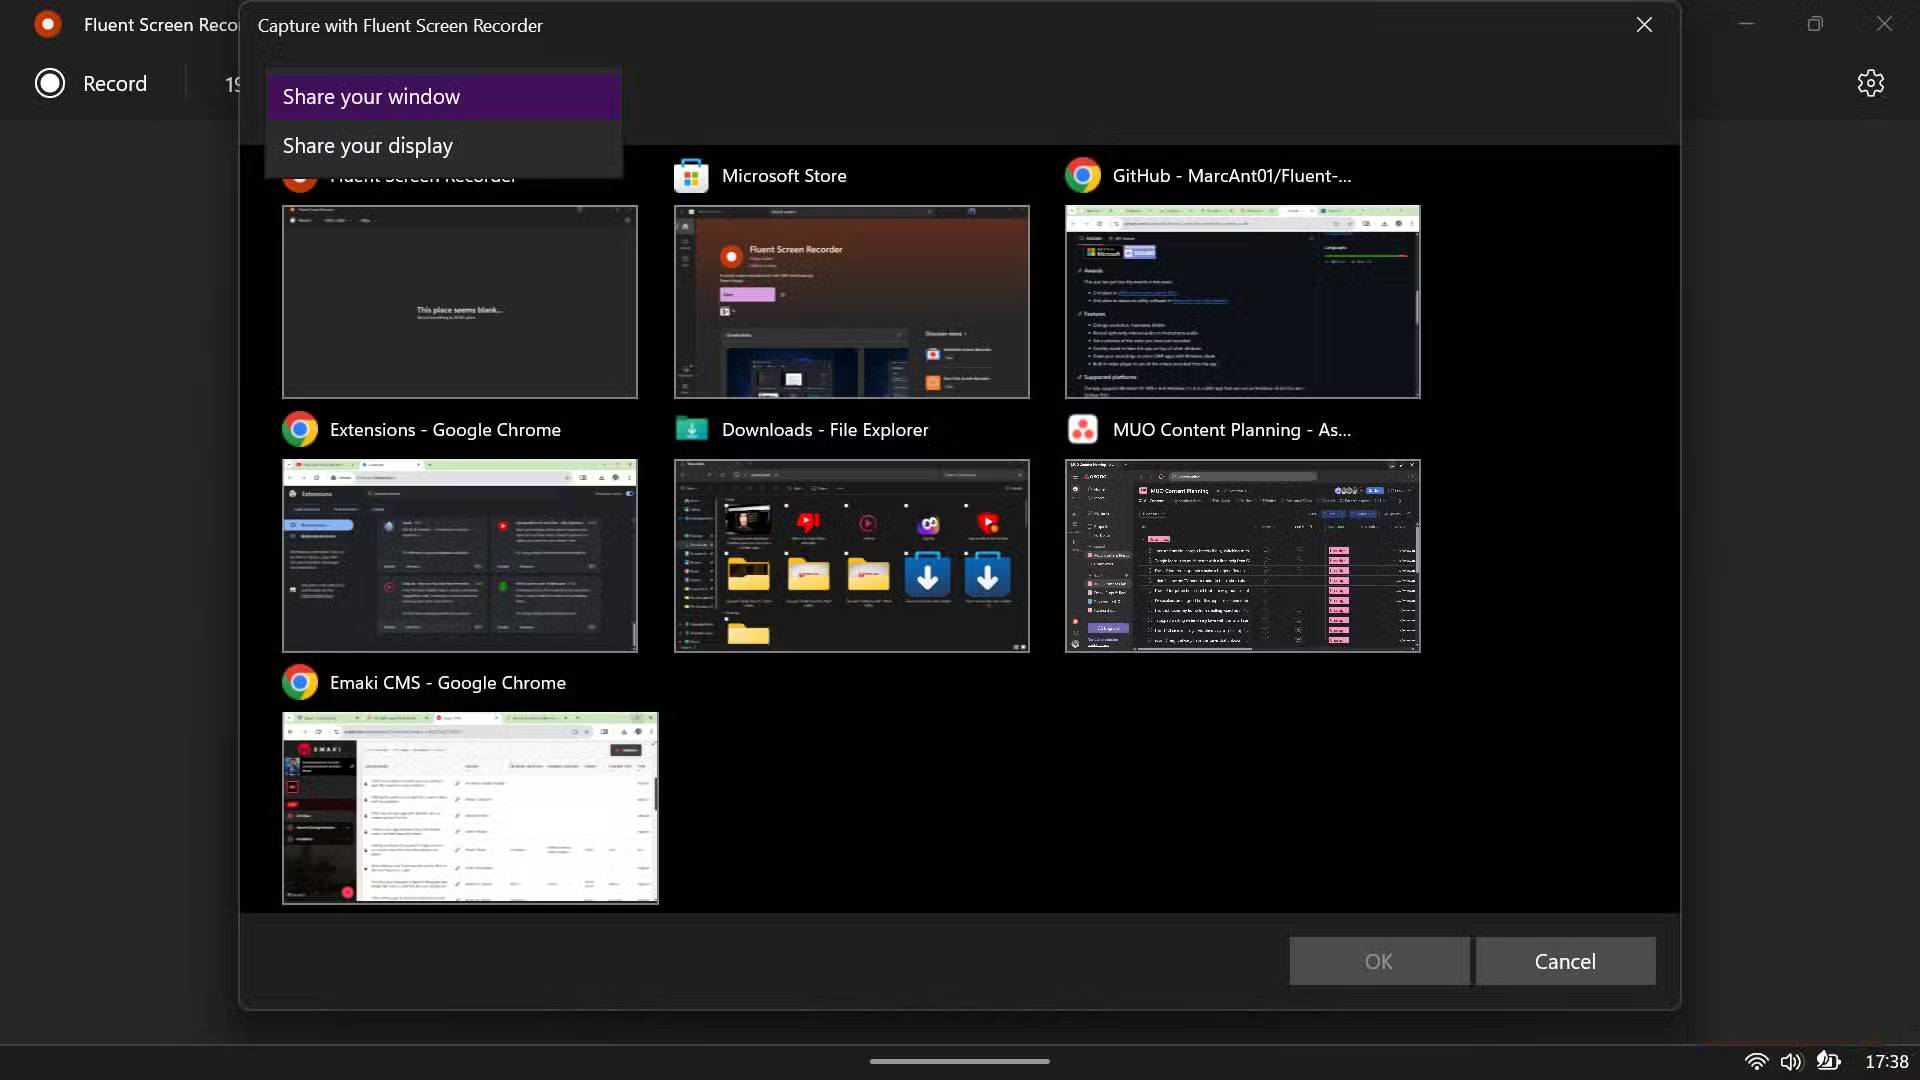
When you're ready to record, click the Record button to open the modern selection interface, which brings up Windows 11's window picker. You can choose to capture a specific window or the entire screen, with live thumbnail previews of every open app. This interface borrows heavily from the Snipping Tool's screen recording method, which is smart—Microsoft spent a lot of time refining that picker, and Fluent Screen Recorder wisely follows the same model.
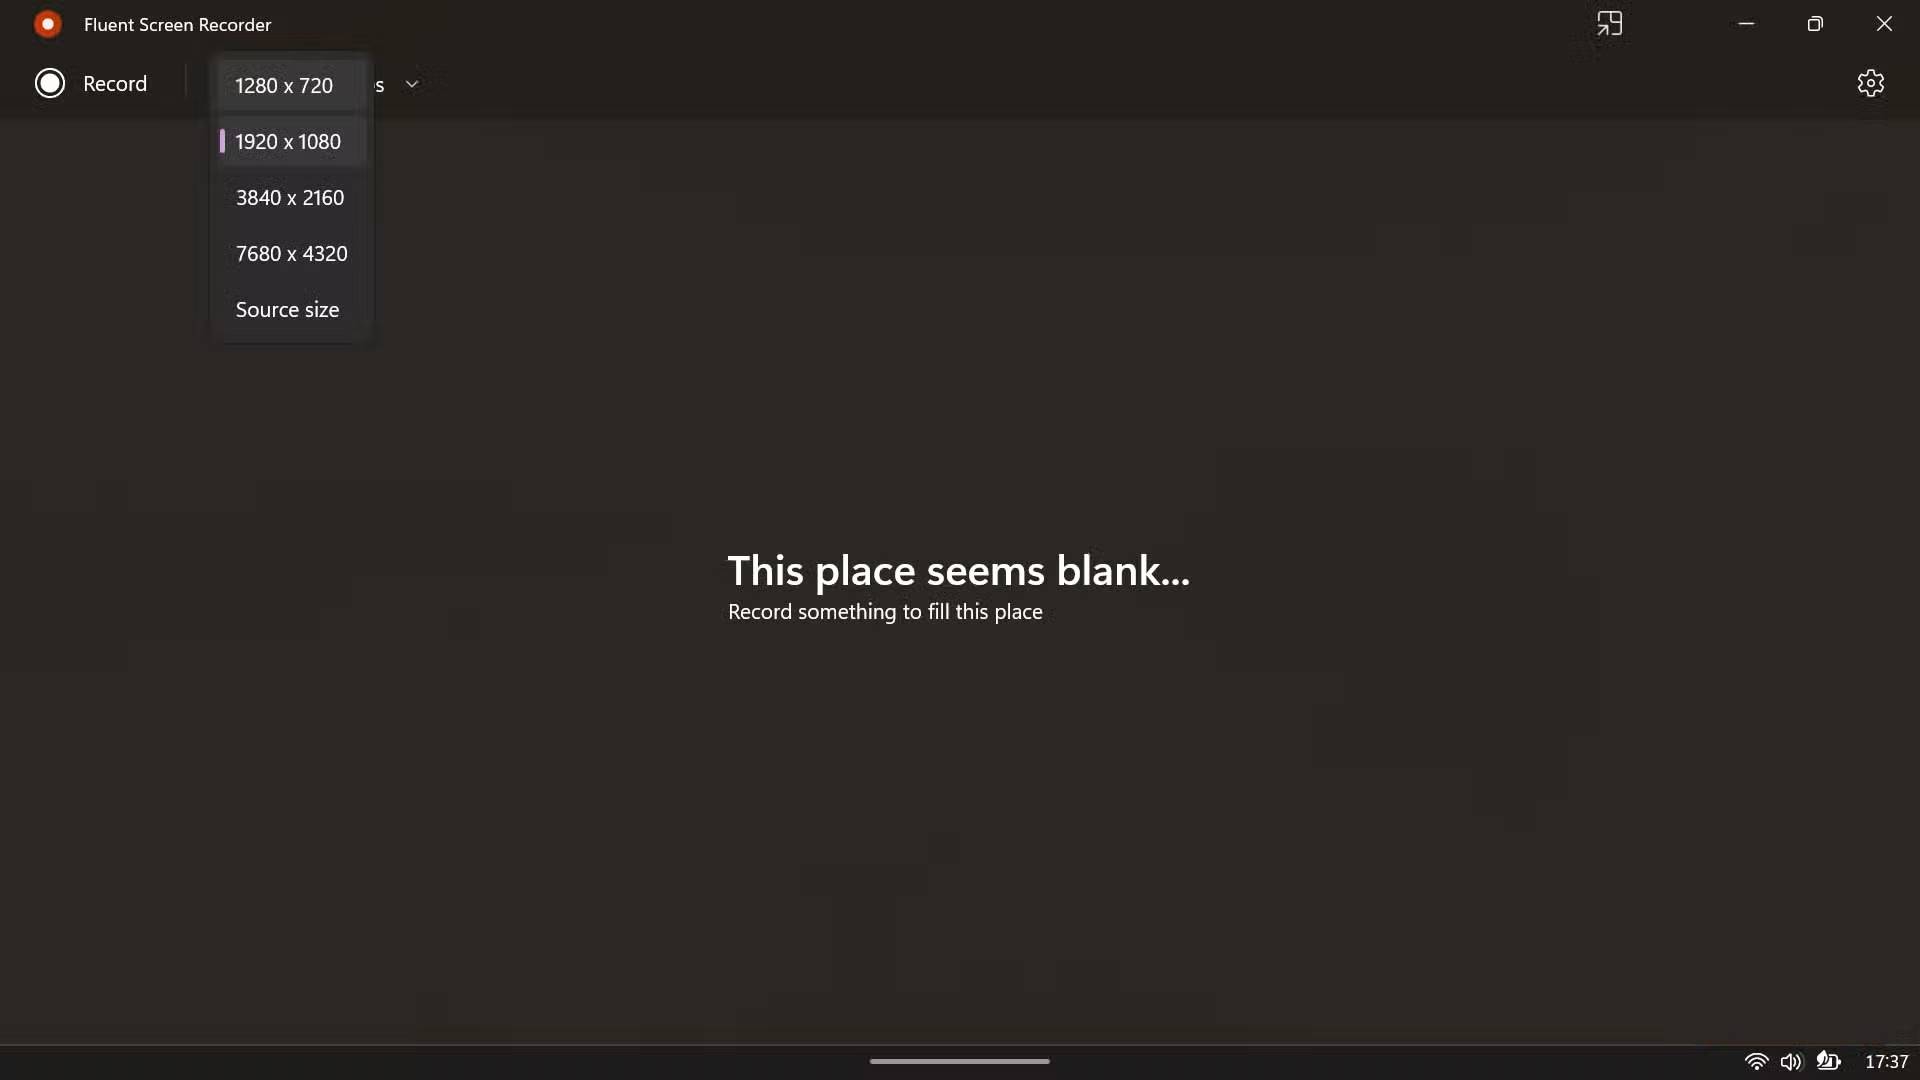
The resolution options are practical and well thought out. You have presets for common screen sizes like 1280×720, 1920×1080, 3840×2160 ( 4K ), and 7680×4320 ( 8K ), if your hardware supports it, along with a Source size option that matches your display's native resolution. Video frame rate options include 30fps and 60fps, covering the two most common scenarios. There's no need to overthink this – these options are what most people actually need.
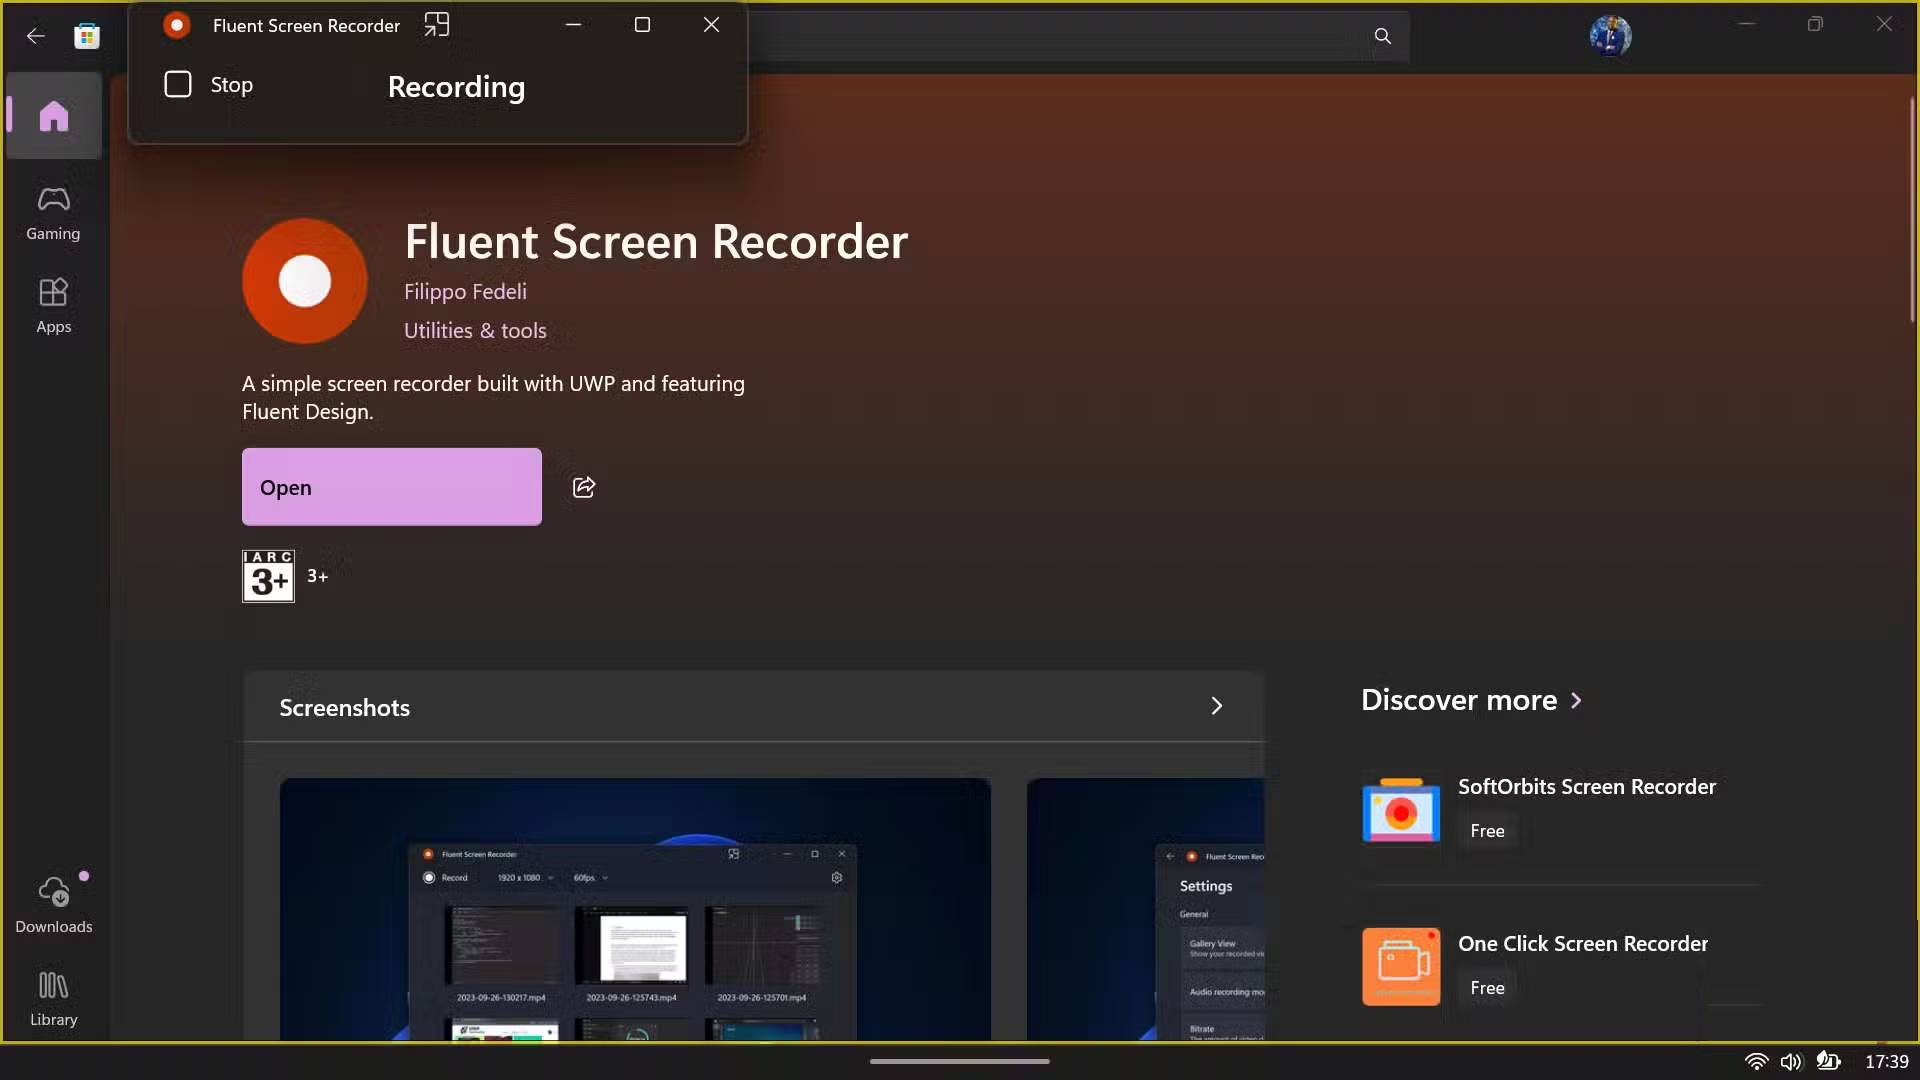
While recording, the app will transform into a compact floating toolbar that displays 'Recording' along with a Stop button . The app will always keep an eye on whatever you're recording without getting in the way, allowing you to control your recording without having to search for the app on the taskbar.
Records are always neatly arranged without any additional work.
The settings panel gives you real quality control
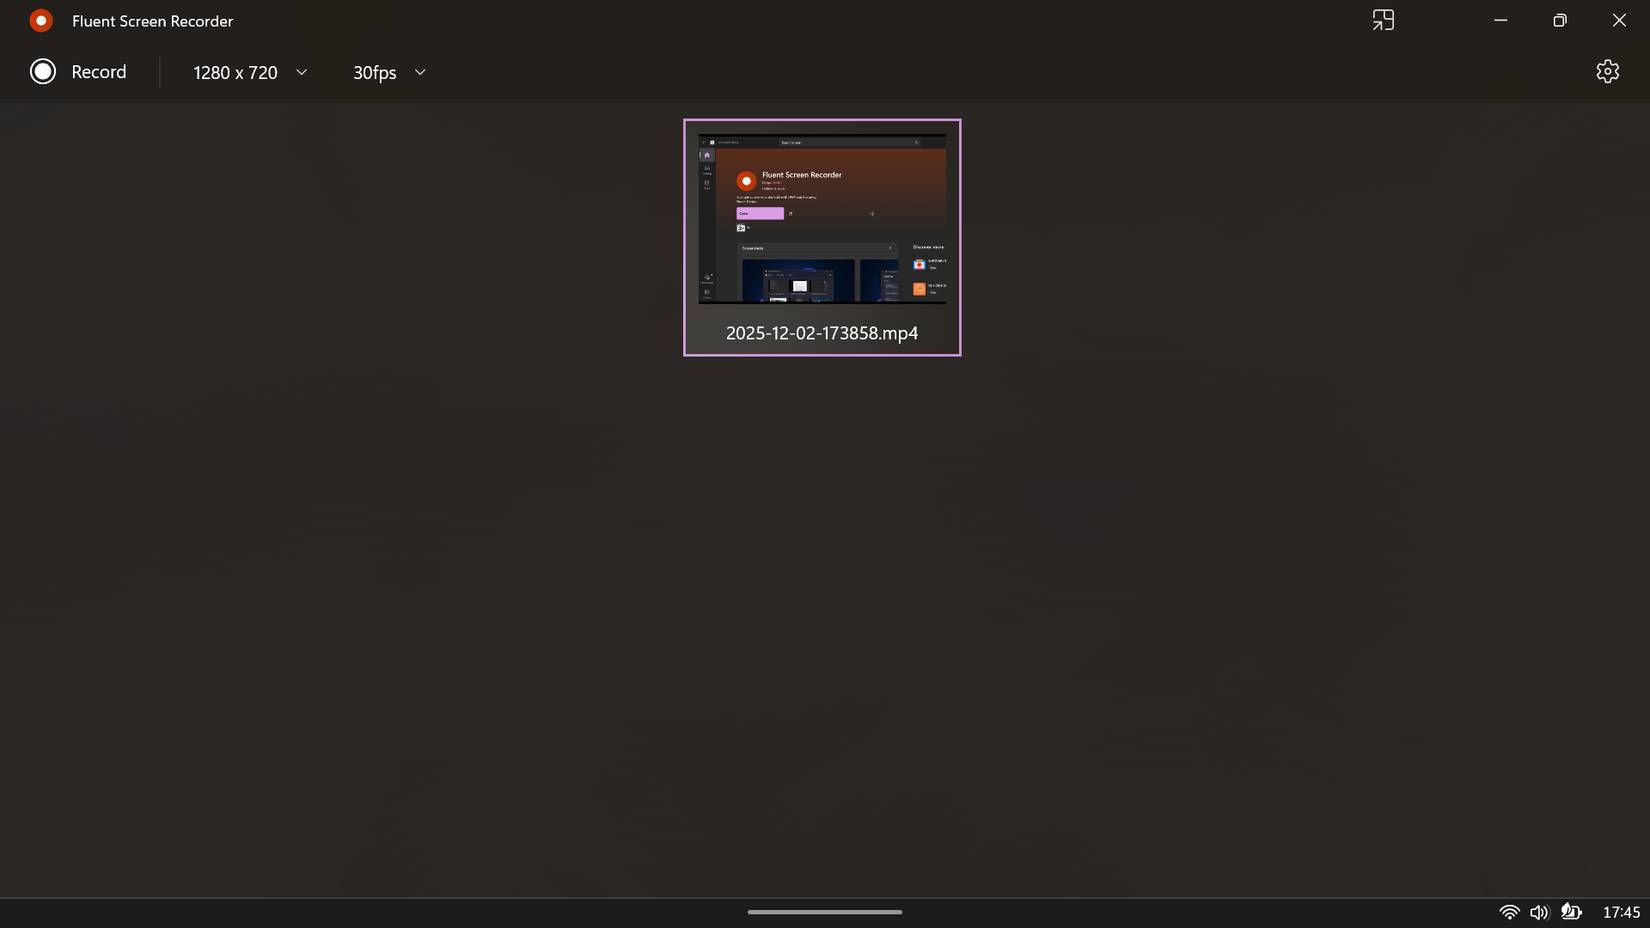
Once you've finished recording, you'll immediately see a thumbnail preview of the video with the file name displayed. You can save the video to your desired location - the app defaults to a dedicated "Fluent Screen Recorder" folder within your Videos folder , keeping things organized. Your videos are saved as MP4 files with a timestamp in the file name, making them easy to identify later. If you've enabled Gallery View in the settings, all your recordings will appear in a neat grid right in the app, complete with thumbnails and direct playback capabilities.
In terms of playback, recorded videos are stored locally on your device and you can access them via the app or navigate directly to the folder. The three horizontal dots in the right corner of the recording provide exactly two options: Share and Show in folder .
Share opens Windows 11's native share menu, allowing you to send video to any compatible app, while Show in folder shows where Fluent Screen Recorder stores your recordings—a dedicated subfolder within the Videos folder, automatically organized and easy to find.
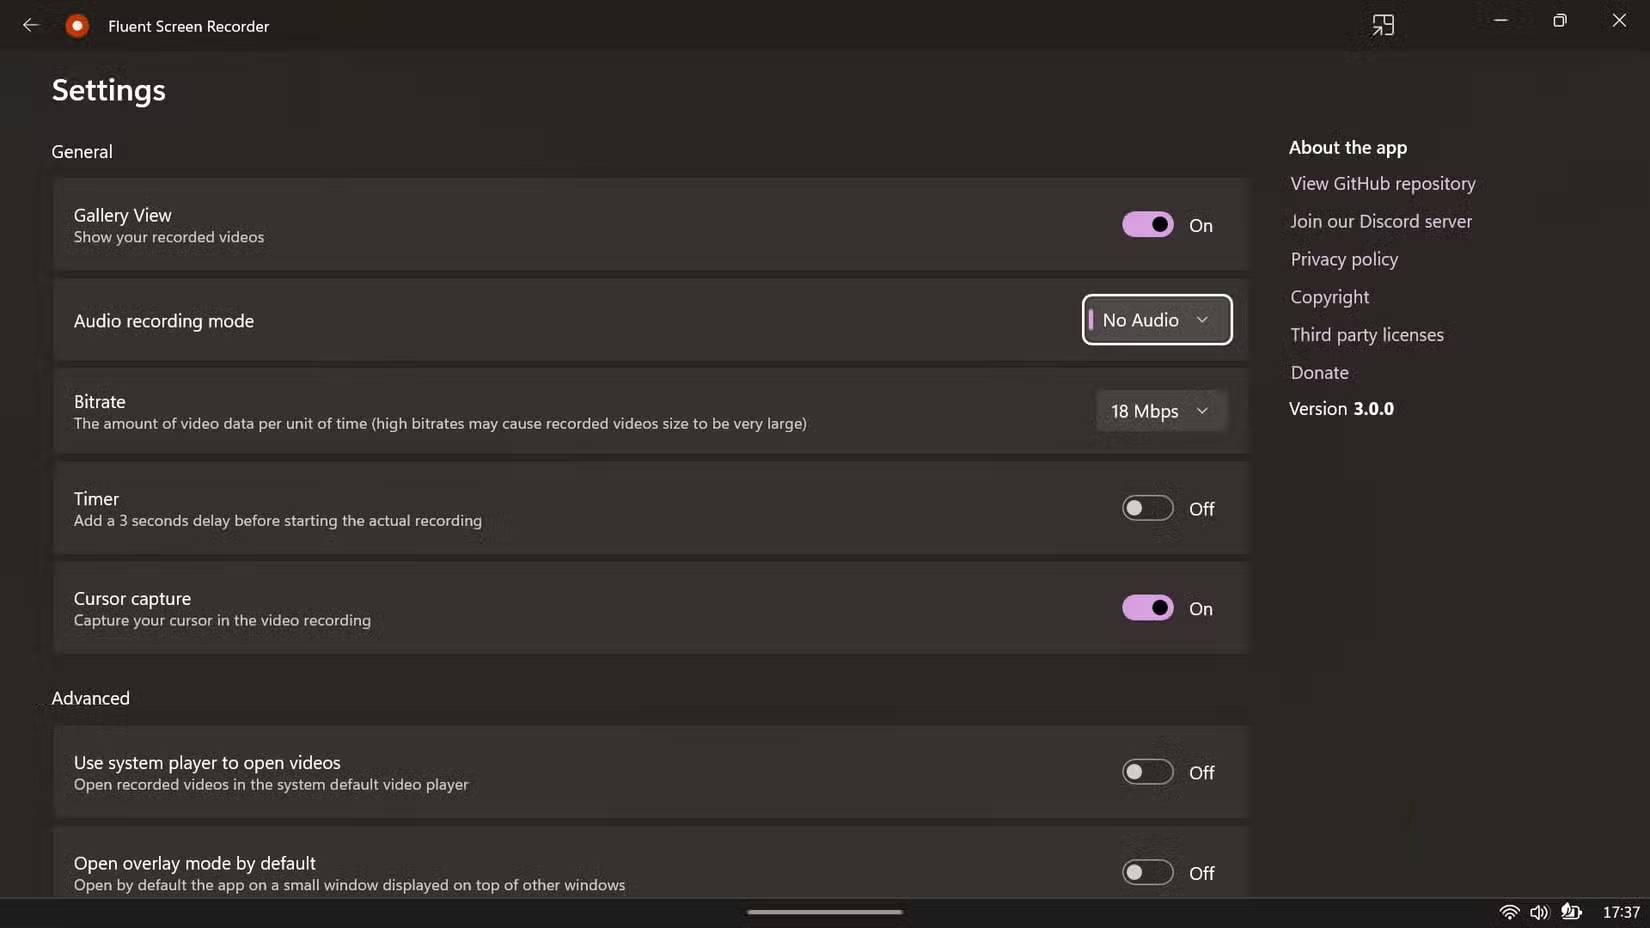
The settings panel shows that the user has really thought about how people use screen recorders. You can adjust the bitrate from 9Mbps to 72Mbps and choose the recording mode: System audio, microphone, or none. You can also enable or disable cursor recording, which is a detail that many people especially appreciate. It is enabled by default, meaning your mouse movements will be recorded along with everything else. This may seem like a small thing, but it is ideal for tutorials or presentations where the audience needs to follow your actions. However, you can disable it if you want.