Flash CS4: use Shape Hint
Shape Tween helps you transform objects from one form to another. In some cases, this transformation does not go as smoothly as you intended, you use Shape Hint to guide the transformation at your disposal.

Practice Shape Tween and Shape Hint
In this lesson, you use Shape Tween to transform the rectangle into a star shape, then use Shape Hint to guide the transformation evenly and beautifully. The steps are as follows:
1. Switch back to the default workspace.
Click the Essentials area to reselect the default Flash workspace, then click Reset Essentials to restore this default workspace and start the exercise 10.
2. Create a new Flash Document.
3. Save a Flash Document.
Select FLASH CS4 ONLINE folder, then save this file as 010_shape_hint.fla (Save the reference form by right-clicking on the link and selecting " Save target as ")
4. Use the Rectangle Tool to draw a rectangle.
4.1 Click on the Rectangle Tool on the right toolbar:

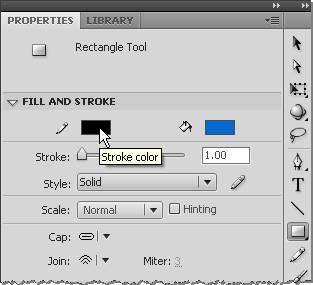
4.2 Click on the Stroke color box to select the border color for the rectangle:
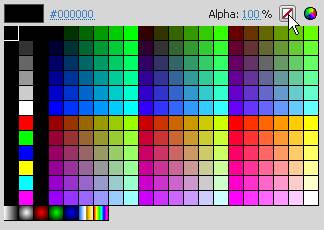
4.3 The color palette appears, and click on the box on the right with a red cross. This box is used to set the colorless value for the border, ie the drawn object will have no borders:
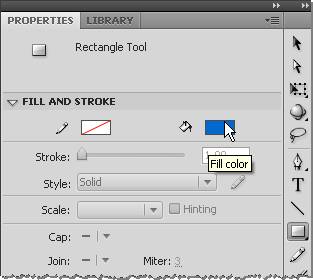
4.4 Click on Fill color to select the color for the rectangle:
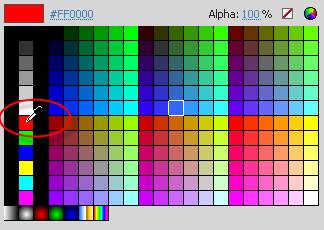
4.5 The color palette appears, click the red box to select the color of the rectangle:
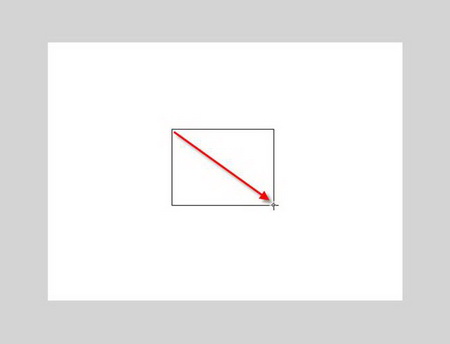
4.6 Putting the mouse in the middle of the Stage , click on the upper left corner and drag to the lower right corner as shown:
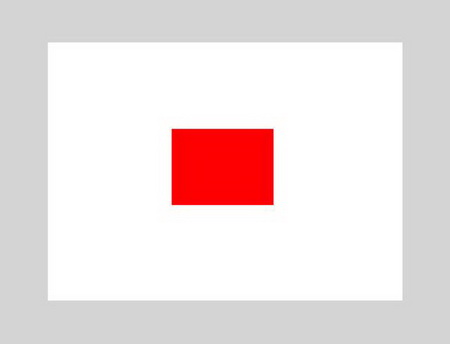
4.7 You get a red rectangle as follows:
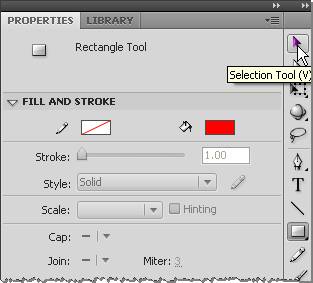
4.8 Click on the Selection Tool on the right toolbar:
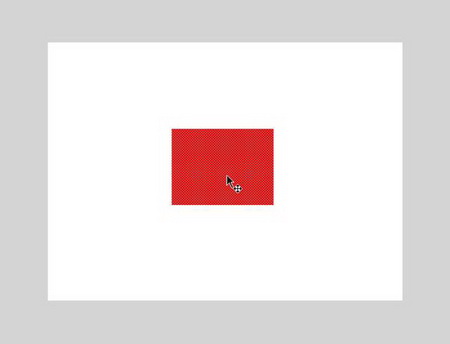
4.9 Click to select the rectangle just drawn. Once selected, the rectangle changes to tiny particles, while the four-dimensional arrow appears below the mouse:
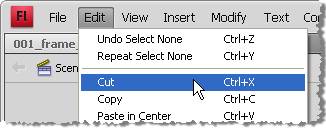
4.10 To center the rectangle on the Stage , first select Edit > Cut from the menu:
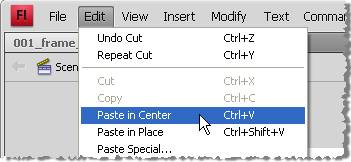
Next select Edit > Paste in Center from the menu:
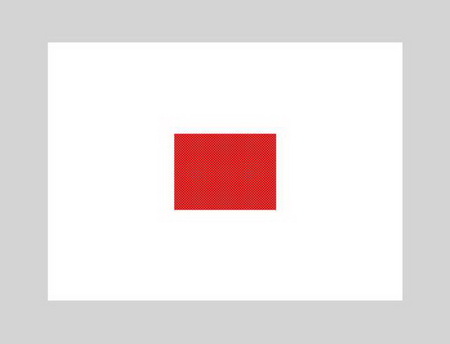
You get the rectangle centered on the Stage as follows:
5. Use the PolyStar Tool to draw the star shape.
5.1 Click on frame 24 of Layer 1 in Timeline :

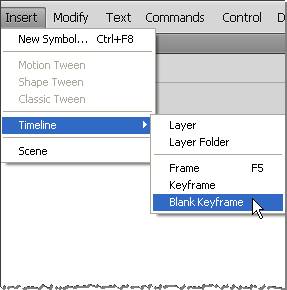
5.2 Select Insert > Timeline > Blank Keyframe from the menu (or press the shortcut F7 ) to add a white keyframe to the Stage:
5.3 You get a white keyframe at frame 24 :

Also on the Rectangle Stage is no longer available.

You will use the PolyStar Tool to draw a star on the Stage.
5.4 Click on the Rectangle Tool on the right toolbar and hold down the mouse for a few seconds for the submenu to appear. Click on PolyStar Tool :
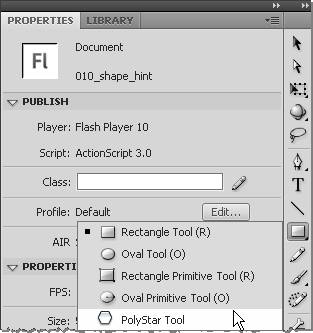
5.5 Click on the Fill color box to select the color for the PolyStar Tool :
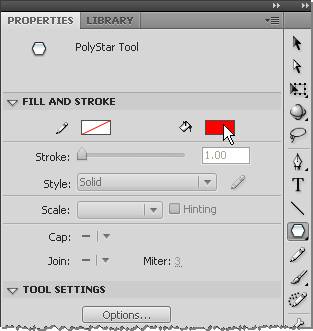
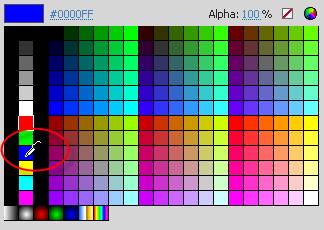
5.6 The color palette appears, click the blue box to select the color for the PolyStar Tool :
5.7 Click the Options button . of the PolyStar Tool:
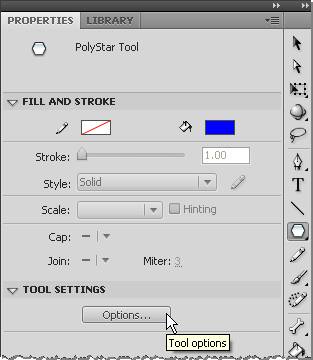
The Tool Settings dialog box appears:
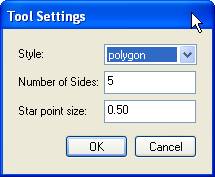
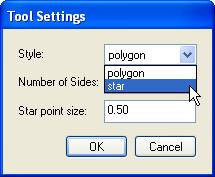
5.8 In the Style section, click for the drop-down menu and select star:
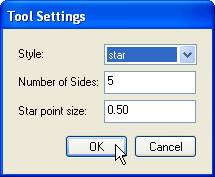
5.9 Click the OK button to close the dialog box:
5.10 Holding down the Shift key, hovering over the Stage and dragging a segment from the bottom up as shown:
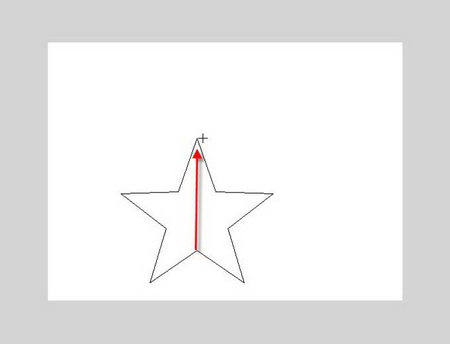
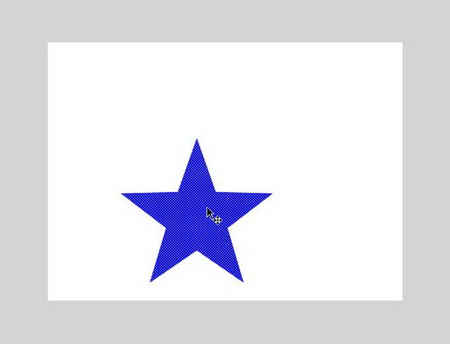
5.11 You obtain the blue star shape as follows:

5.12 Click on the Selection Tool on the right toolbar:
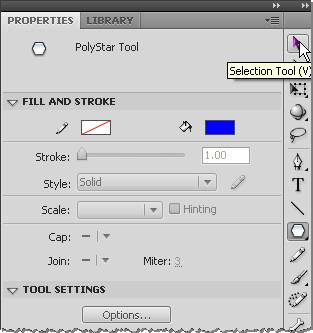
5.13 Click to select the star you just drawn. Once selected, the star turns into tiny particles, while a four-dimensional arrow appears below the mouse.
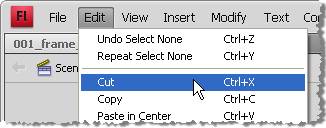
5.14 To center the star on the Stage , first choose Edit > Cut from the menu:
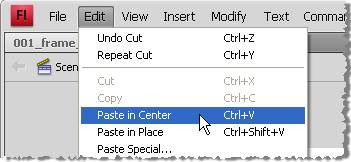
Next select Edit > Paste in Center from the menu:
You get the center-aligned star as follows:

(Continue)