Detailed instructions for using magnifier on iPhone
When upgrading iOS to a newer version, the magnifying glass tool is also updated with many new features, supporting you more during use. The article below will guide you how to use a magnifying glass on iPhone.
How to use magnifier on iPhone
Step 1:
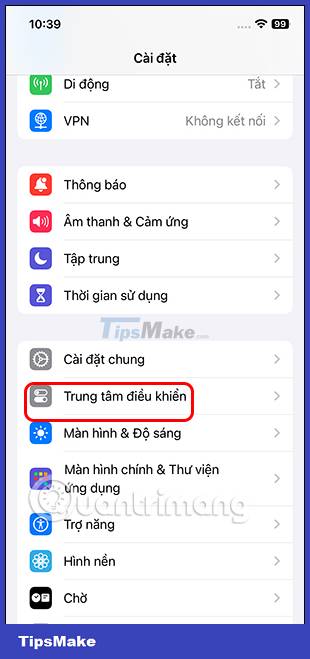
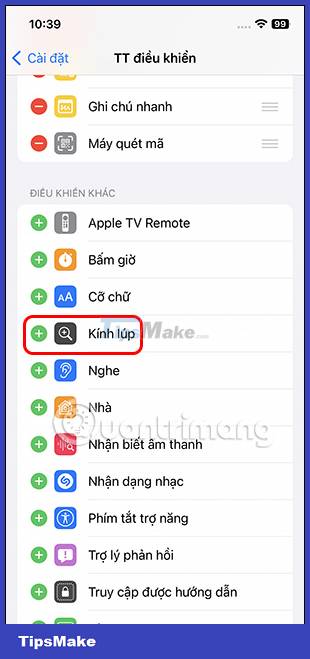
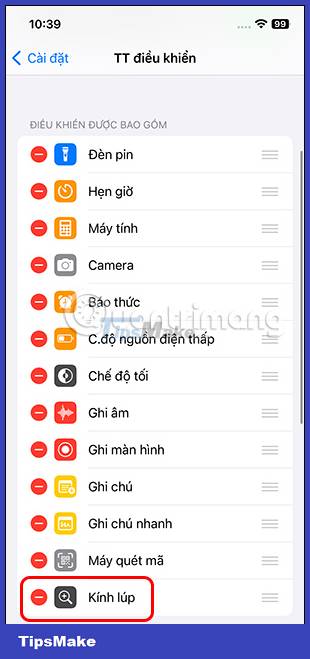
To display the magnifier on iPhone, first go to Settings on iPhone and then tap Control Center . Switch to the interface of applications displayed in Control Center, click Magnifier .
Immediately after that, the magnifying glass tool will appear in the Control Center on iPhone for you to use.
Step 2:
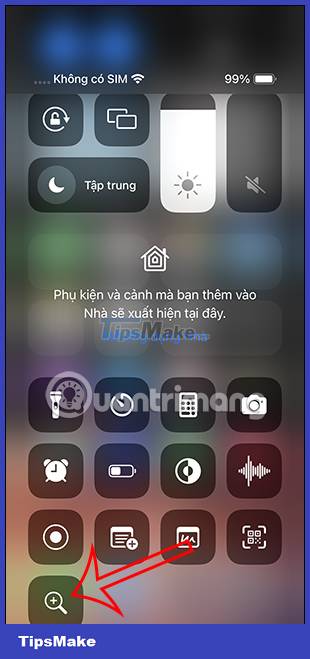
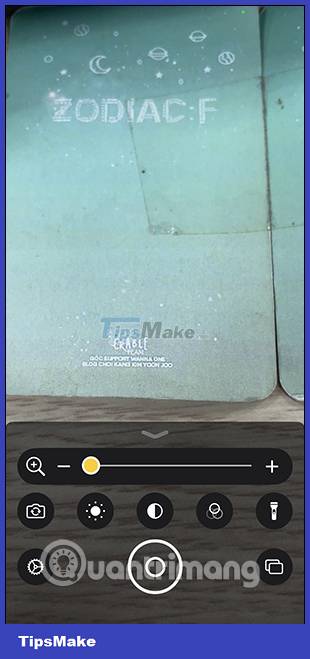
Swipe Control Center up to use it, then click the magnifying glass icon . Display the magnifying glass screen interface to enlarge the content to read.
Step 3:
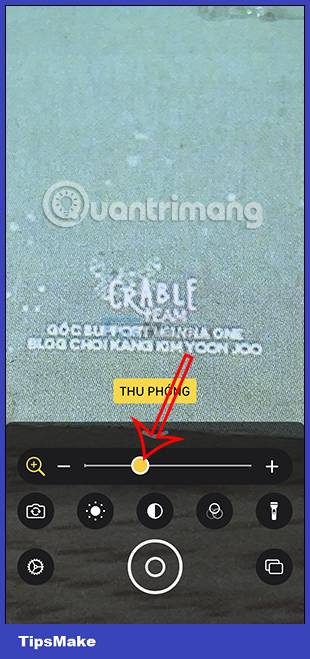
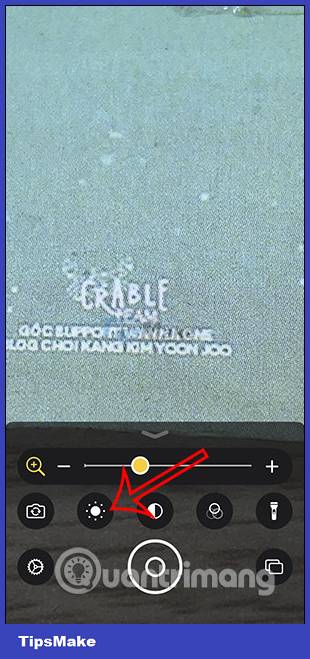
We will control the slider to enlarge the content reading lens. Or if the document or image is too dark, click the flashlight icon to turn on the flashlight.

Step 4:
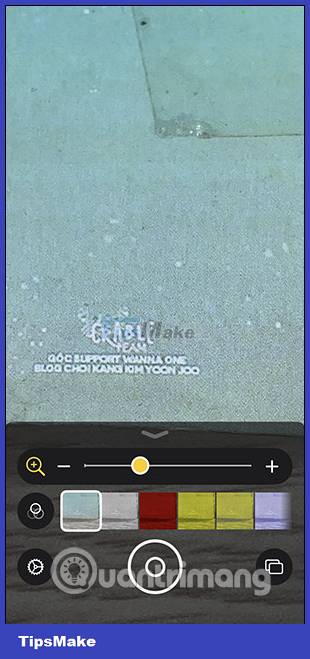
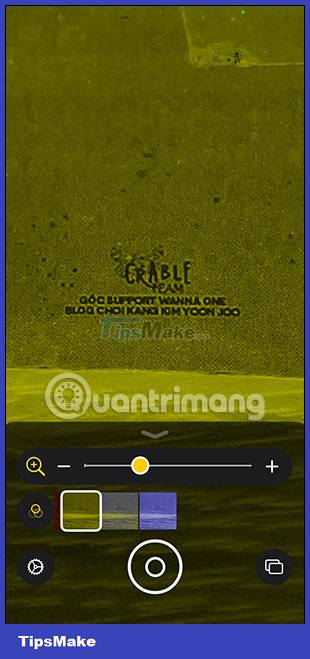
Filter icon to select color filters to apply to documents with hard-to-read colors. You choose the color that matches the content you need to read to see the text more clearly.
Step 5:
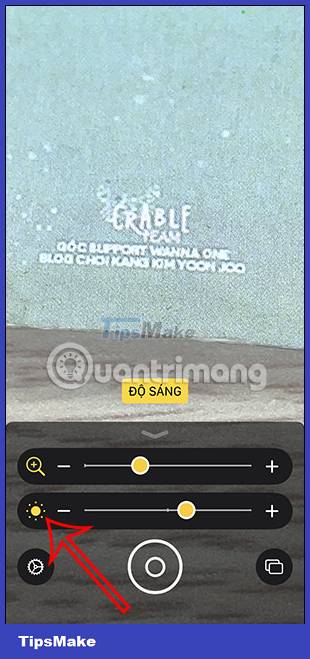
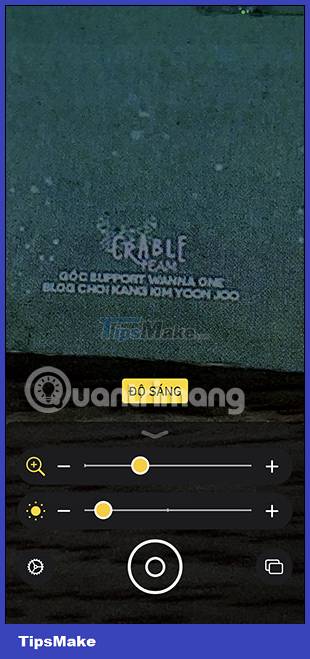
In addition to turning on the flashlight, you can increase the brightness in the Magnifier app . This makes it easier for you to read documents. You adjust the brightness to suit the current document.
Step 6:
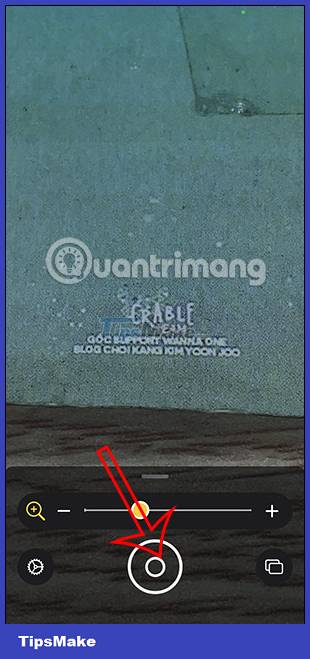
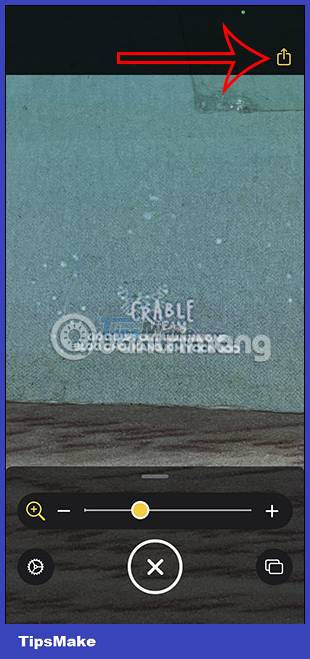
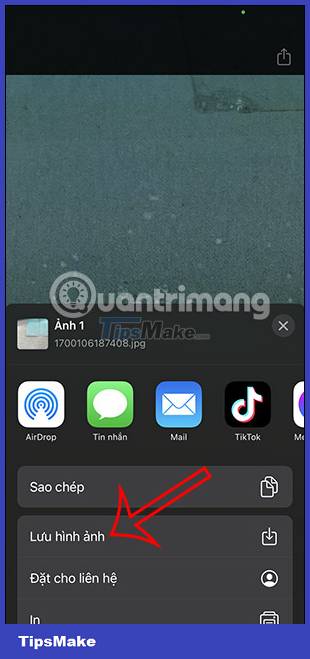
The application also helps you capture content displayed on the screen . We click on the circle icon below to take a photo. Continue to click on the share icon above to save the photo to the album and you're done.
Step 7:
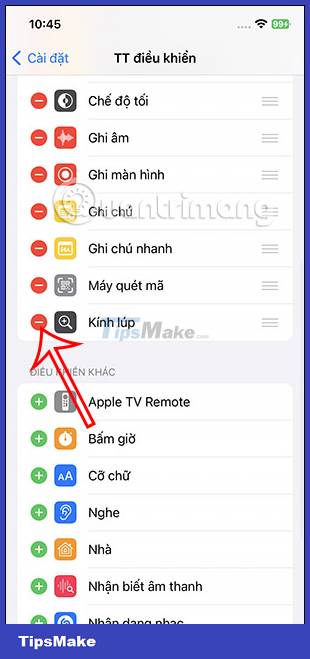
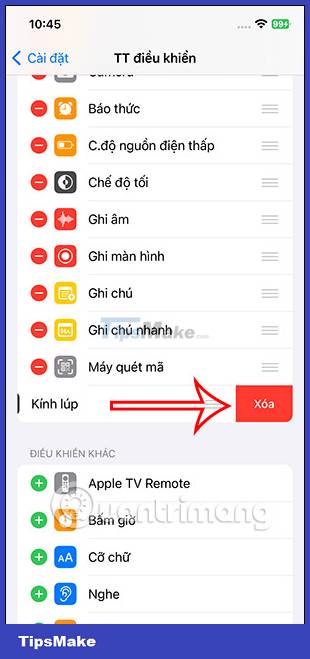
In case you don't want to use the magnifying glass tool anymore, go back to the Control Center interface, then click on the red circle at Magnifier and select Delete .
